Category: Crafts

Some More Food Candy

Todsy I made for four new food candy kits from Japan. As you’ll see, some worked better than others…
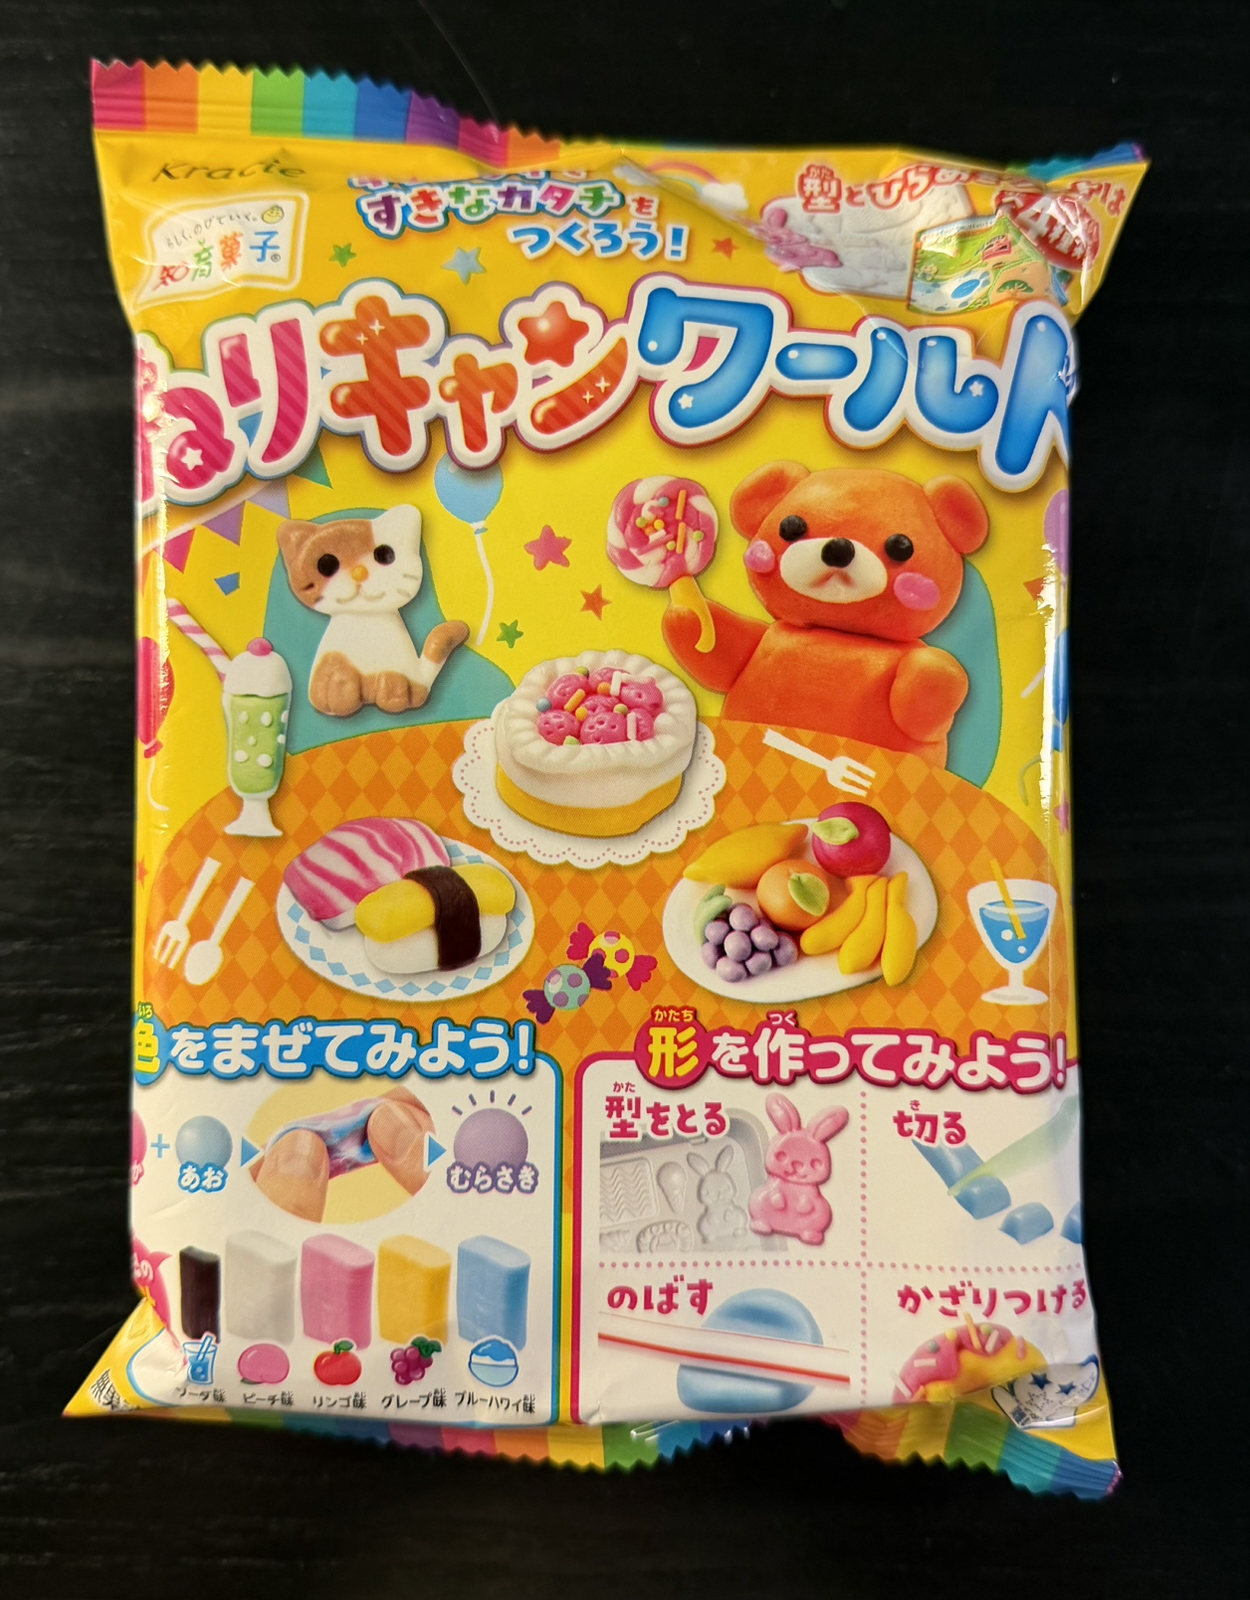
This is called Nerikyan World (I don’t know what that means either) and is a kit where you mold taffy-like candy into various shapes.
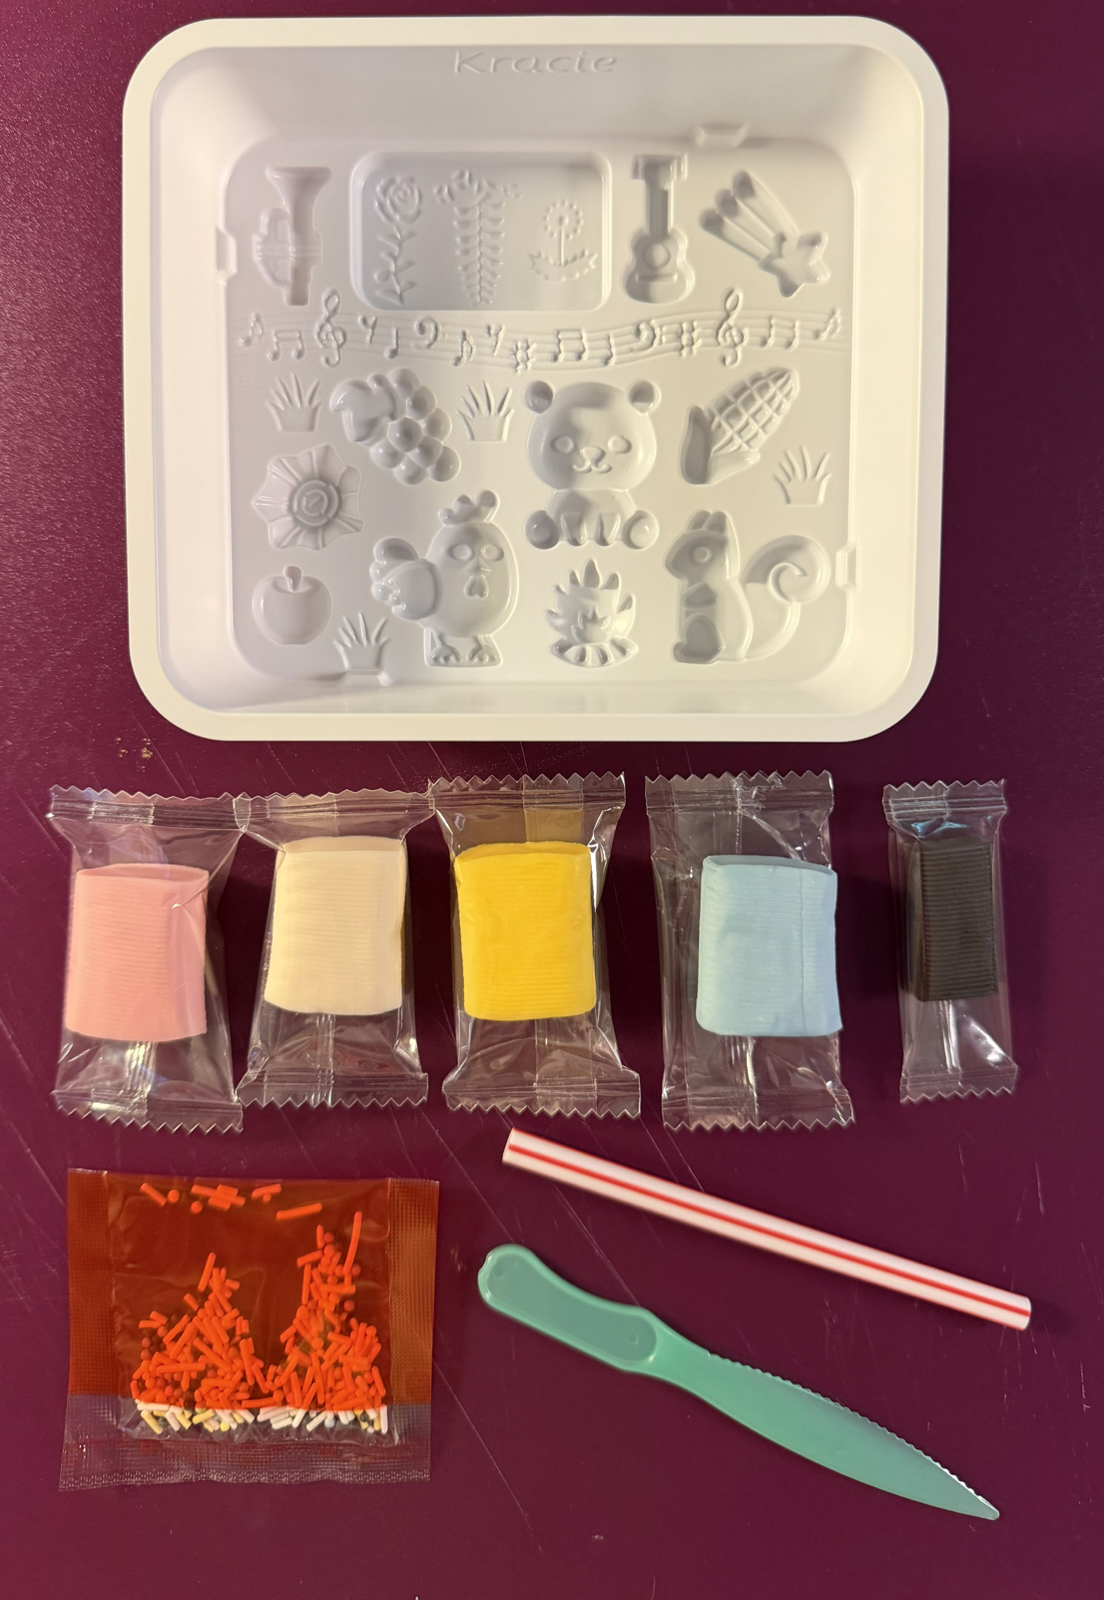
The 5 candy blocks were slightly hard at first, but softened with a bit of kneading. It was easy to mold, but very sticky.
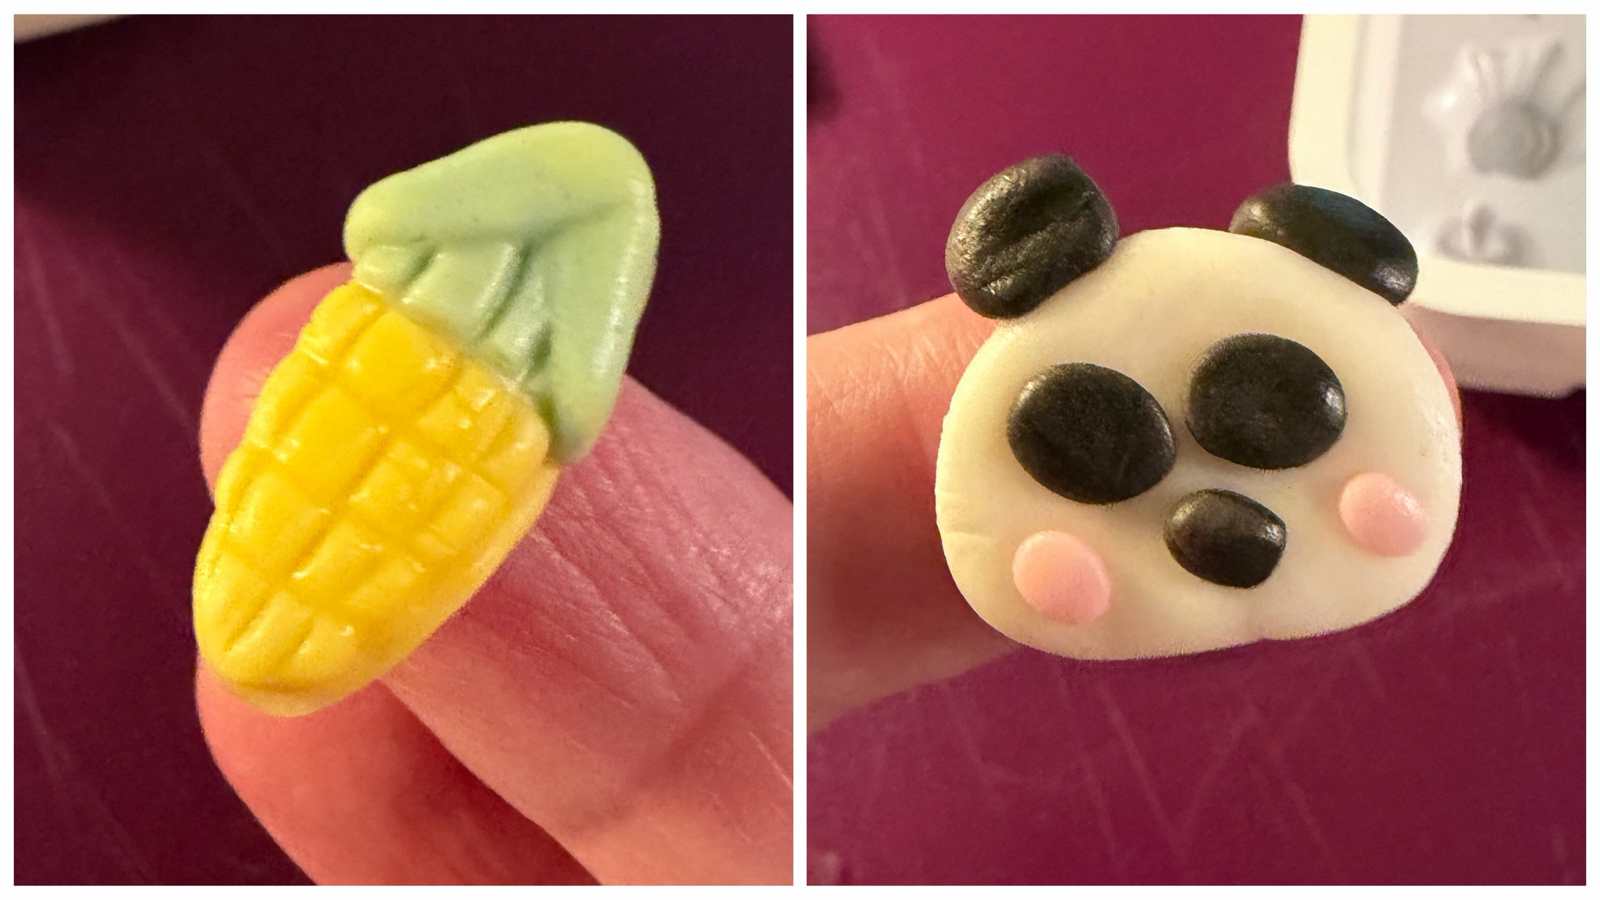
There’s no specific instructions: you can just make what you like. I used the mold for the corn but the panda was my original creation. The candy all seemed to taste the same – very sweet – and wasn’t bad at all. I actually ate most of it without even molding it!
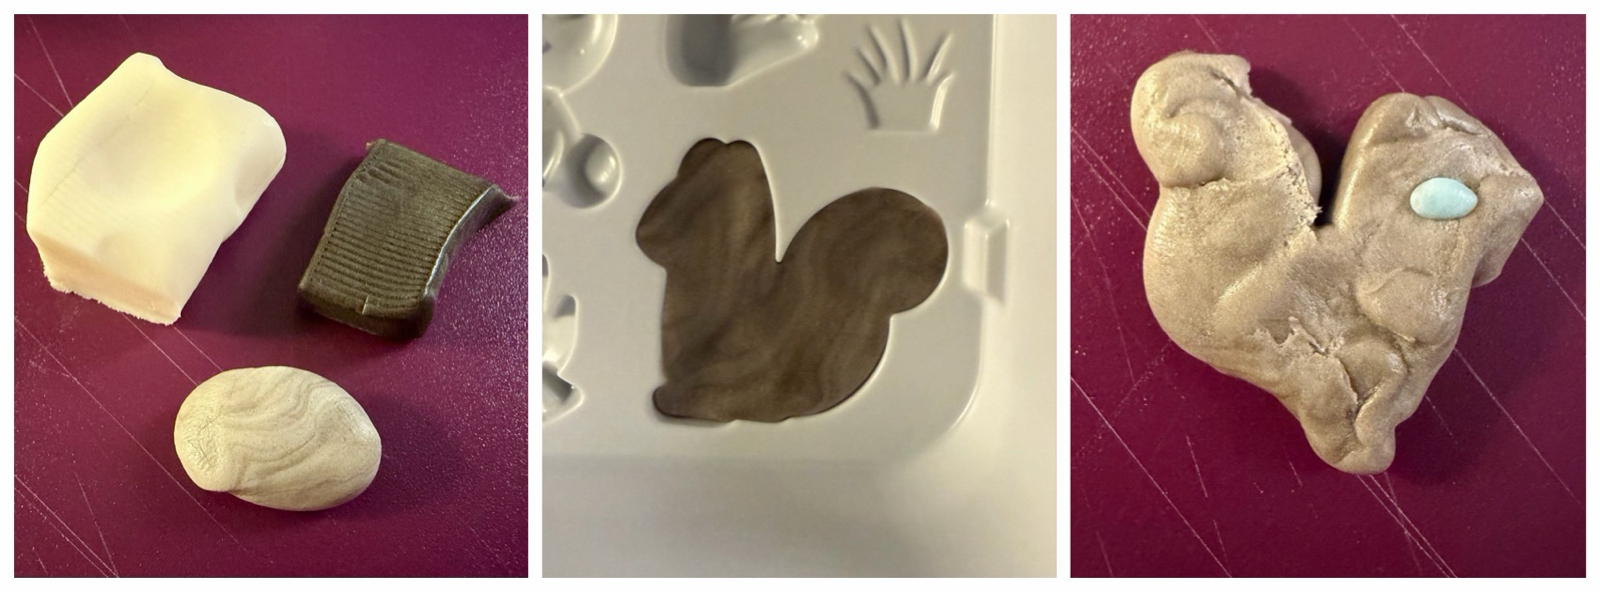
I got creative with a squirrel, for which I combined black and white to make grey, before using the mold. It was extremely difficult to remove, which is why the final creation looks a bit derpy 🙂

I think kids would like this one.
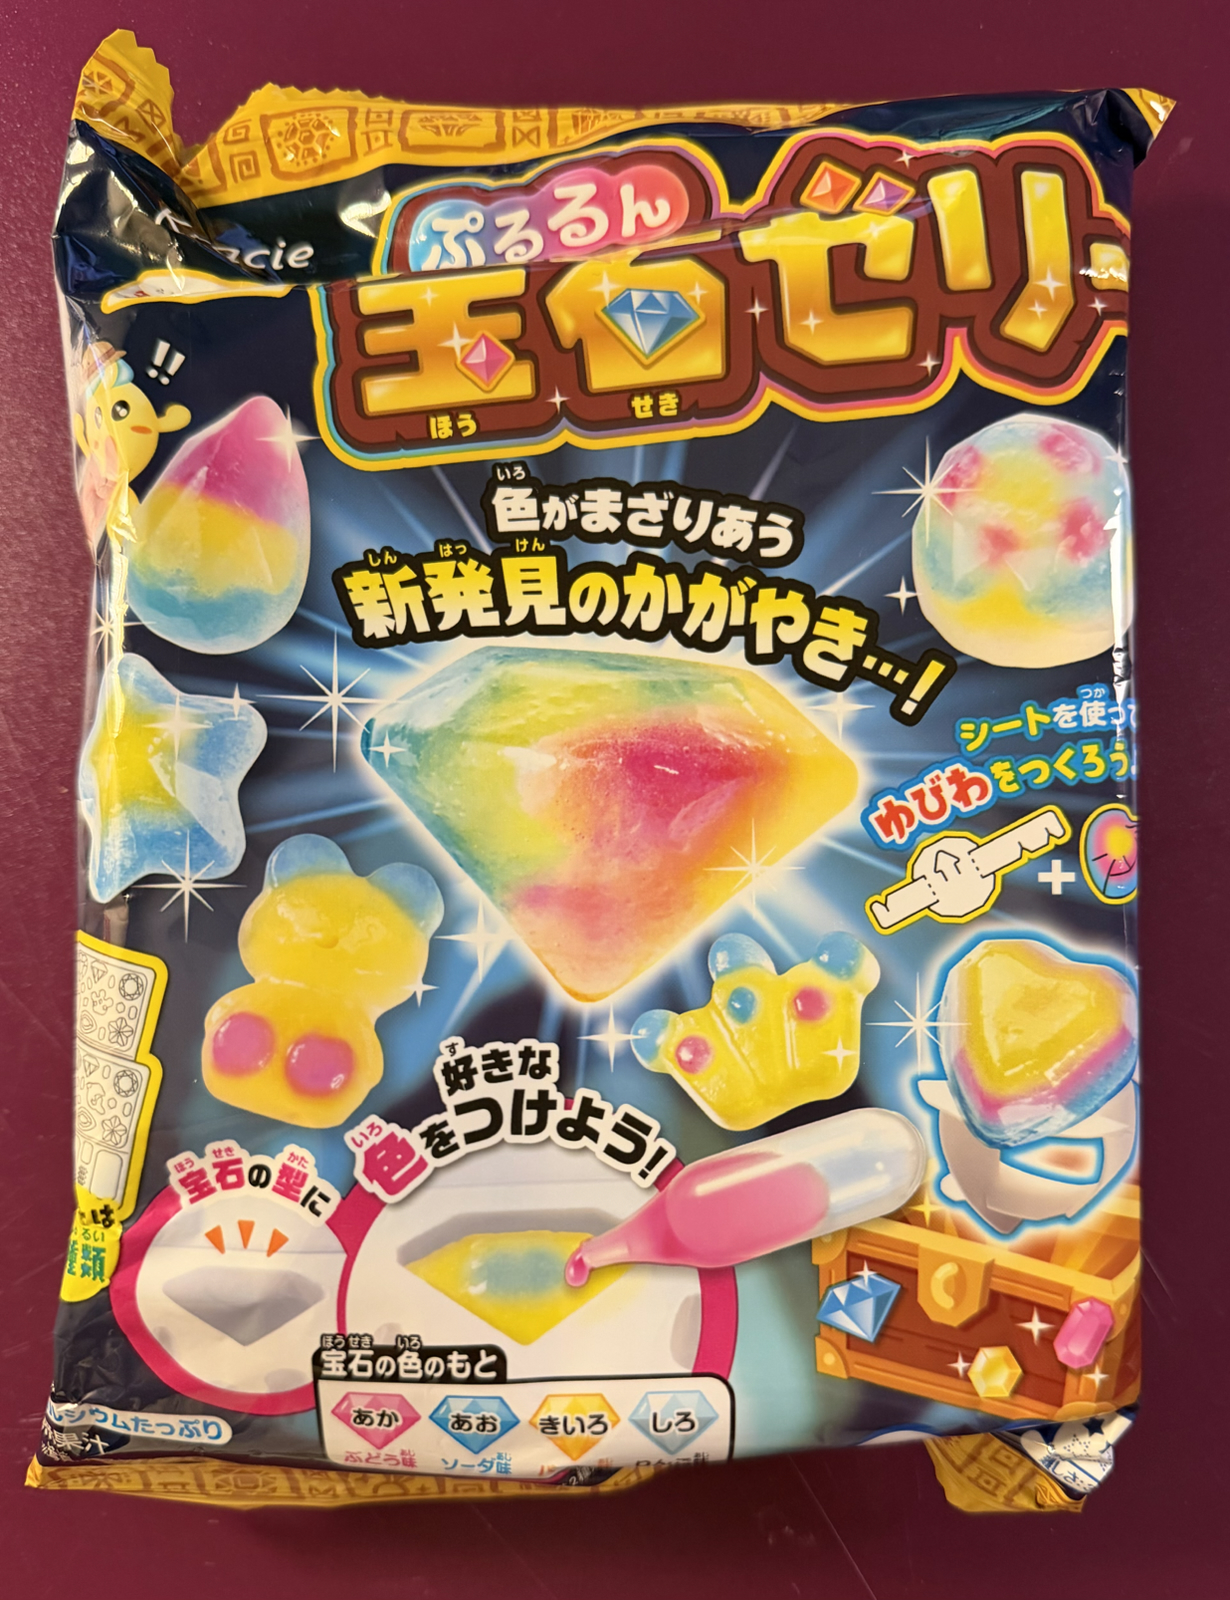
Next was this Jelly Gemstone kit, which claims to make rainbow gummies. The packaging looked promising, but could I reproduce this level of detail?
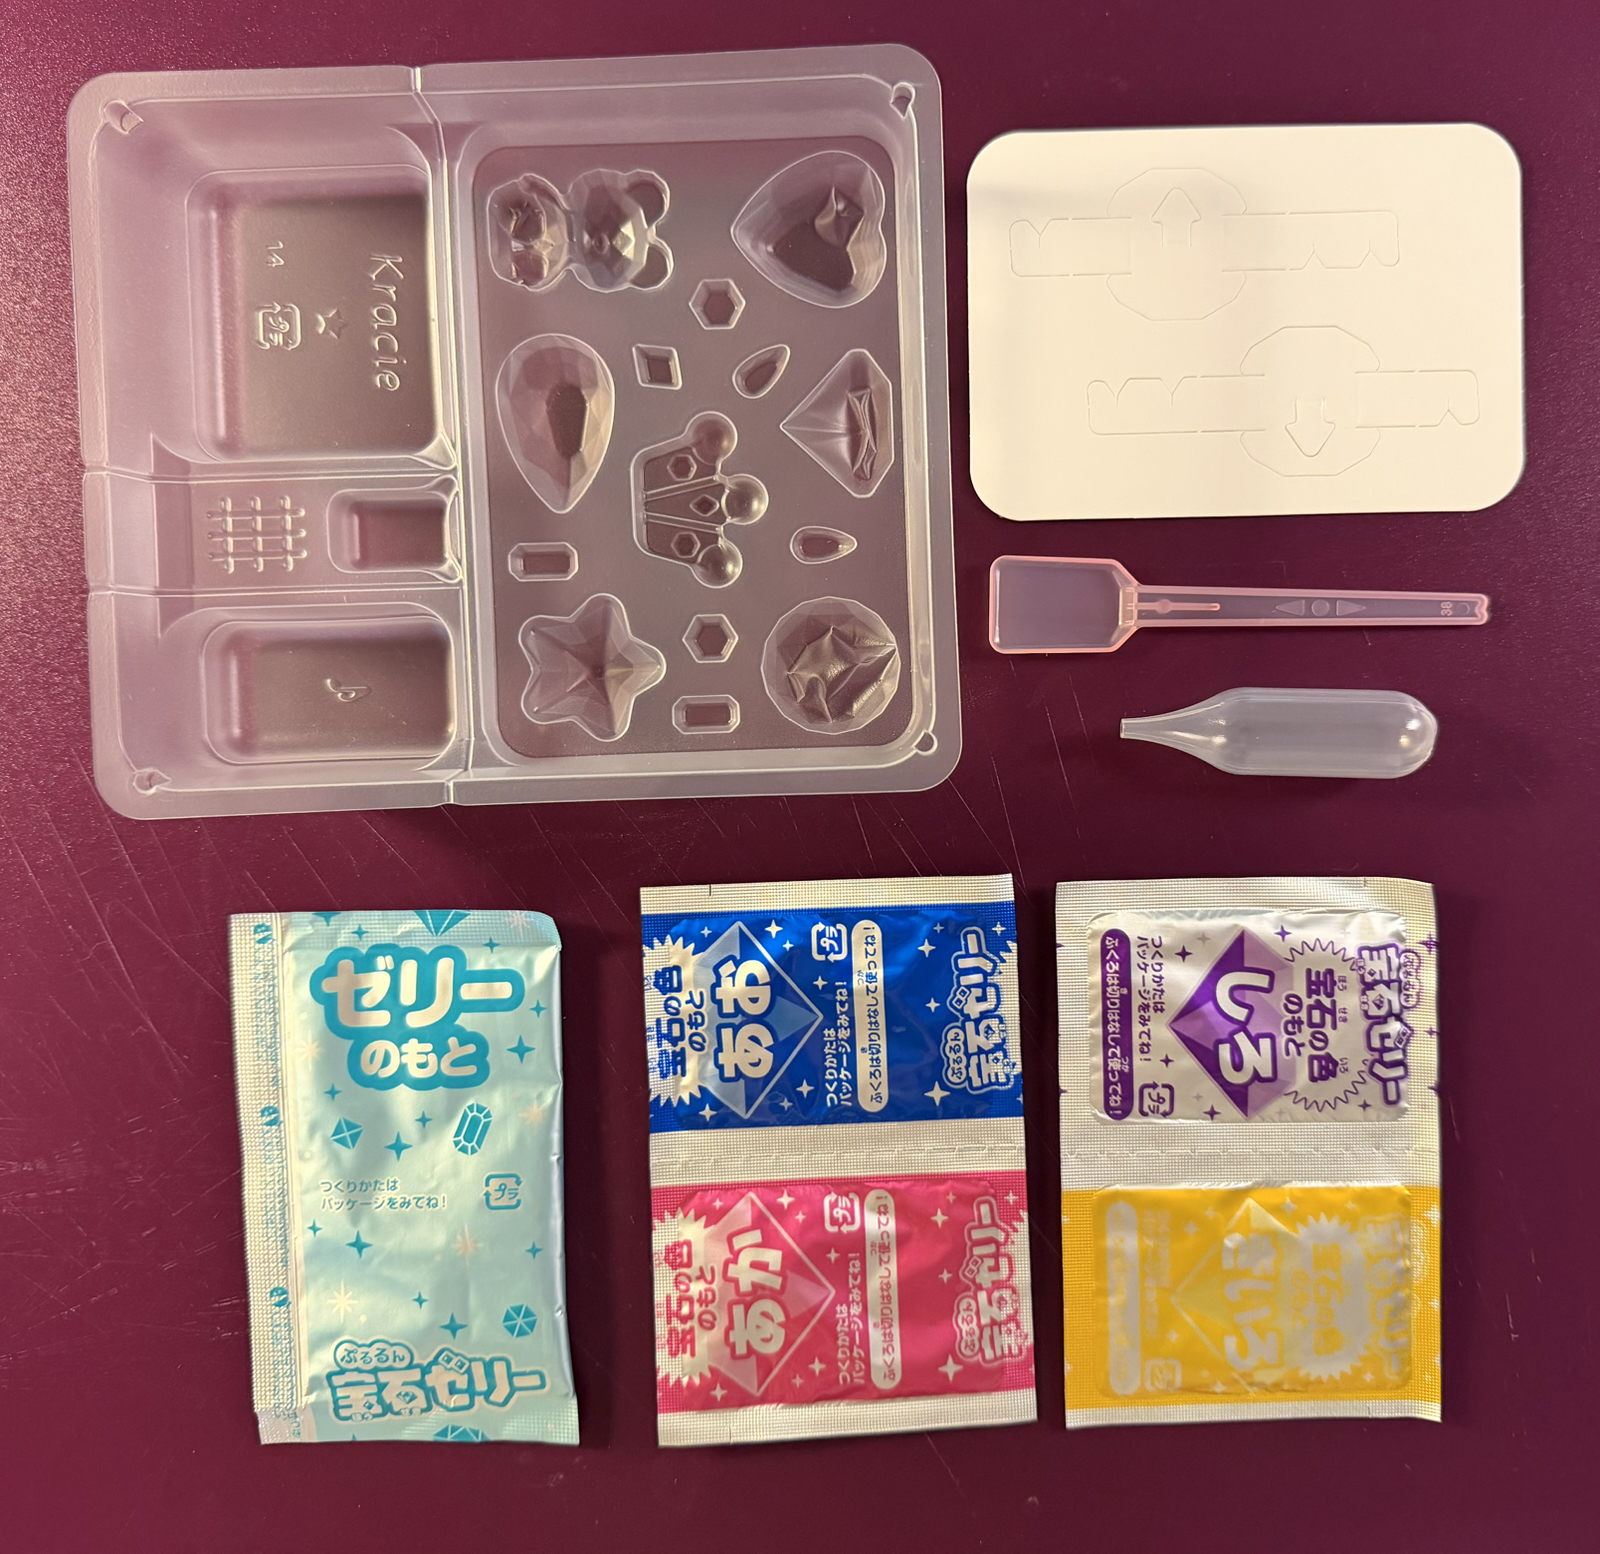
This was the most complex kit, with steps including refrigeration and microwaving. It included 4 plastic trays, 5 bags of crystals and ‘rings’ made from cardboard in which to display the ‘gemstones’.
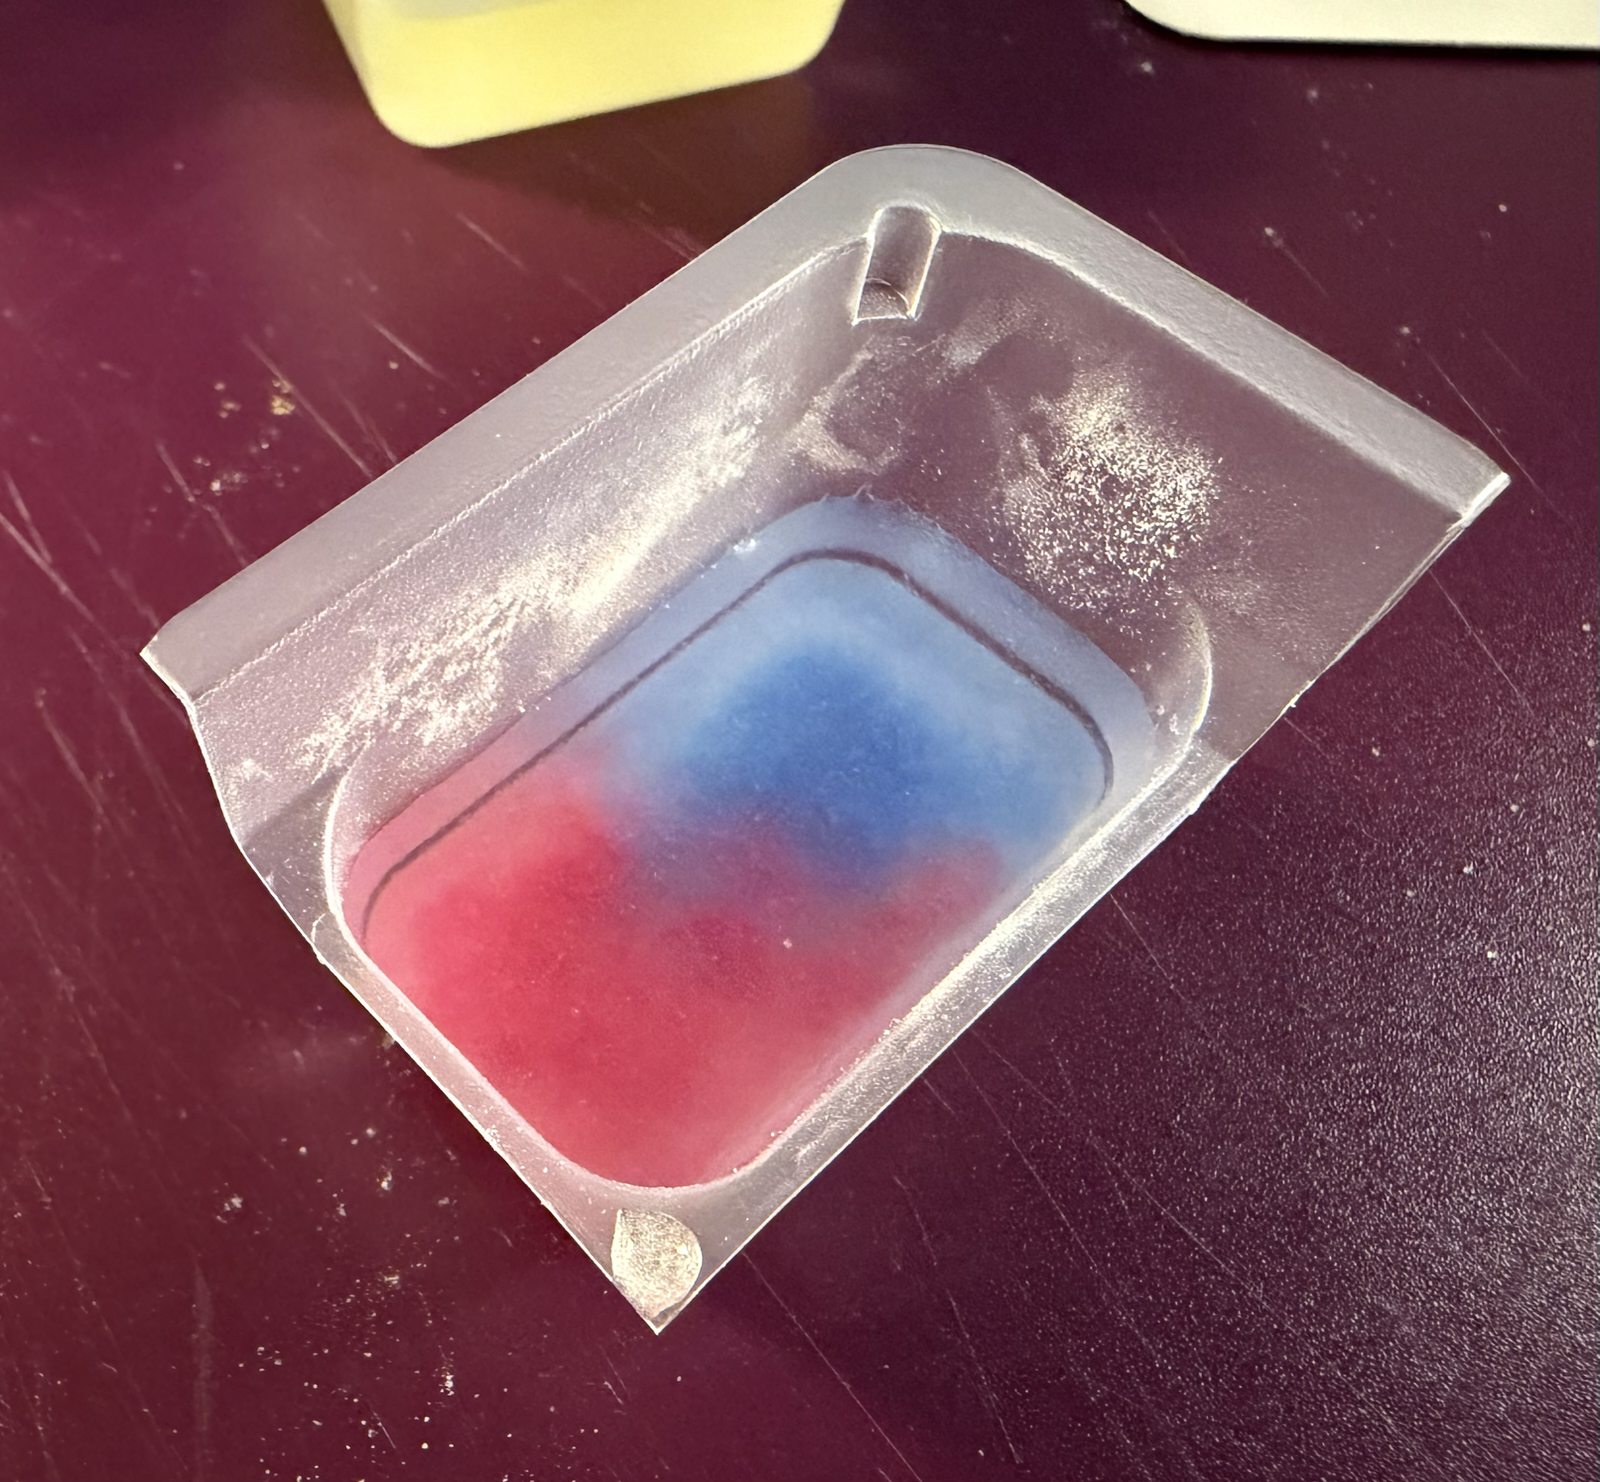
The method involved making a coloured suspension in water, then use a dropper to add it to a mold.
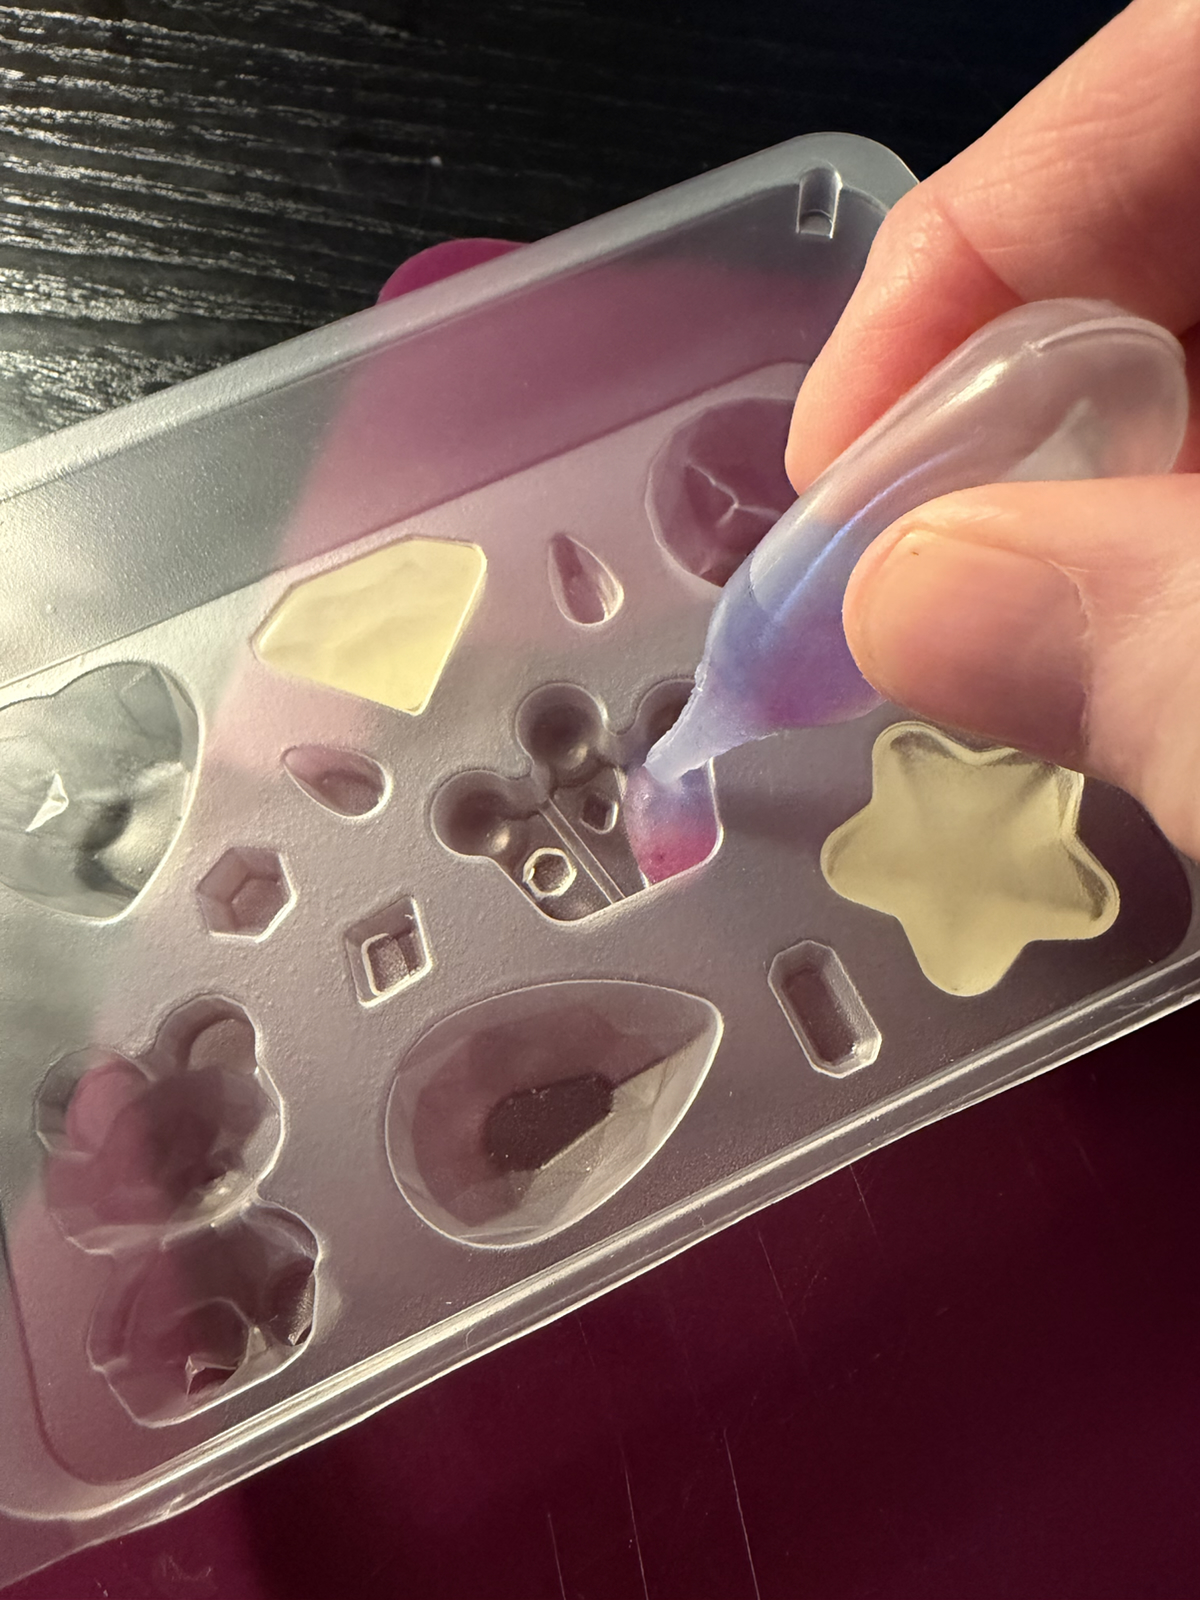
Various colours were made with different bags of crystal, but either the instructions were incorrect or (more likely) my translator made a mistake since only one type of colour required microwaving.
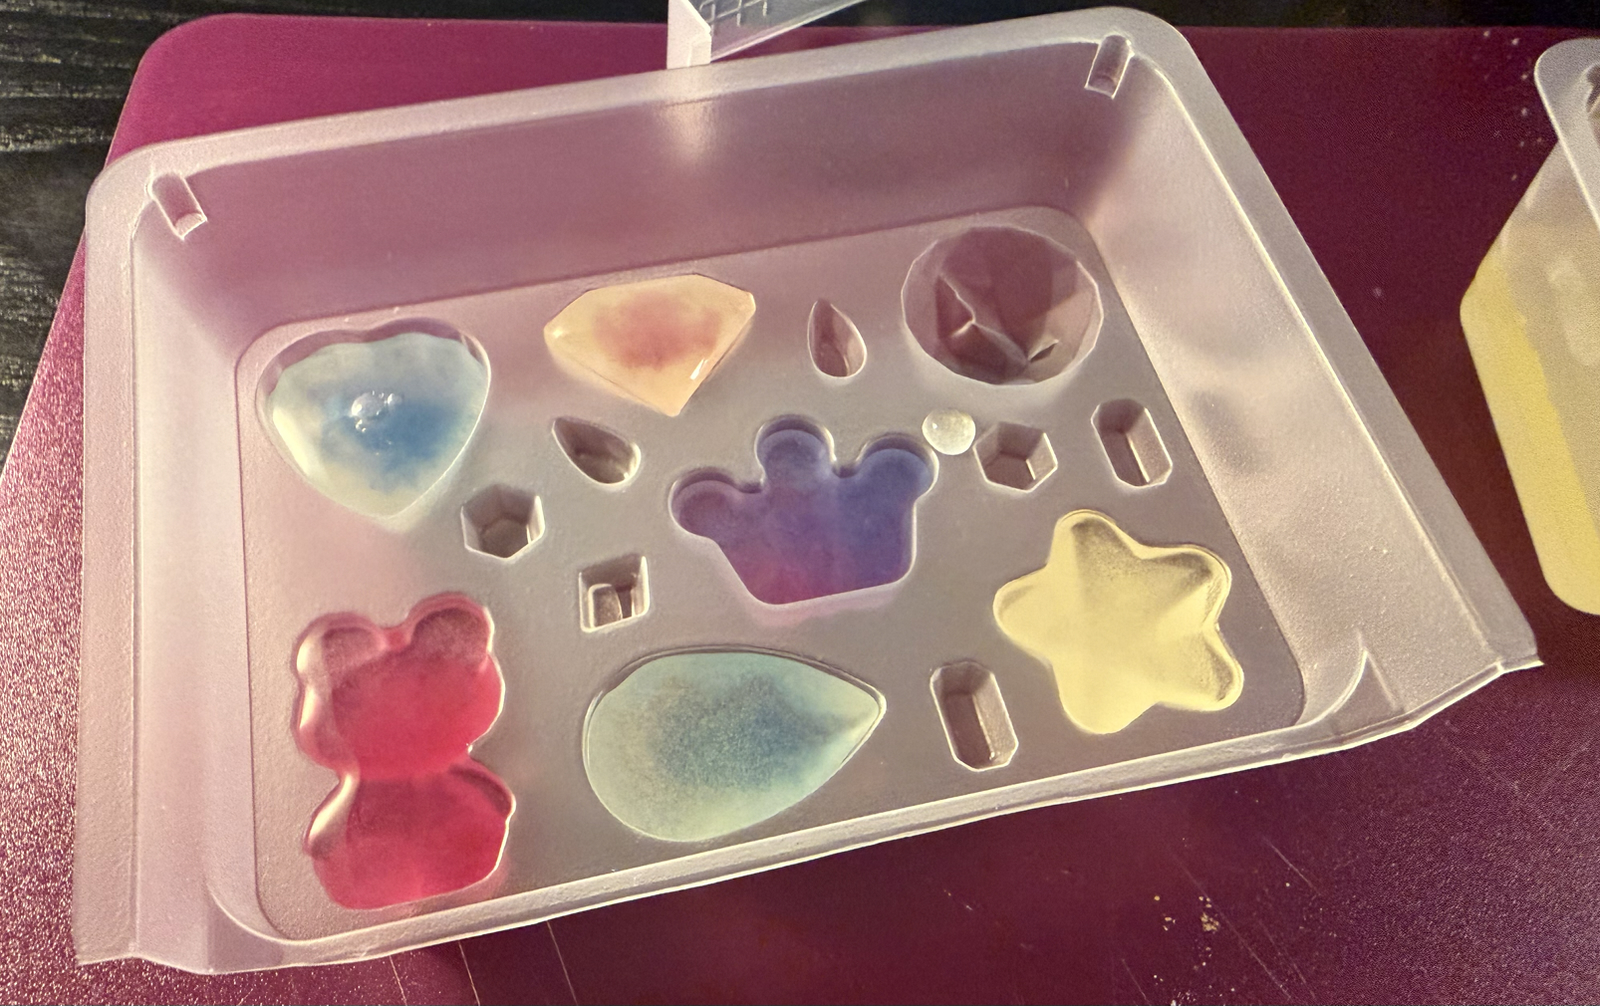
I did my best and thought they looked promising, and put them aside for ten minutes (as instructed) to solidify… which they didn’t! So I left them for another fifteen minutes after which most were still liquid.
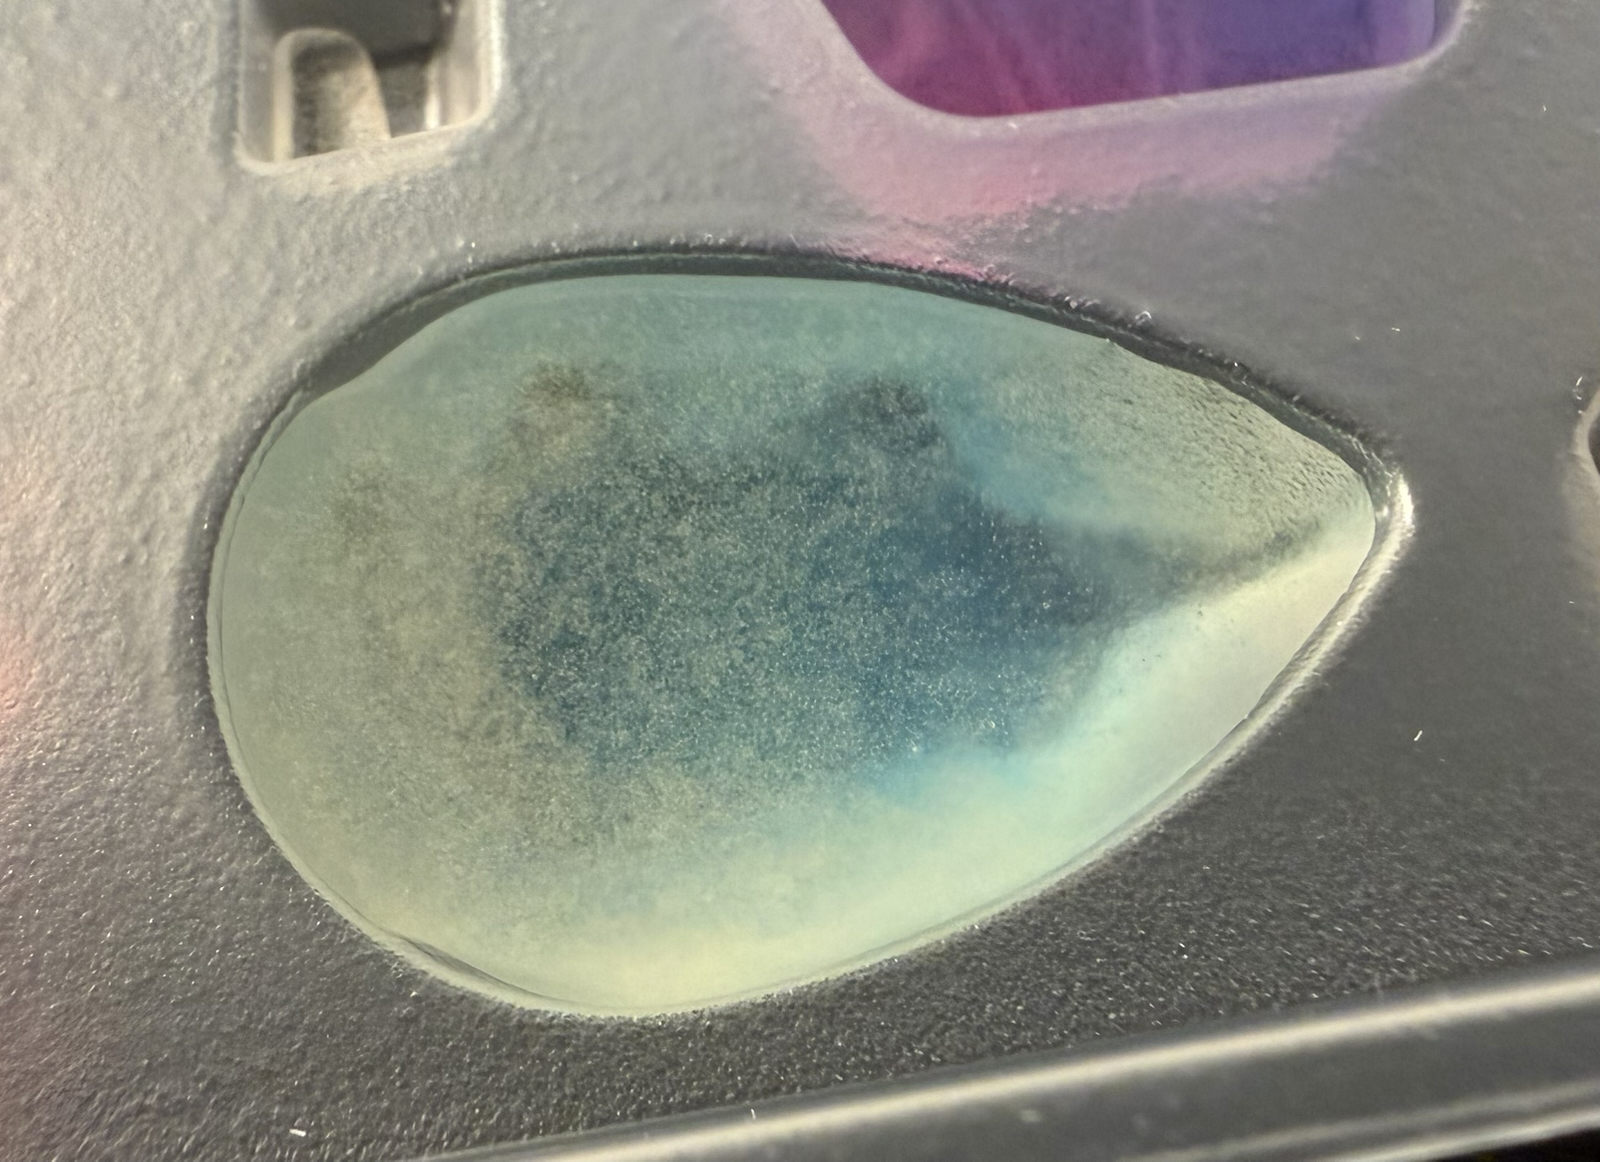
I waited longer but only the above gemstone ended up solidifying. Or so I thought, since when I removed it from the mold it disintegrated quickly:
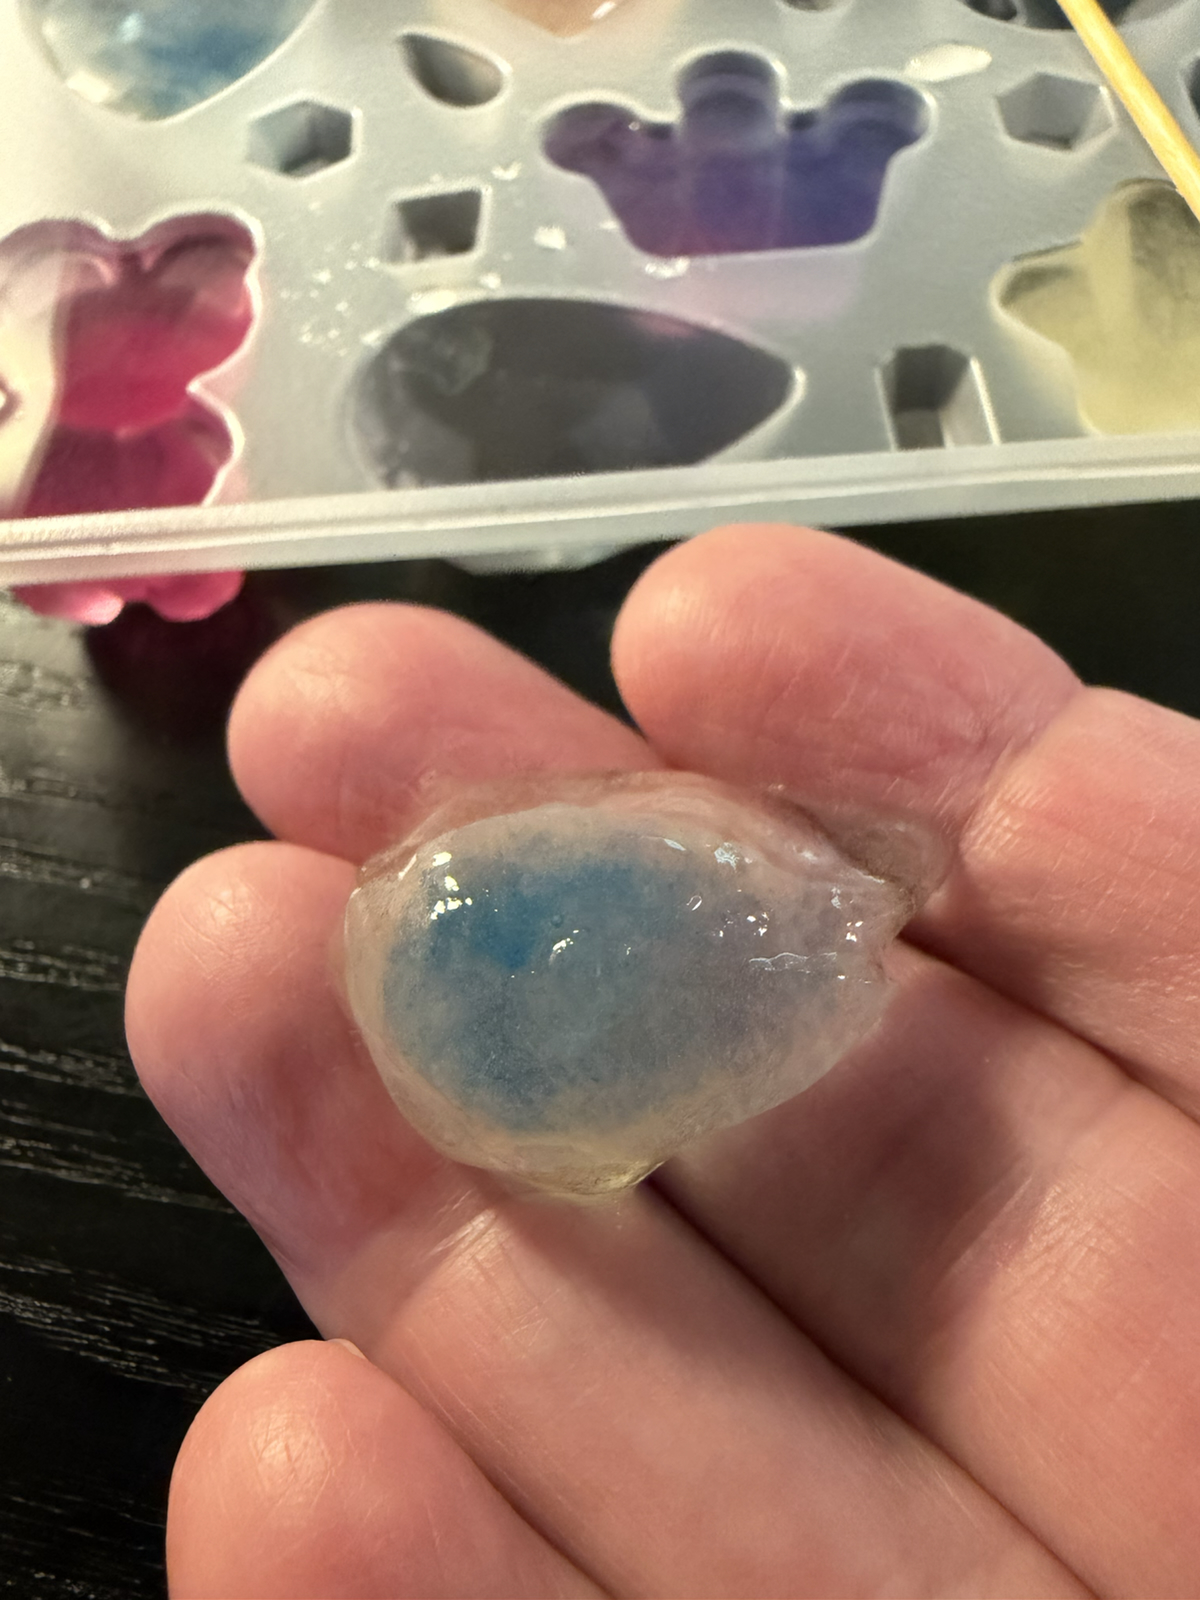
In other words, I completely failed in making the kit correctly! I tried eating it anyway, but it had an unpleasant chemical taste. Surely I mixed the ingredients incorrectly?

Maybe not one for kids, unless the parents want to supervise 🙂
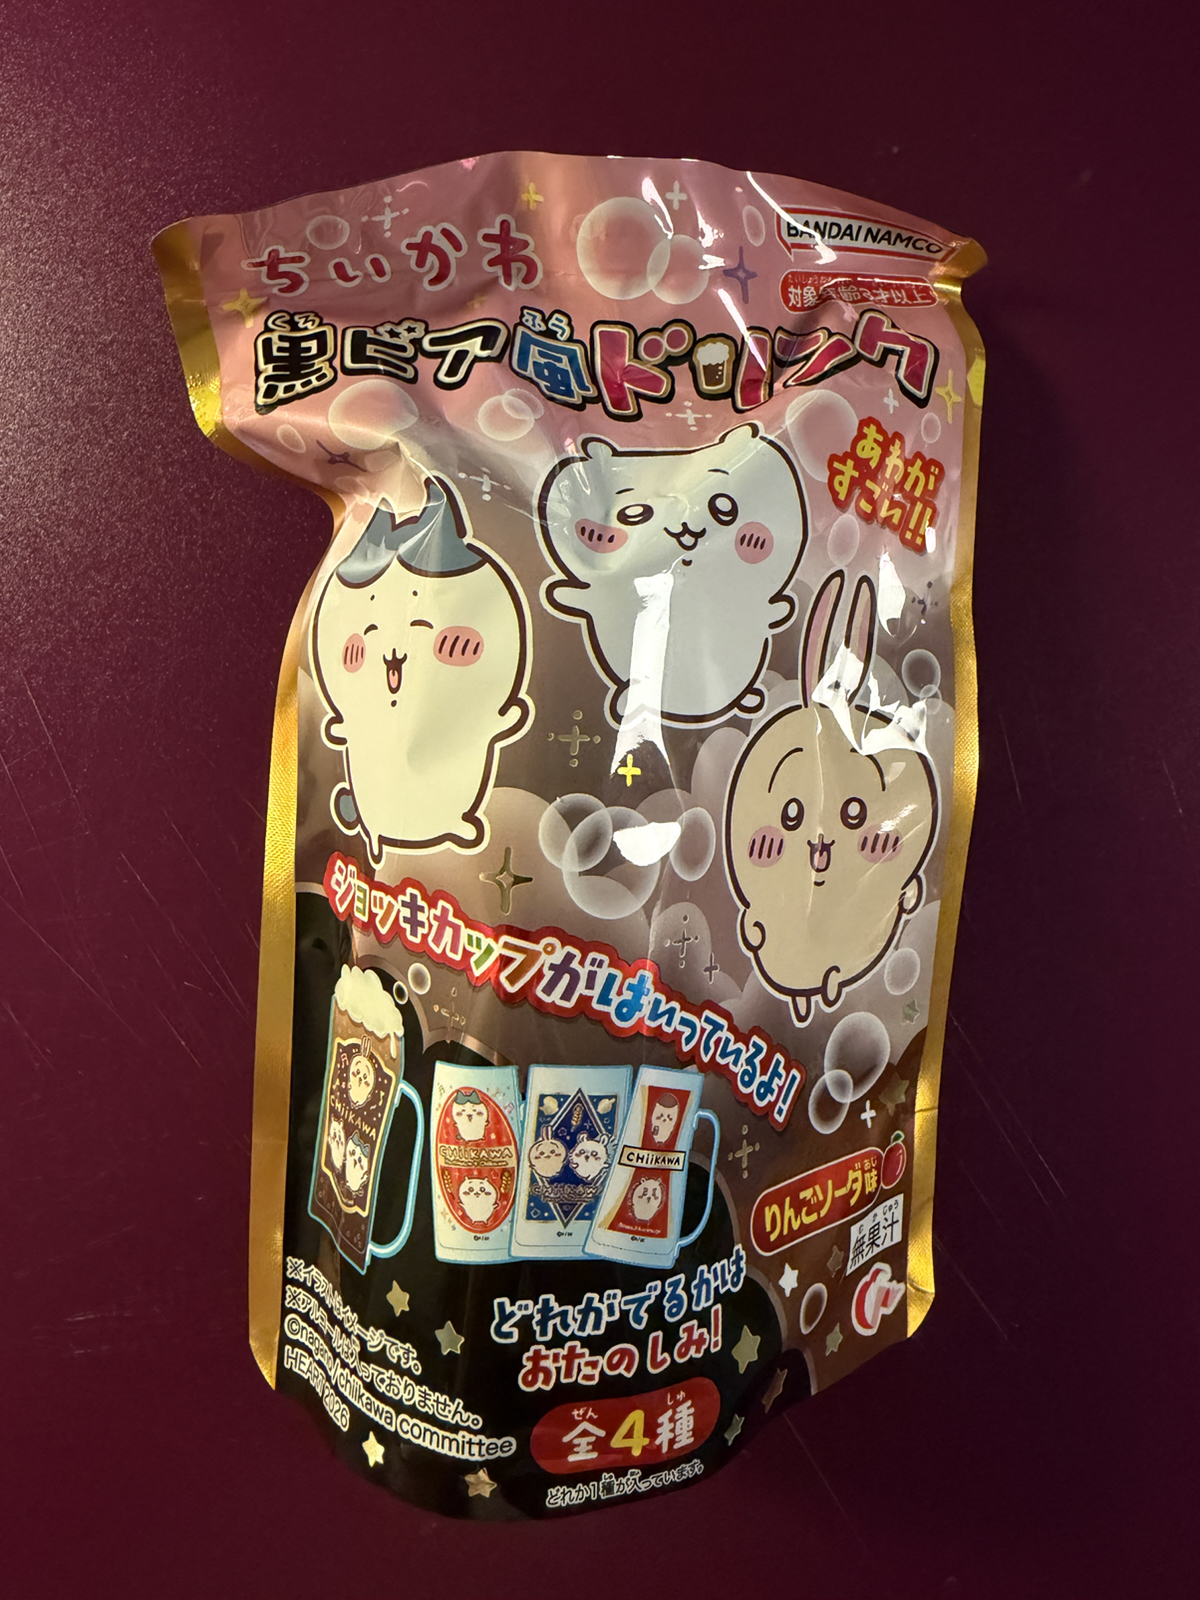
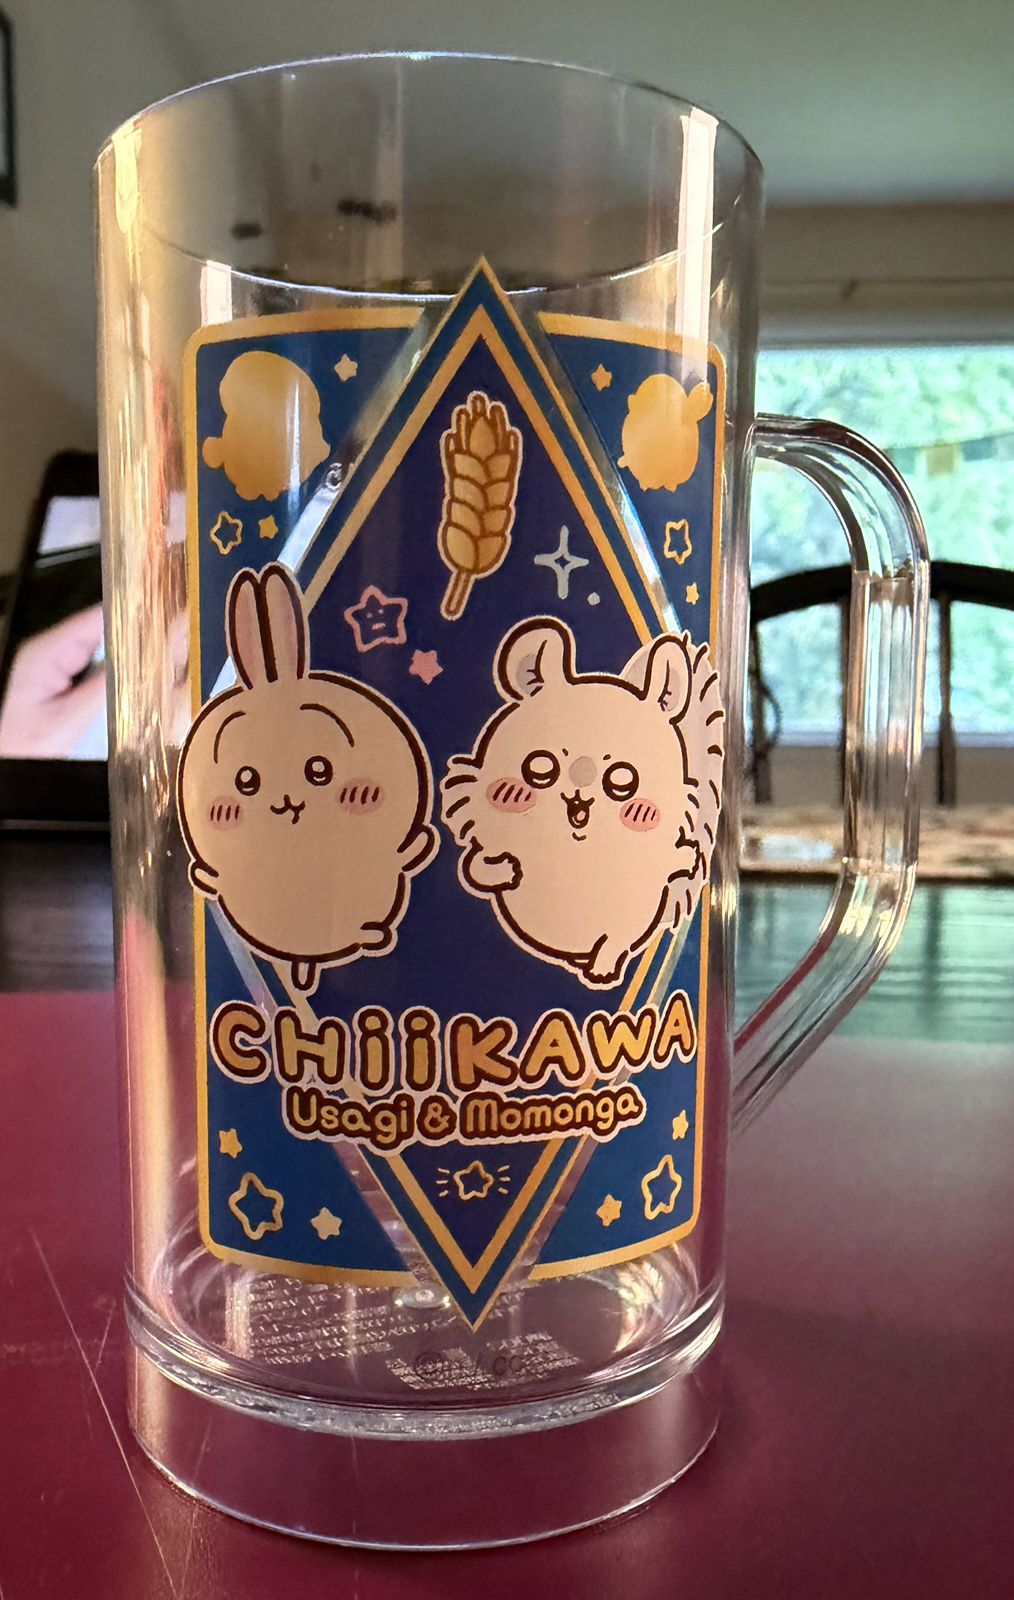
Time for an easy one: Chiikawa Toy Beer. We’ve made a few drink kits like this before, but this was first time time it was beer and came with a stein!
As with previous drinks this was trivial to make: just add water and pour the single packet of crystals in. Stirring wasn’t even required.
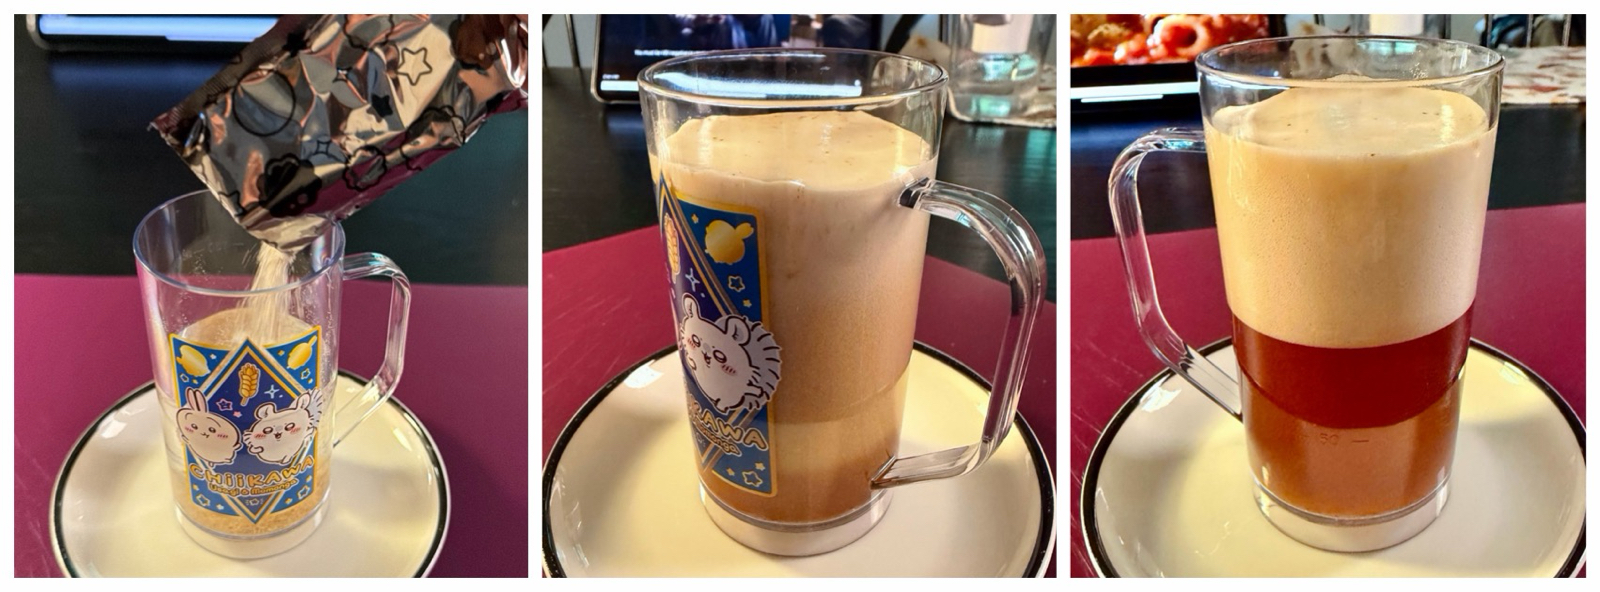
It worked extremely well. The crystals dissolved quickly, creating immediate bubbles and a frothy cap, which rose so much I thought it would overflow.
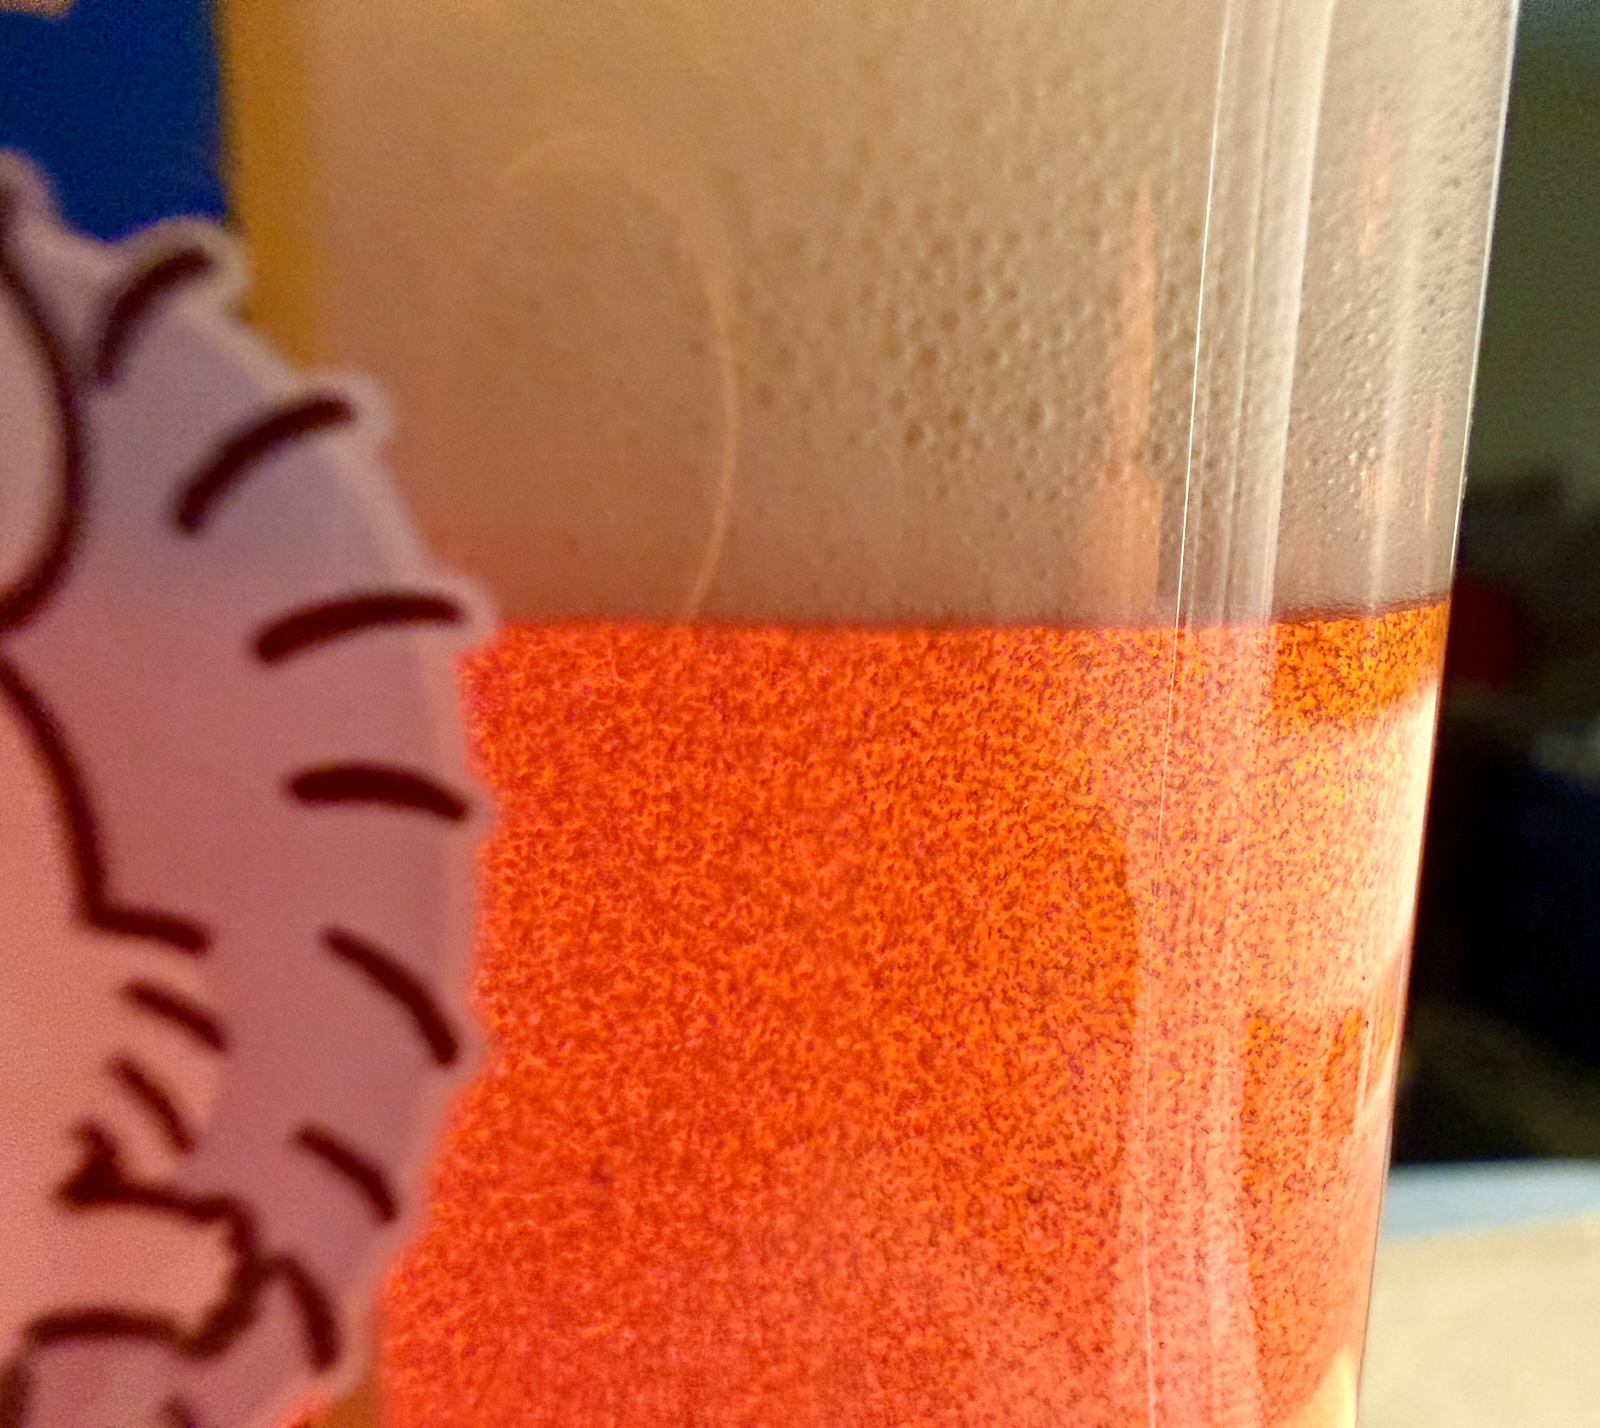
It kept bubbling long after the froth had risen, and was slightly carbonated when drunk. Unfortunately the taste was disgusting, and down the sink it went 🙂

I think this one would be a hit with kids. Not only is making it fun, but it could teach them the ‘joy of beer’ at a young age, and they’d get a cute stein to keep forever.
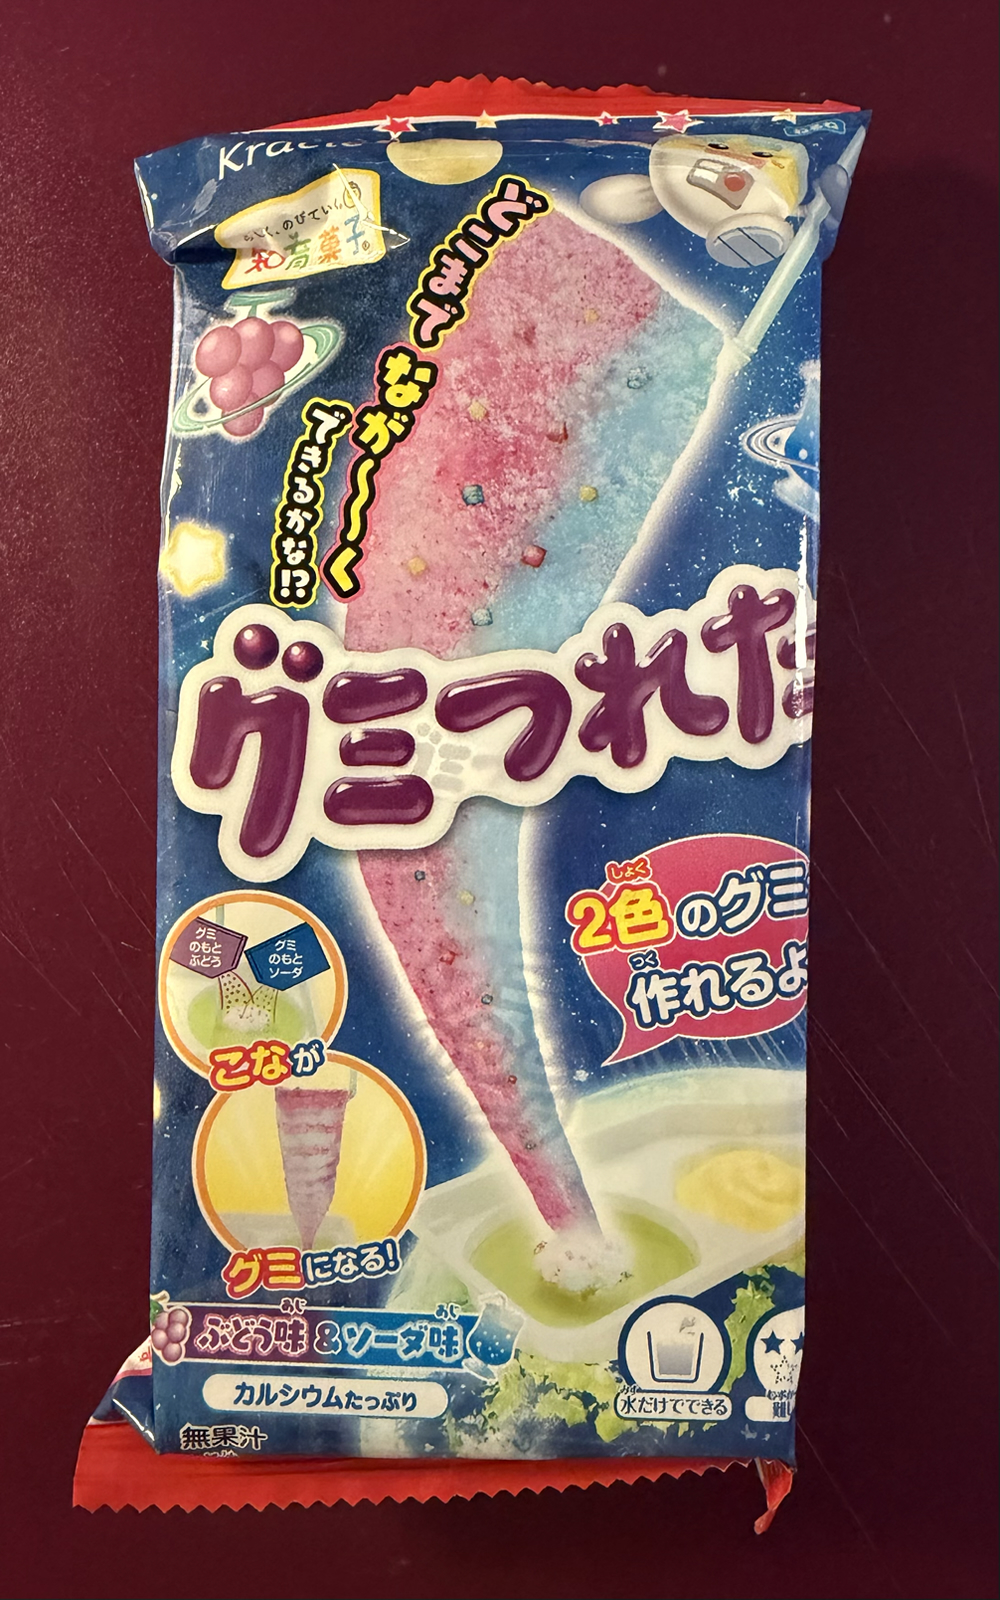
Last was this one, which translates to Gummy Tangle. Humorously the packaging notes it’s ‘full of calcium’! I haven’t paid attention before but I wonder if all of these make nutritional claims?
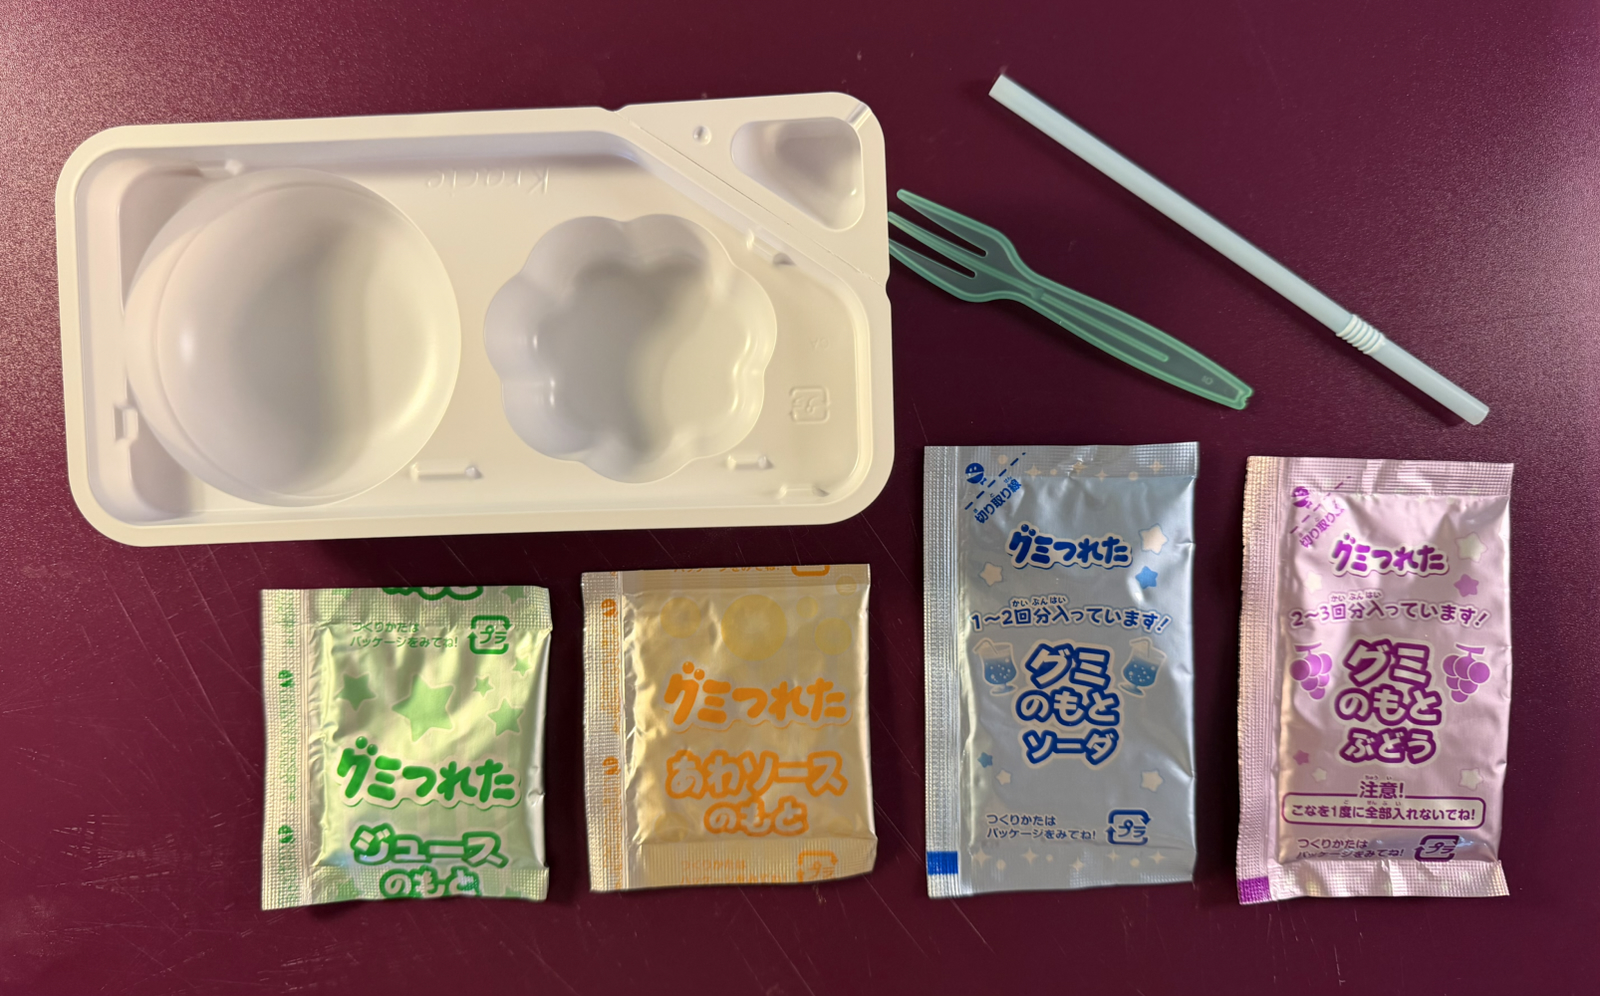
This one was unusual. Looking at the packaging it seems you pull a gummy tape out of liquid?! As with many of these kits it comes with a tray, several bags of powder and a few disposable implements
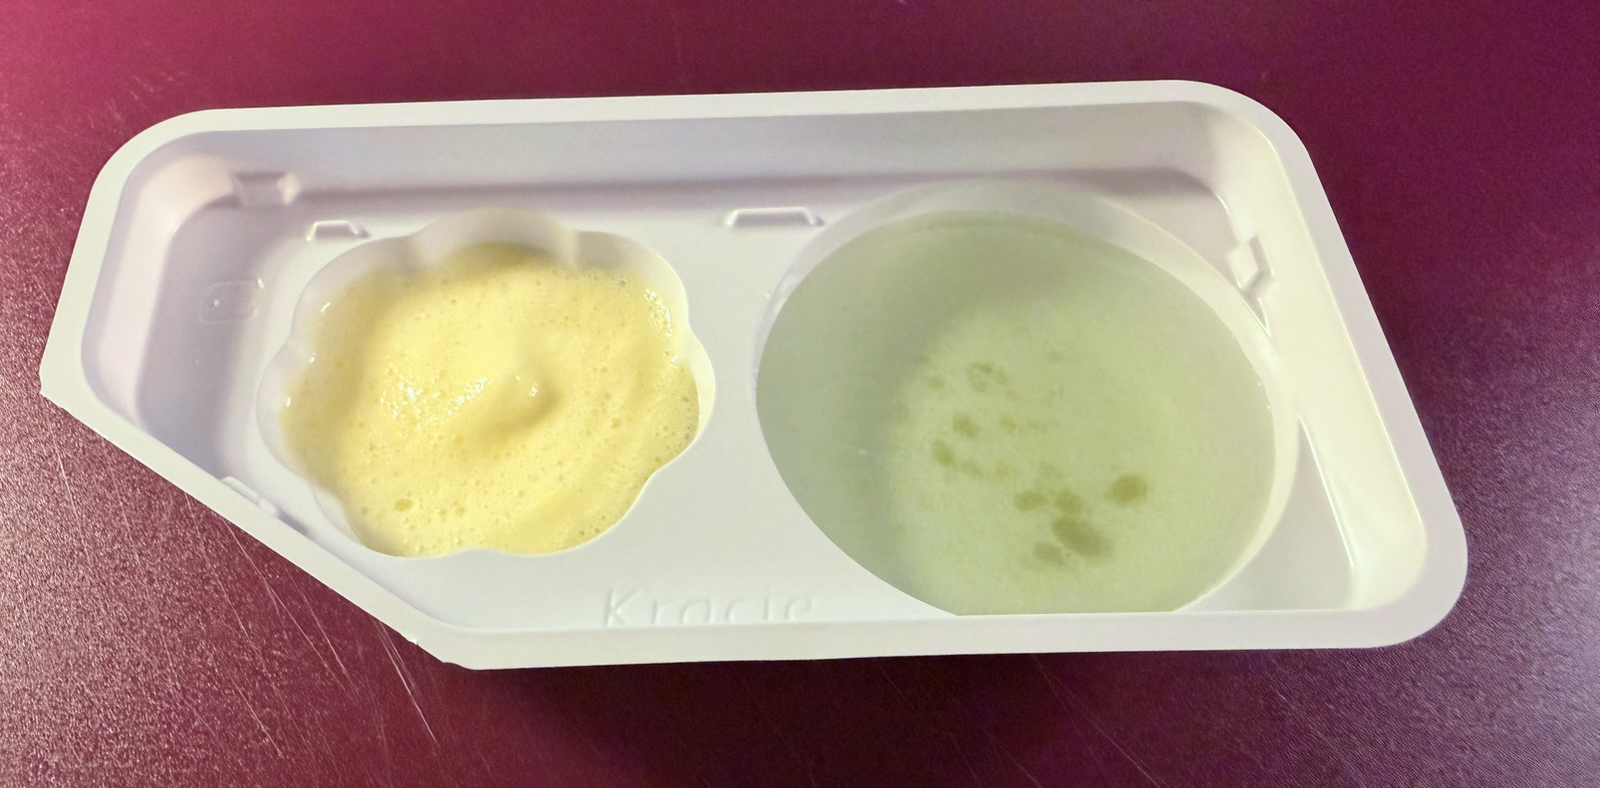
One powder is dissolved to make a coloured liquid, and the other becomes a frothy foam. Then another powder is floated on top of the liquid while you use the straw to lift it out from below, which results in this:
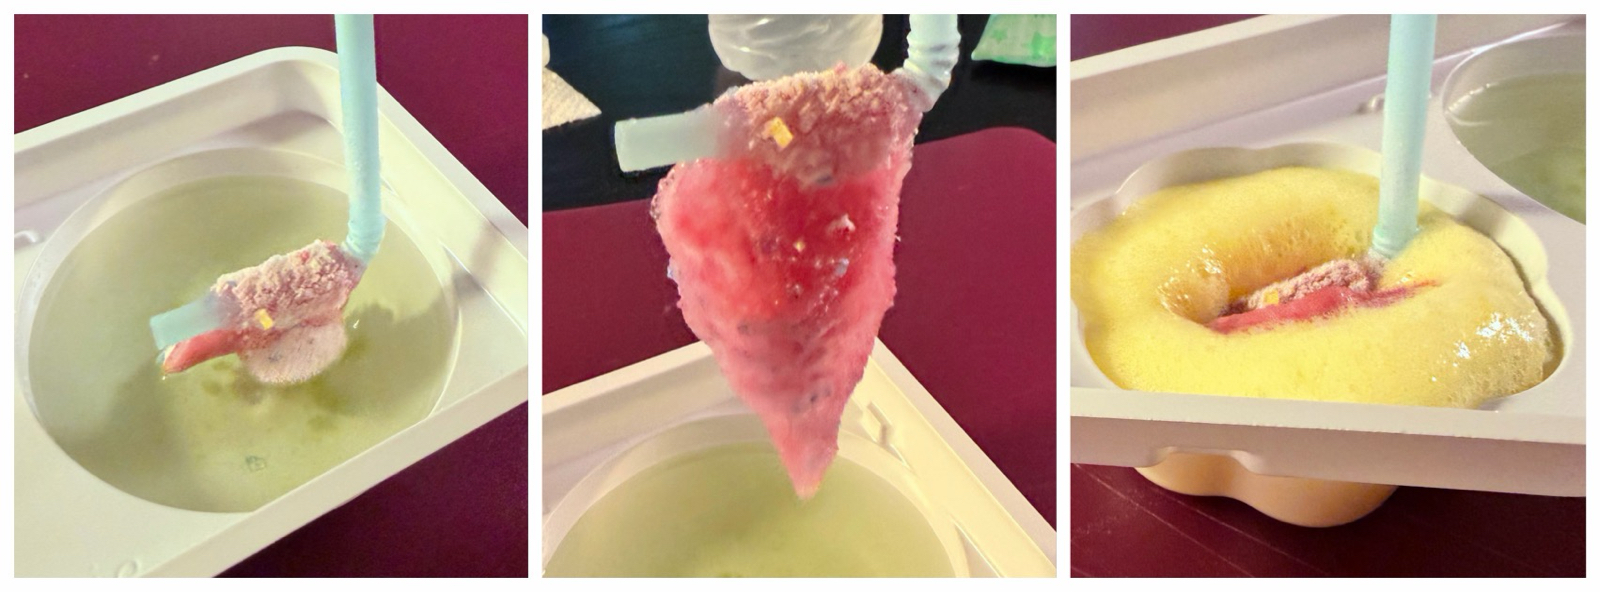
It doesn’t exactly match the packaging, but it mostly works! This is a sour tasting product but I liked the foam a lot. It’s frankly a bit disgusting in texture but probably my favourite of the ones I made today.

I bet kids would love this one, because it’s weird and messy and a bit gross but ultimately tastes pretty good 🙂
Con Haul

This post details what we bought at the con, and the majority of these items came from artist’s alley. It was a bit of an effort to fit all this into our suitcases for the trip home 🙂

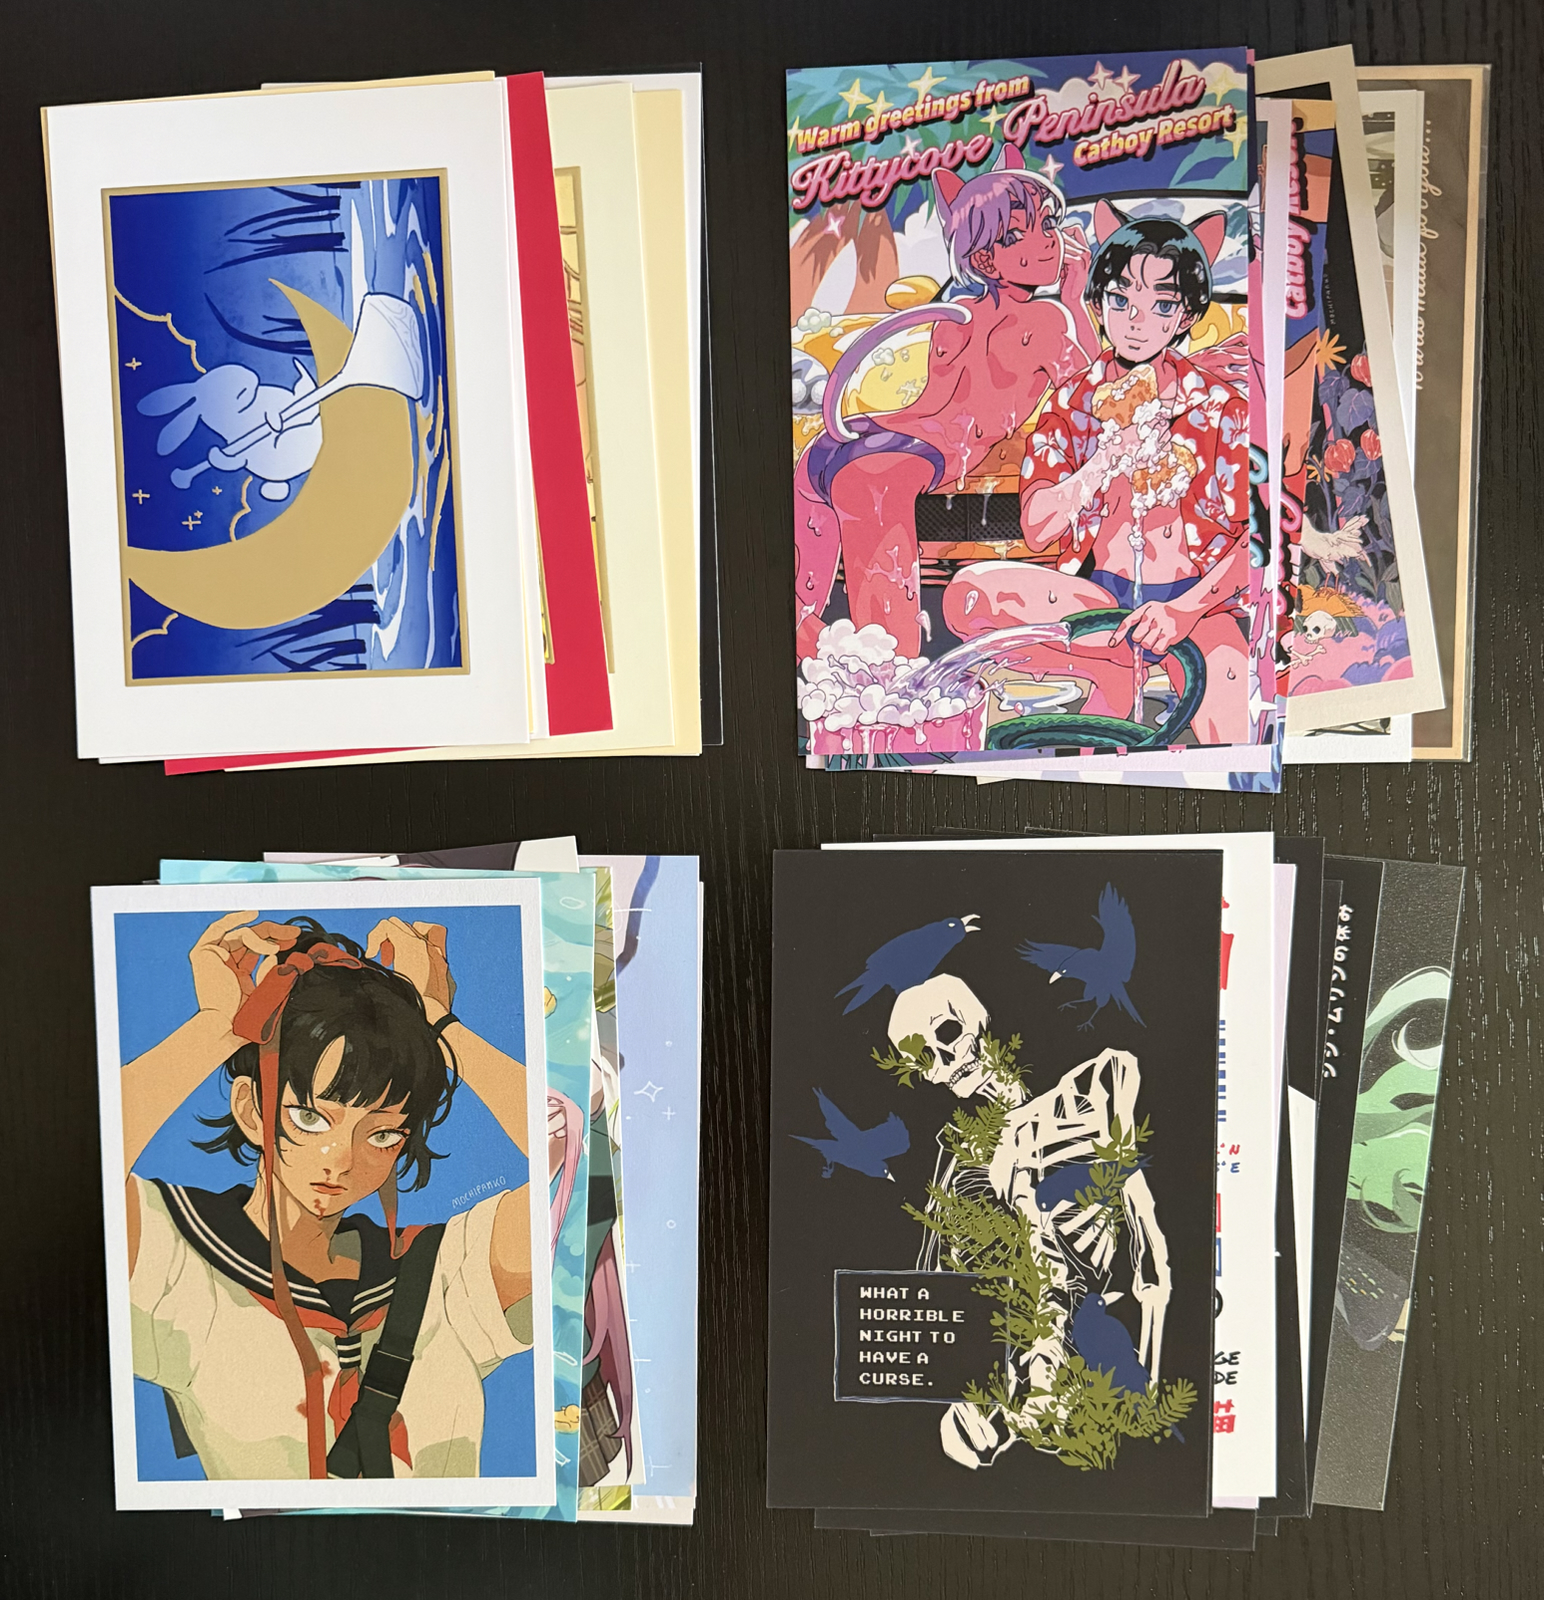
I bought a few dozen postcards, some of which are shown above. These are rarely sold as ‘postcards’ and usually called ‘mini prints’. Frustratingly a lot of creators print them on flimsy card or with glossy backs, both of which I avoid. But I had no trouble finding many great ones anyway!

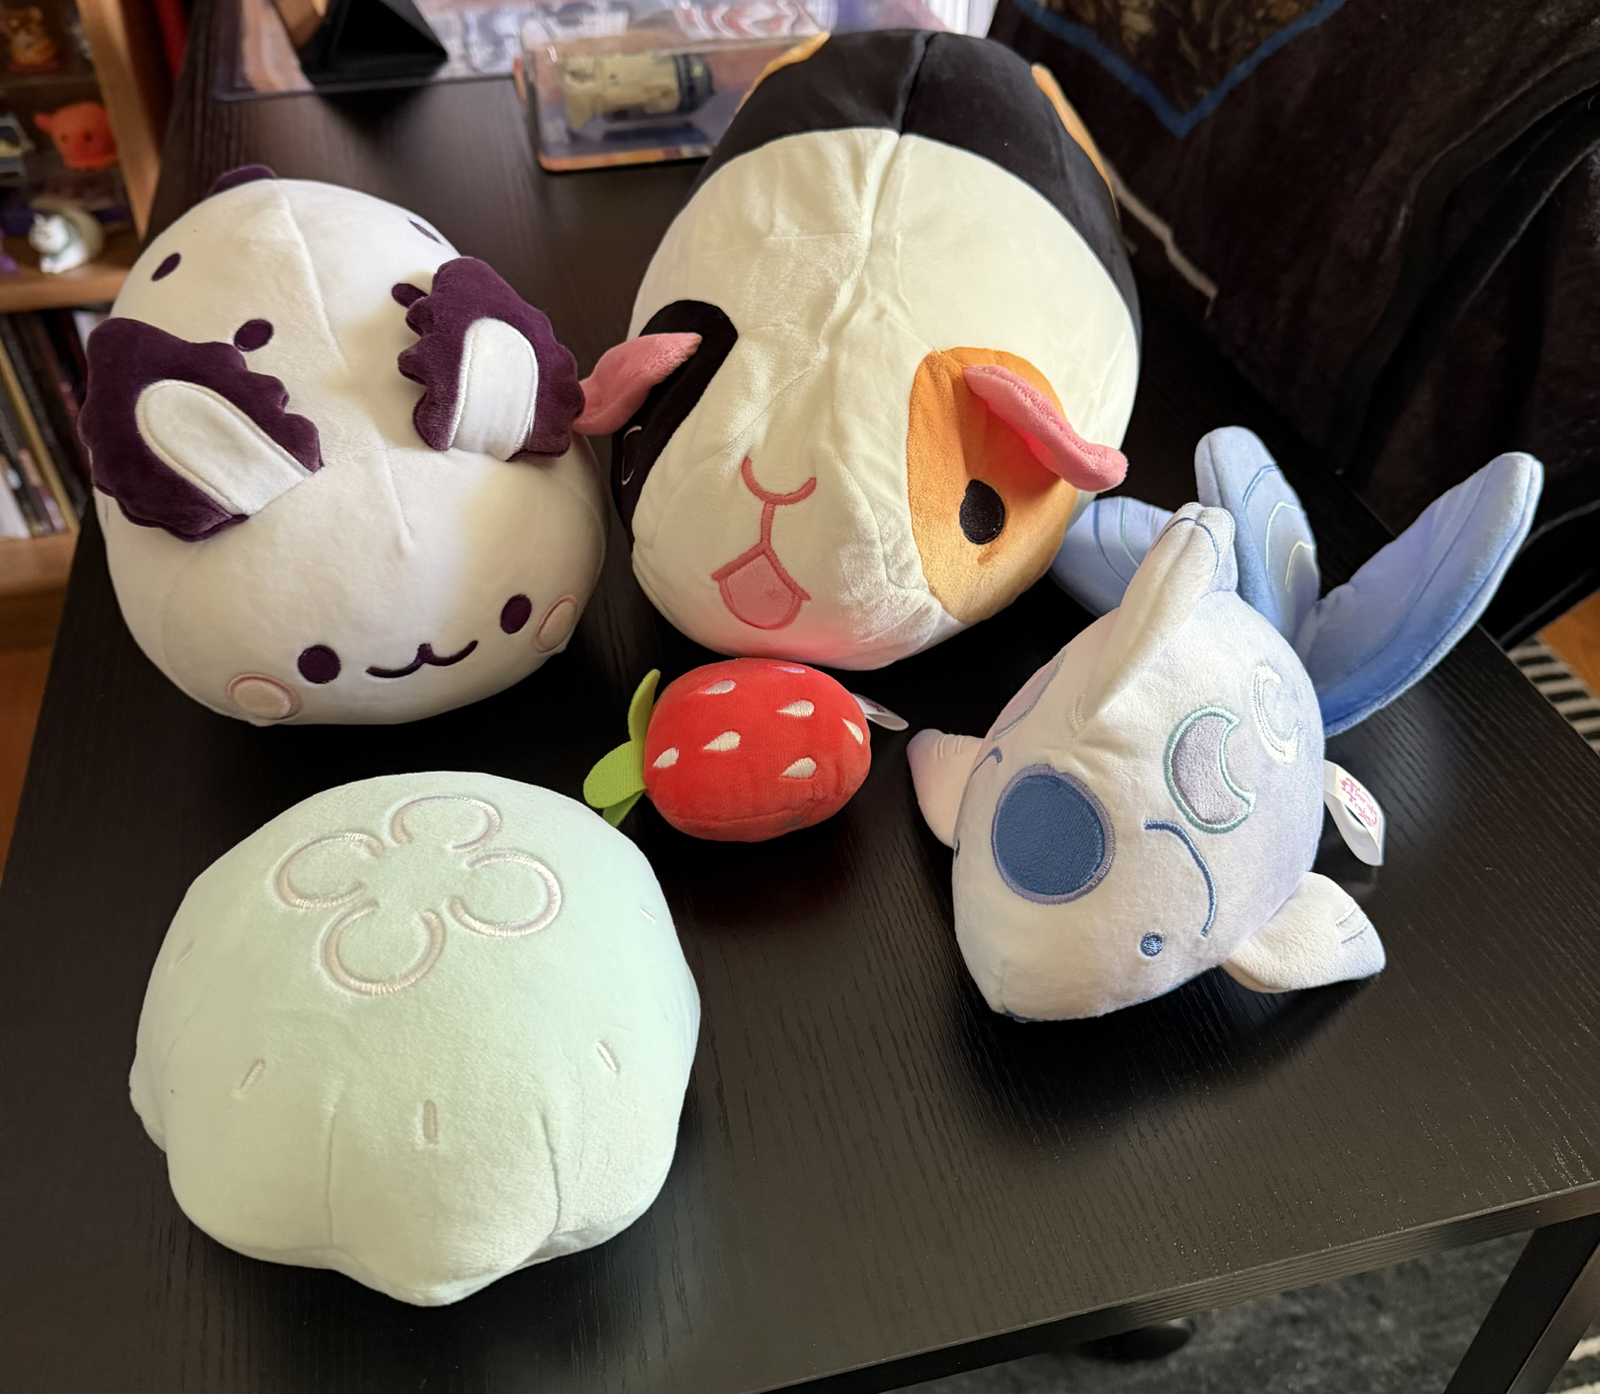
Kristin purchased these stuffed animals. The top left is a ‘sea bunny’ and the bottom left a jellyfish. The guinea pig has a magnet in his mouth so he can ‘eat’ the strawberry!

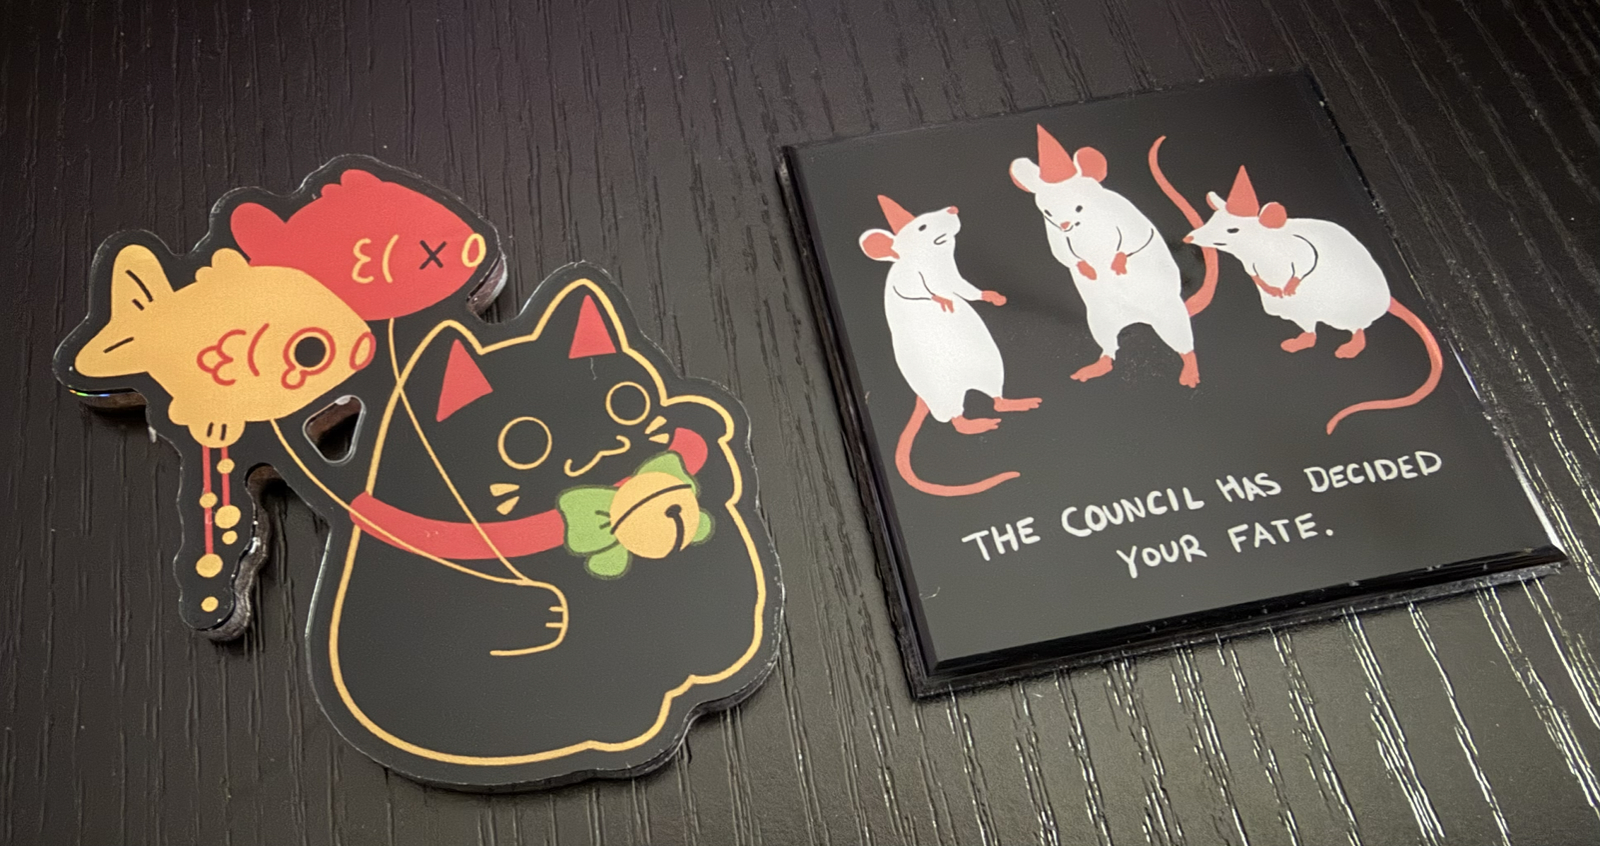
A couple of magnets.

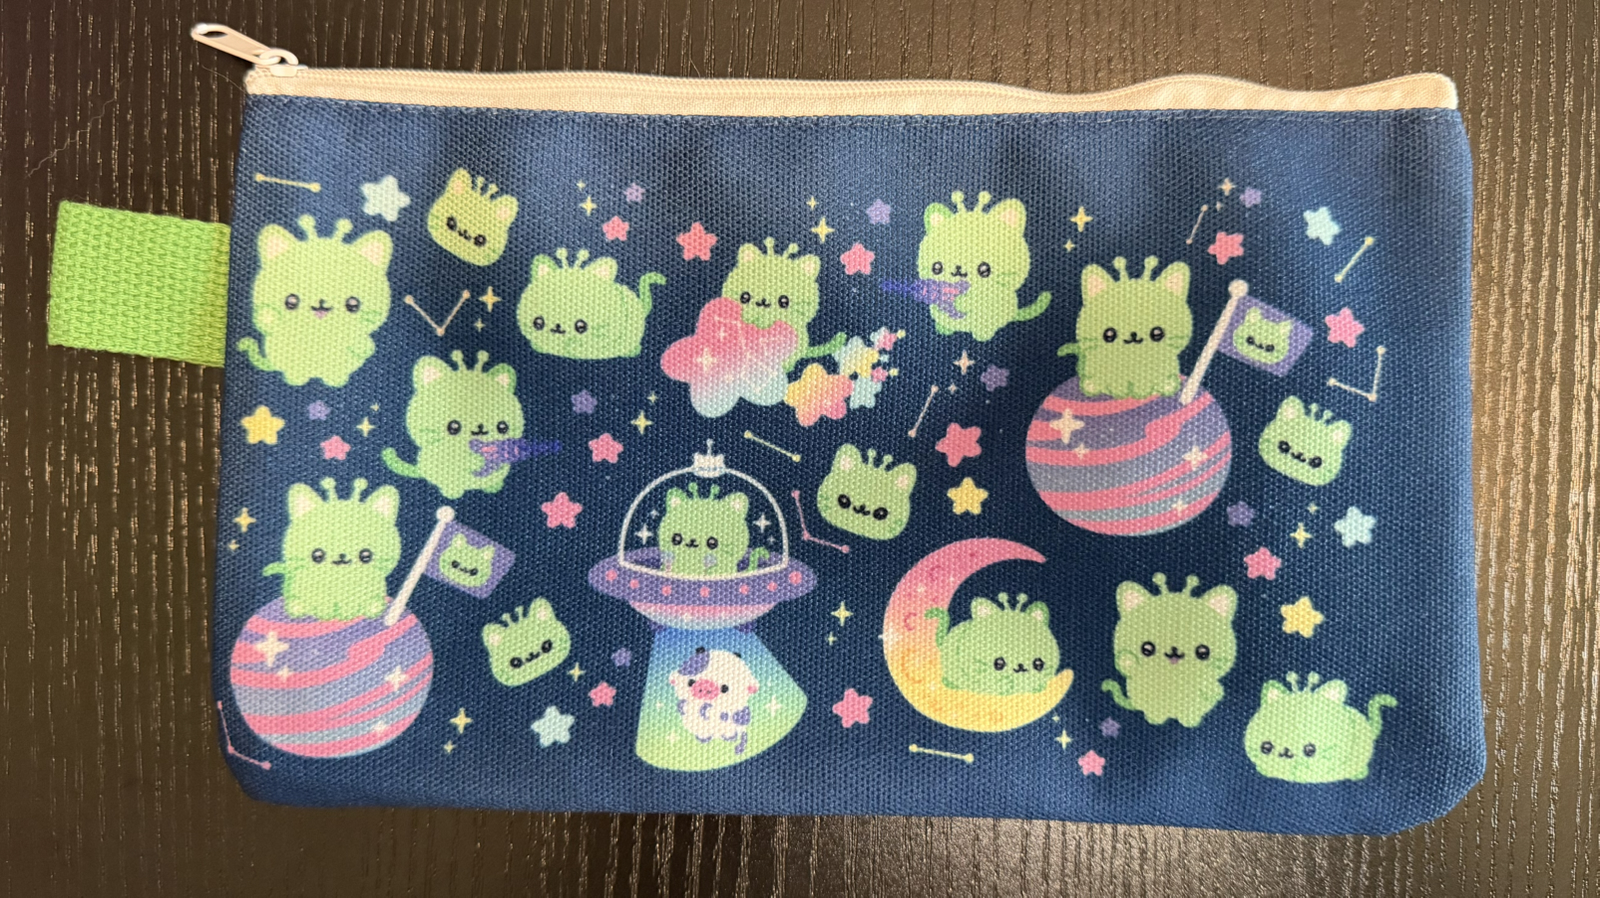
A pencil case. This is very high quality, and the seller had several different designs that were all great.

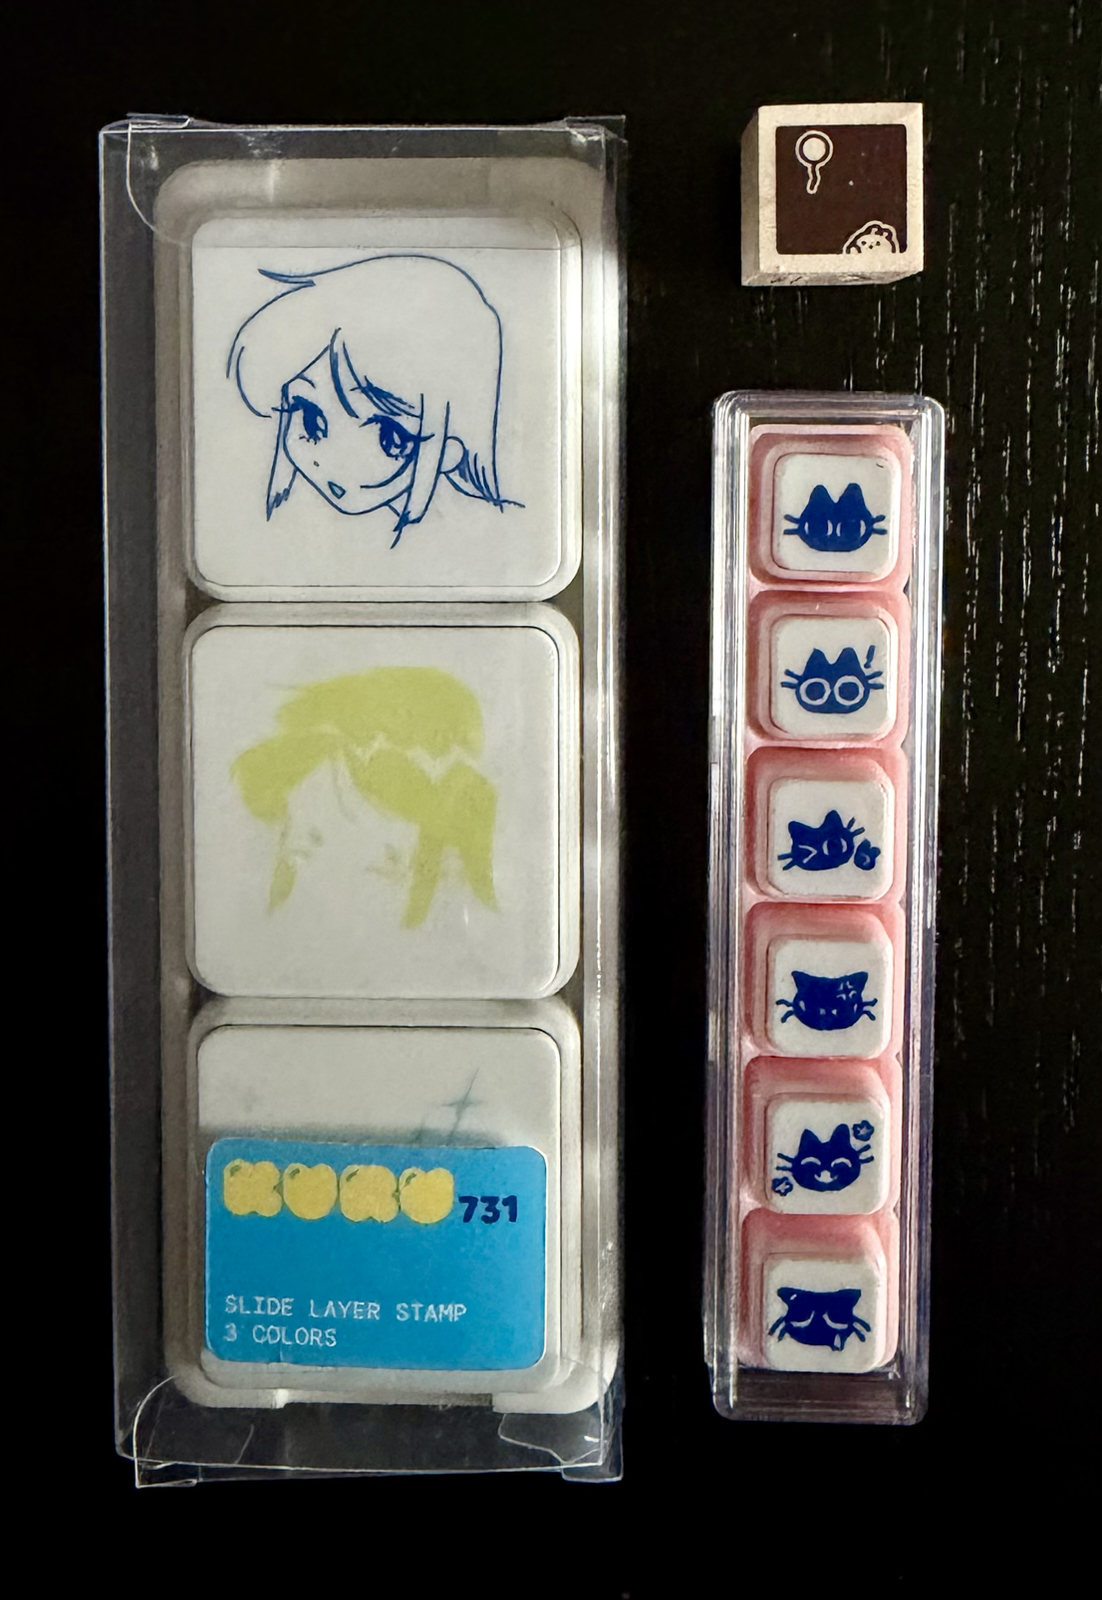
I was very surprised to see rubber stamps, and astonished to see the set on the left which uses three stamps to make a coloured impression. I used it on a few postcards and it’s a bit tricky to get it looking perfect, but I’ll get better with practice!

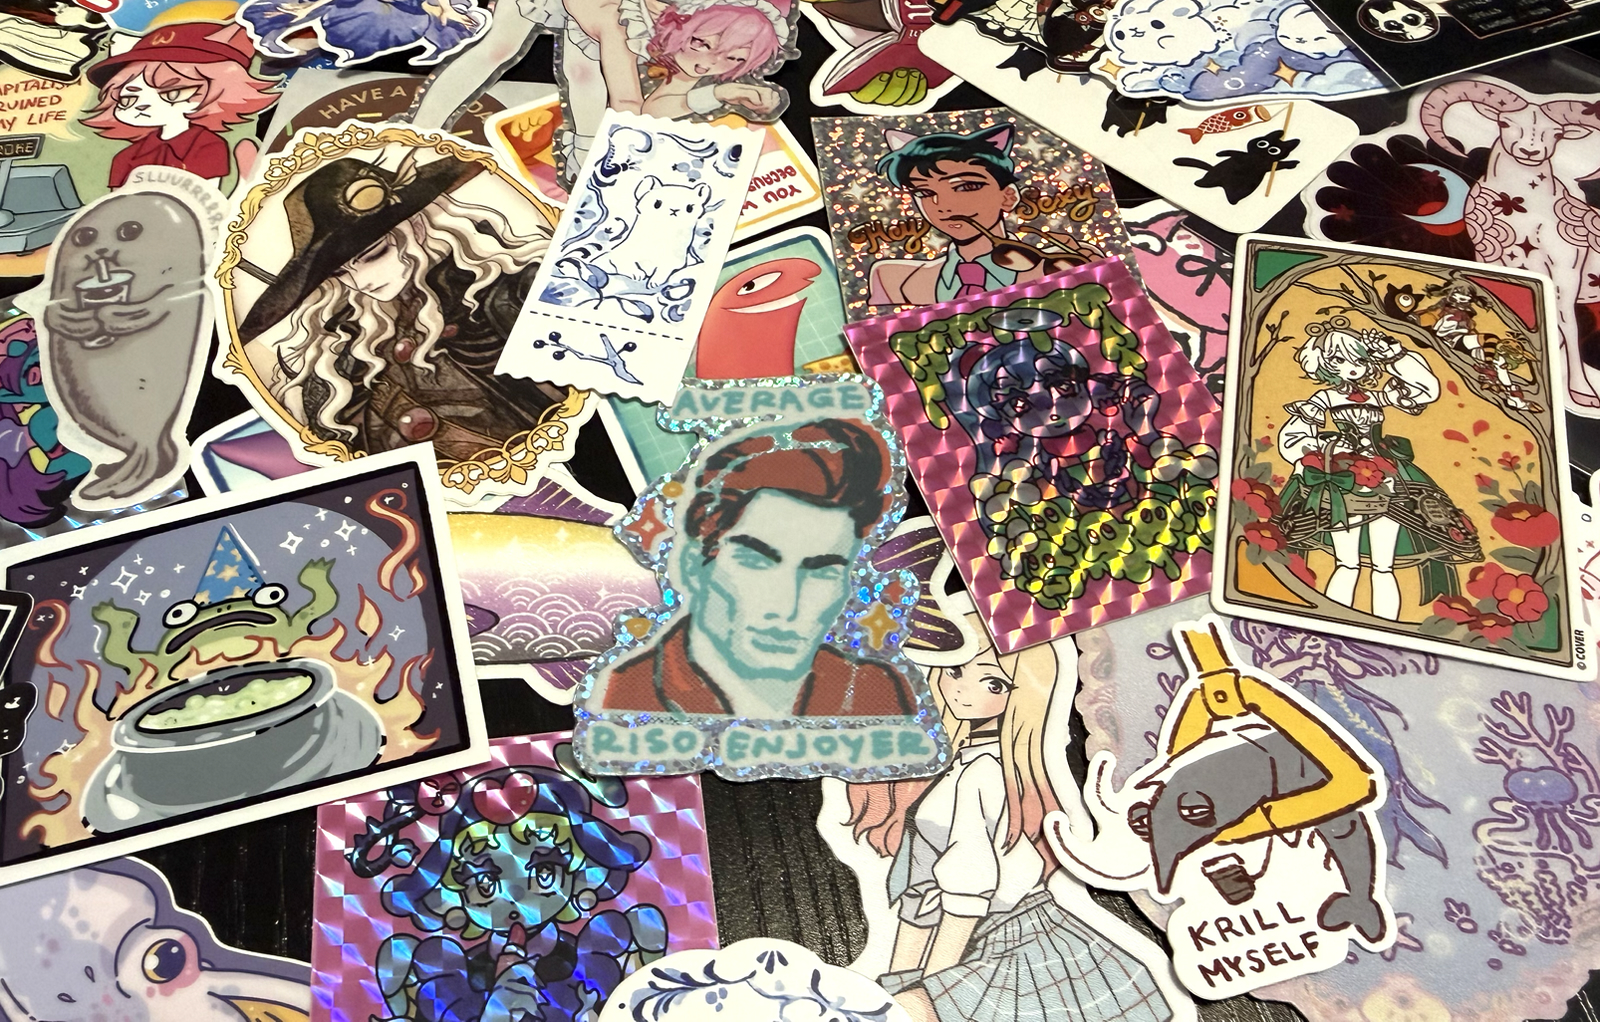
We bought more stickers than anything else, and this is only a selection of them. From what I’ve learned on YouTube videos, stickers are the best-sellers at most booths, and the selection is usually massive.

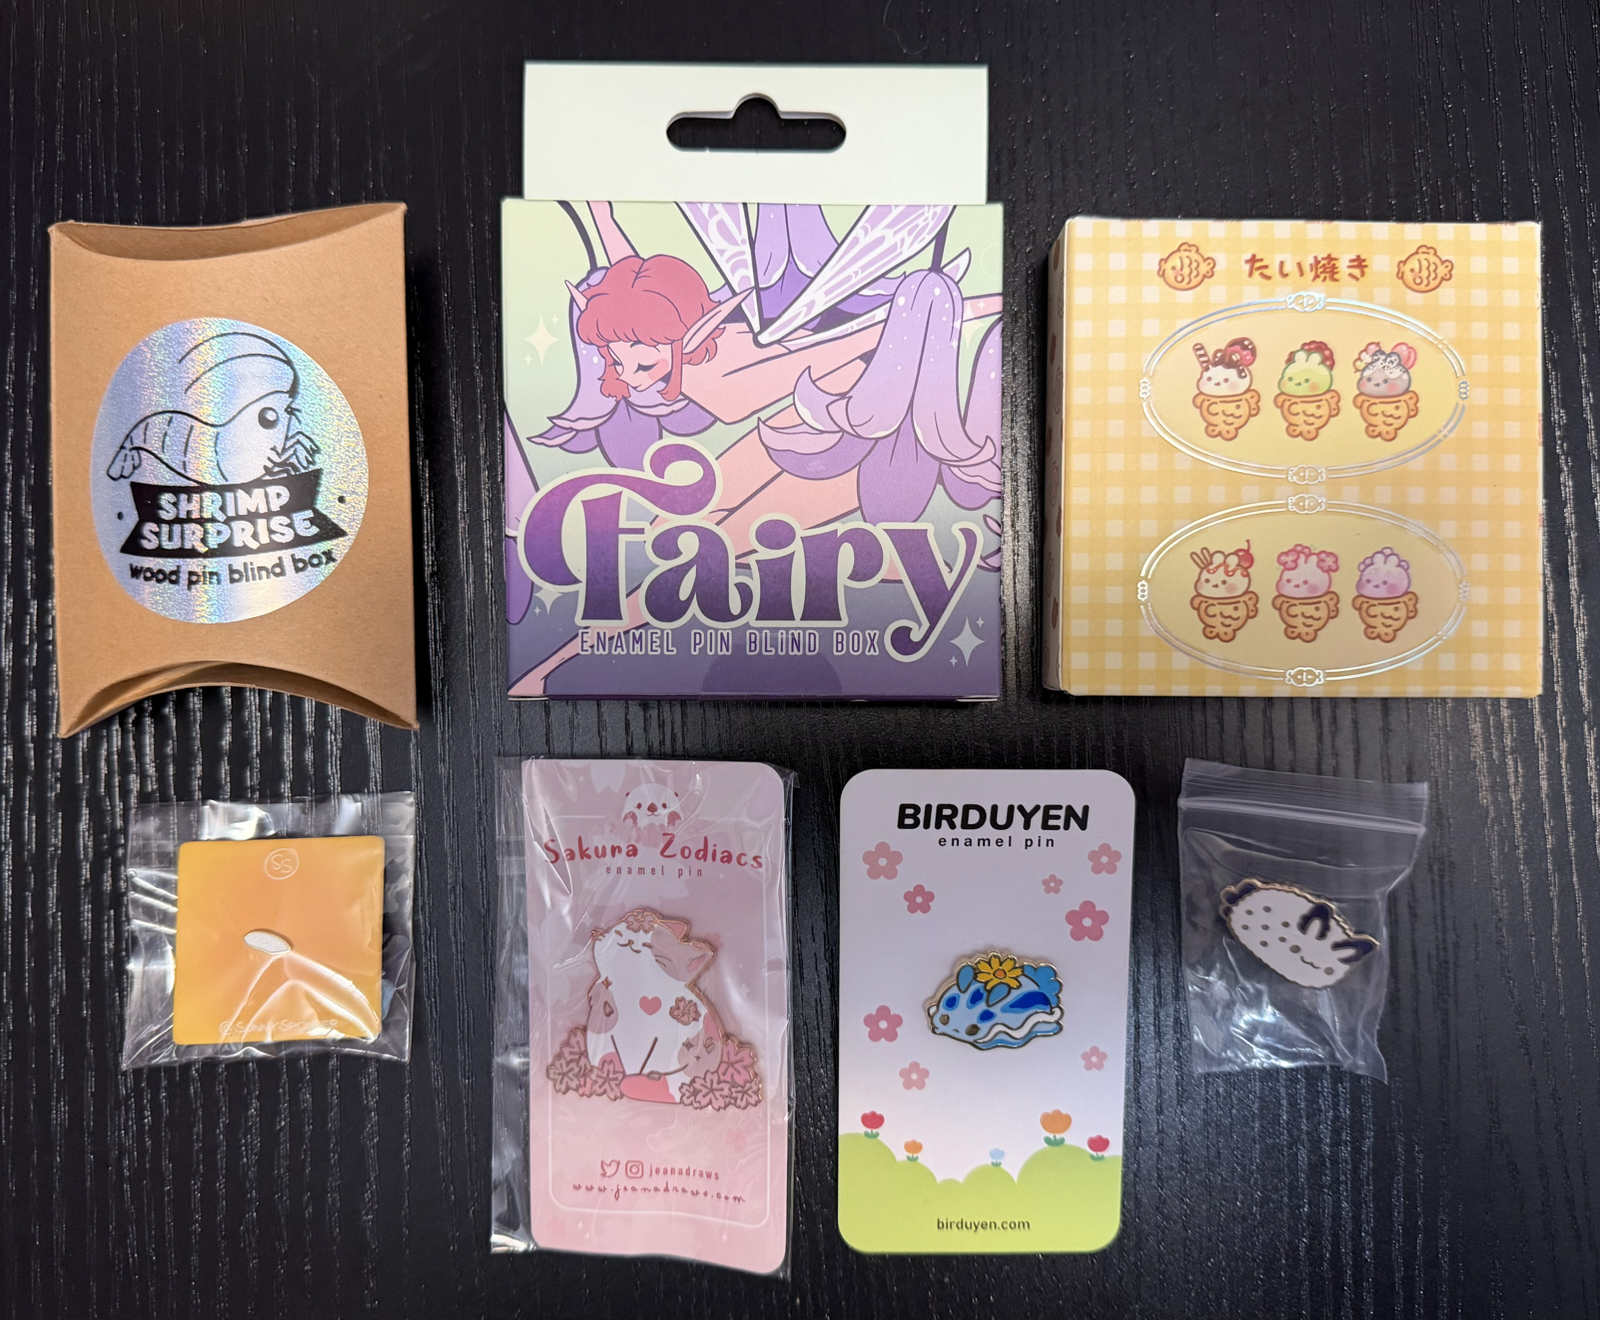
These are metal pins, and the three at the top are blind-boxed (and not yet opened). Pins also sell very well for the artists, and as with stickers there is an enormous variety. Some can get very big, and equally expensive!

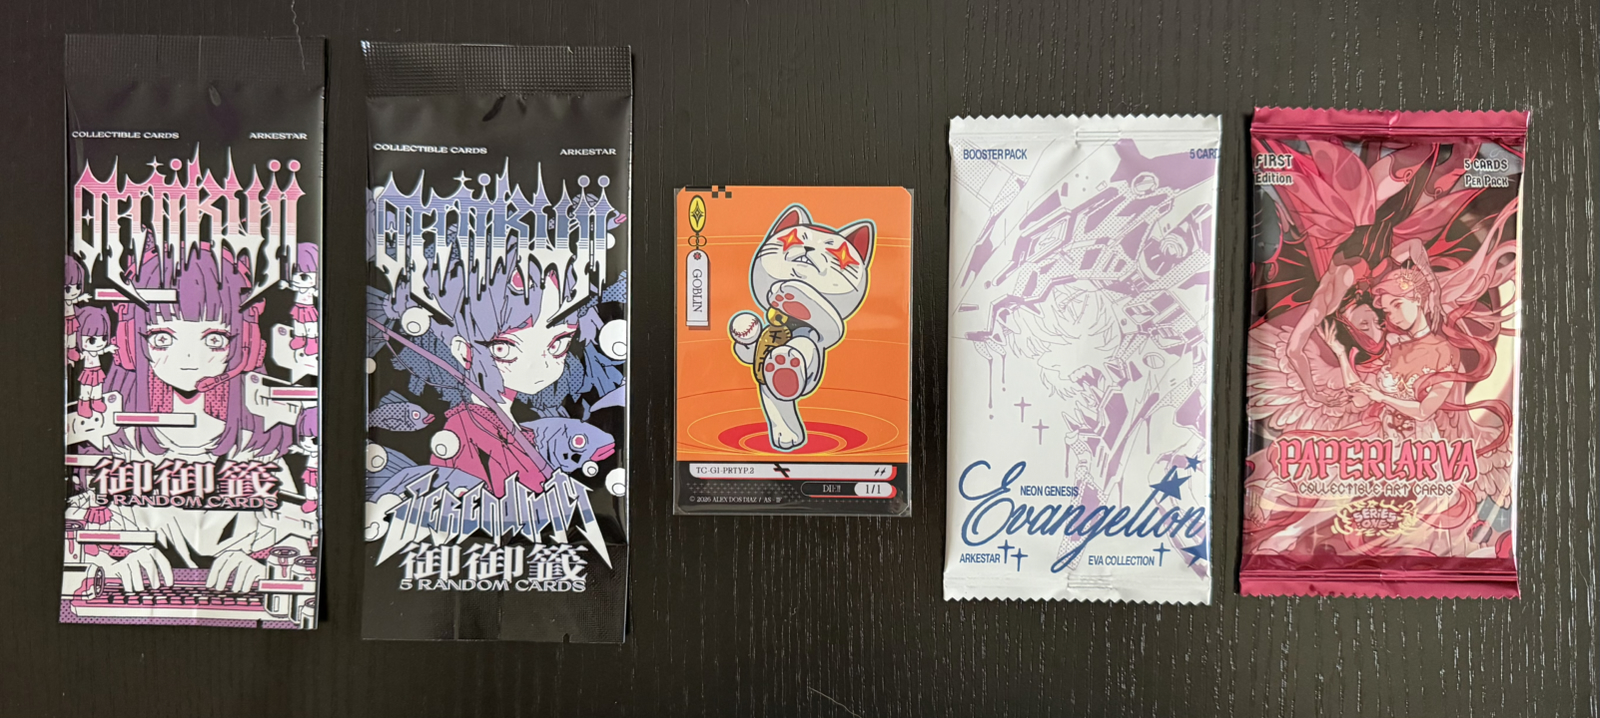
Another surprise this year were the indie trading cards. I bought four different packs, and they all have a few cards inside drawn from a set of several dozen. The cards are very fancy with foil and etching, but I’ll let these packs ‘age’ a while before opening. I saw 8 different sets of trading card packs for sale, and the ones I skipped were indie TCGs inspired by Pokemon.

The orange card in the middle is a Magic The Gathering proxy token using a character from an anime series (DanDaDan). Several artists sold MtG proxies, which is something I don’t recall seeing last year.

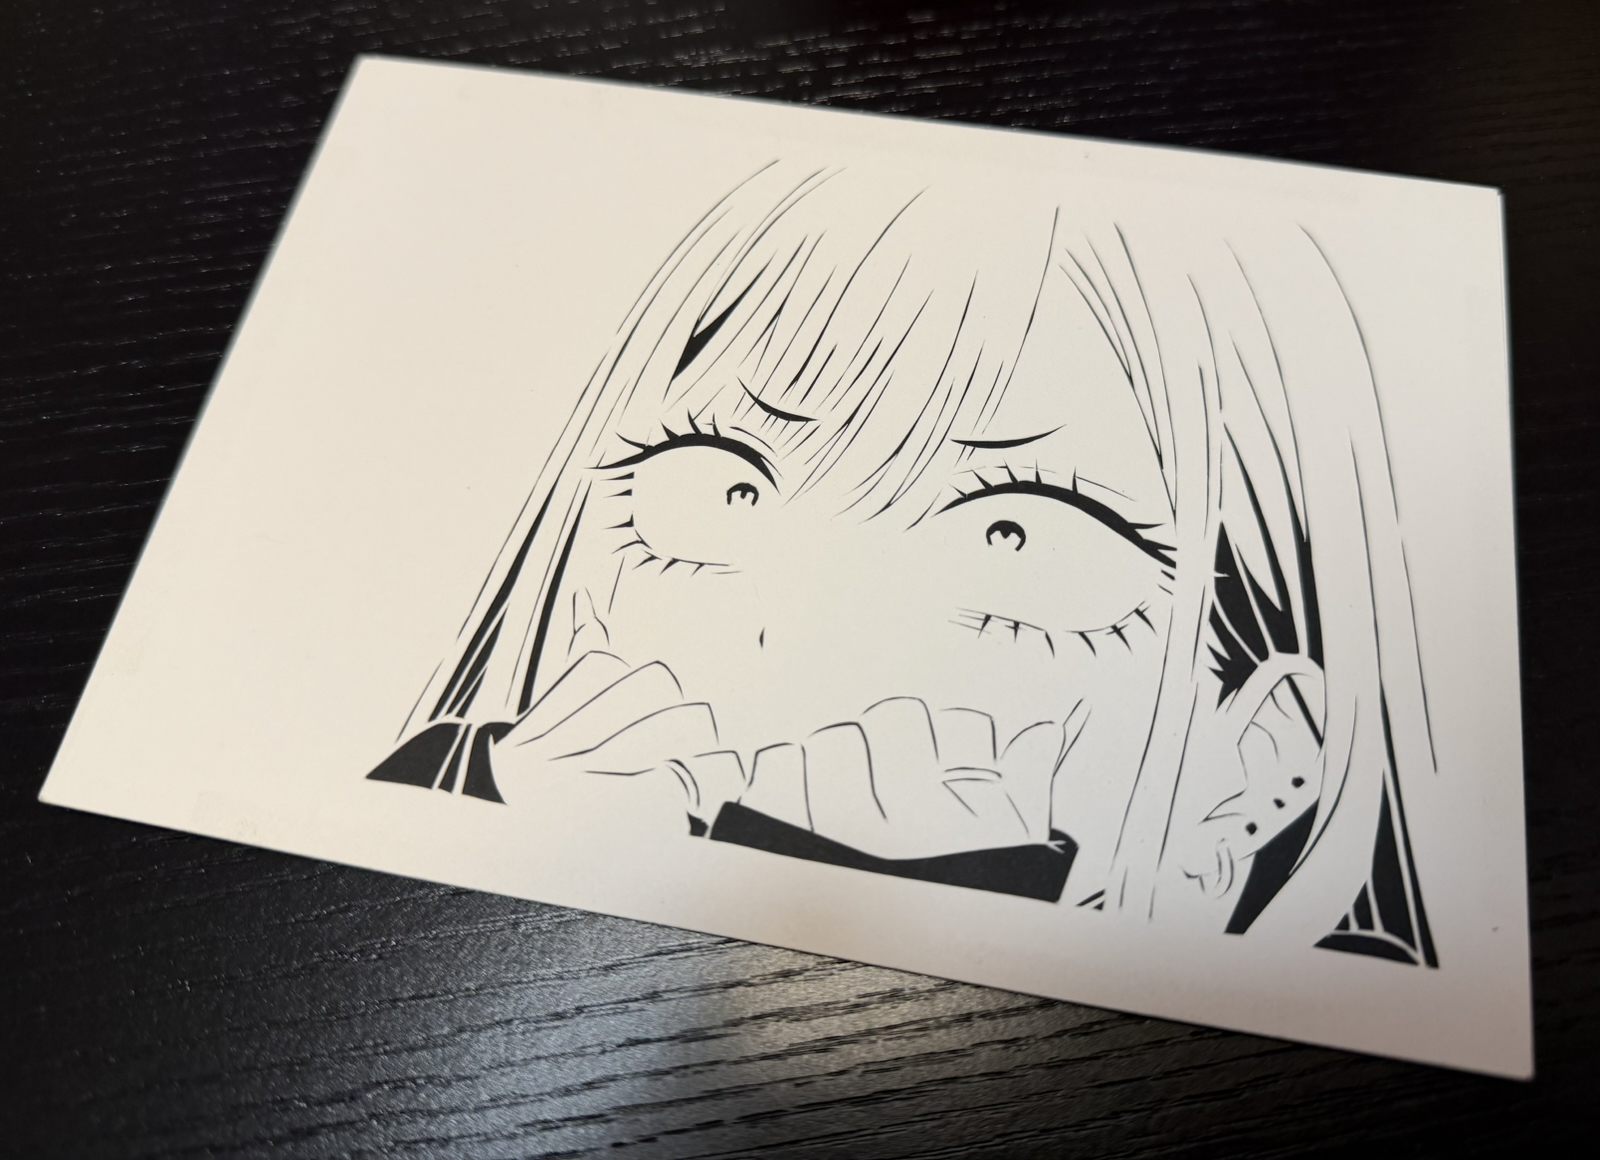
This was purchased from the same guy who hand carved the rubber stamps (that I mentioned in the previous entry). As a secondary hobby he hand-makes paper cut-out art of anime characters. All the black parts in the photo were carefully cut away using an exacto knife, and since this is a fairly small piece of paper (about 6 inches on the long side) the detail here is astounding. I’ll put a vibrant colour behind and frame this one!

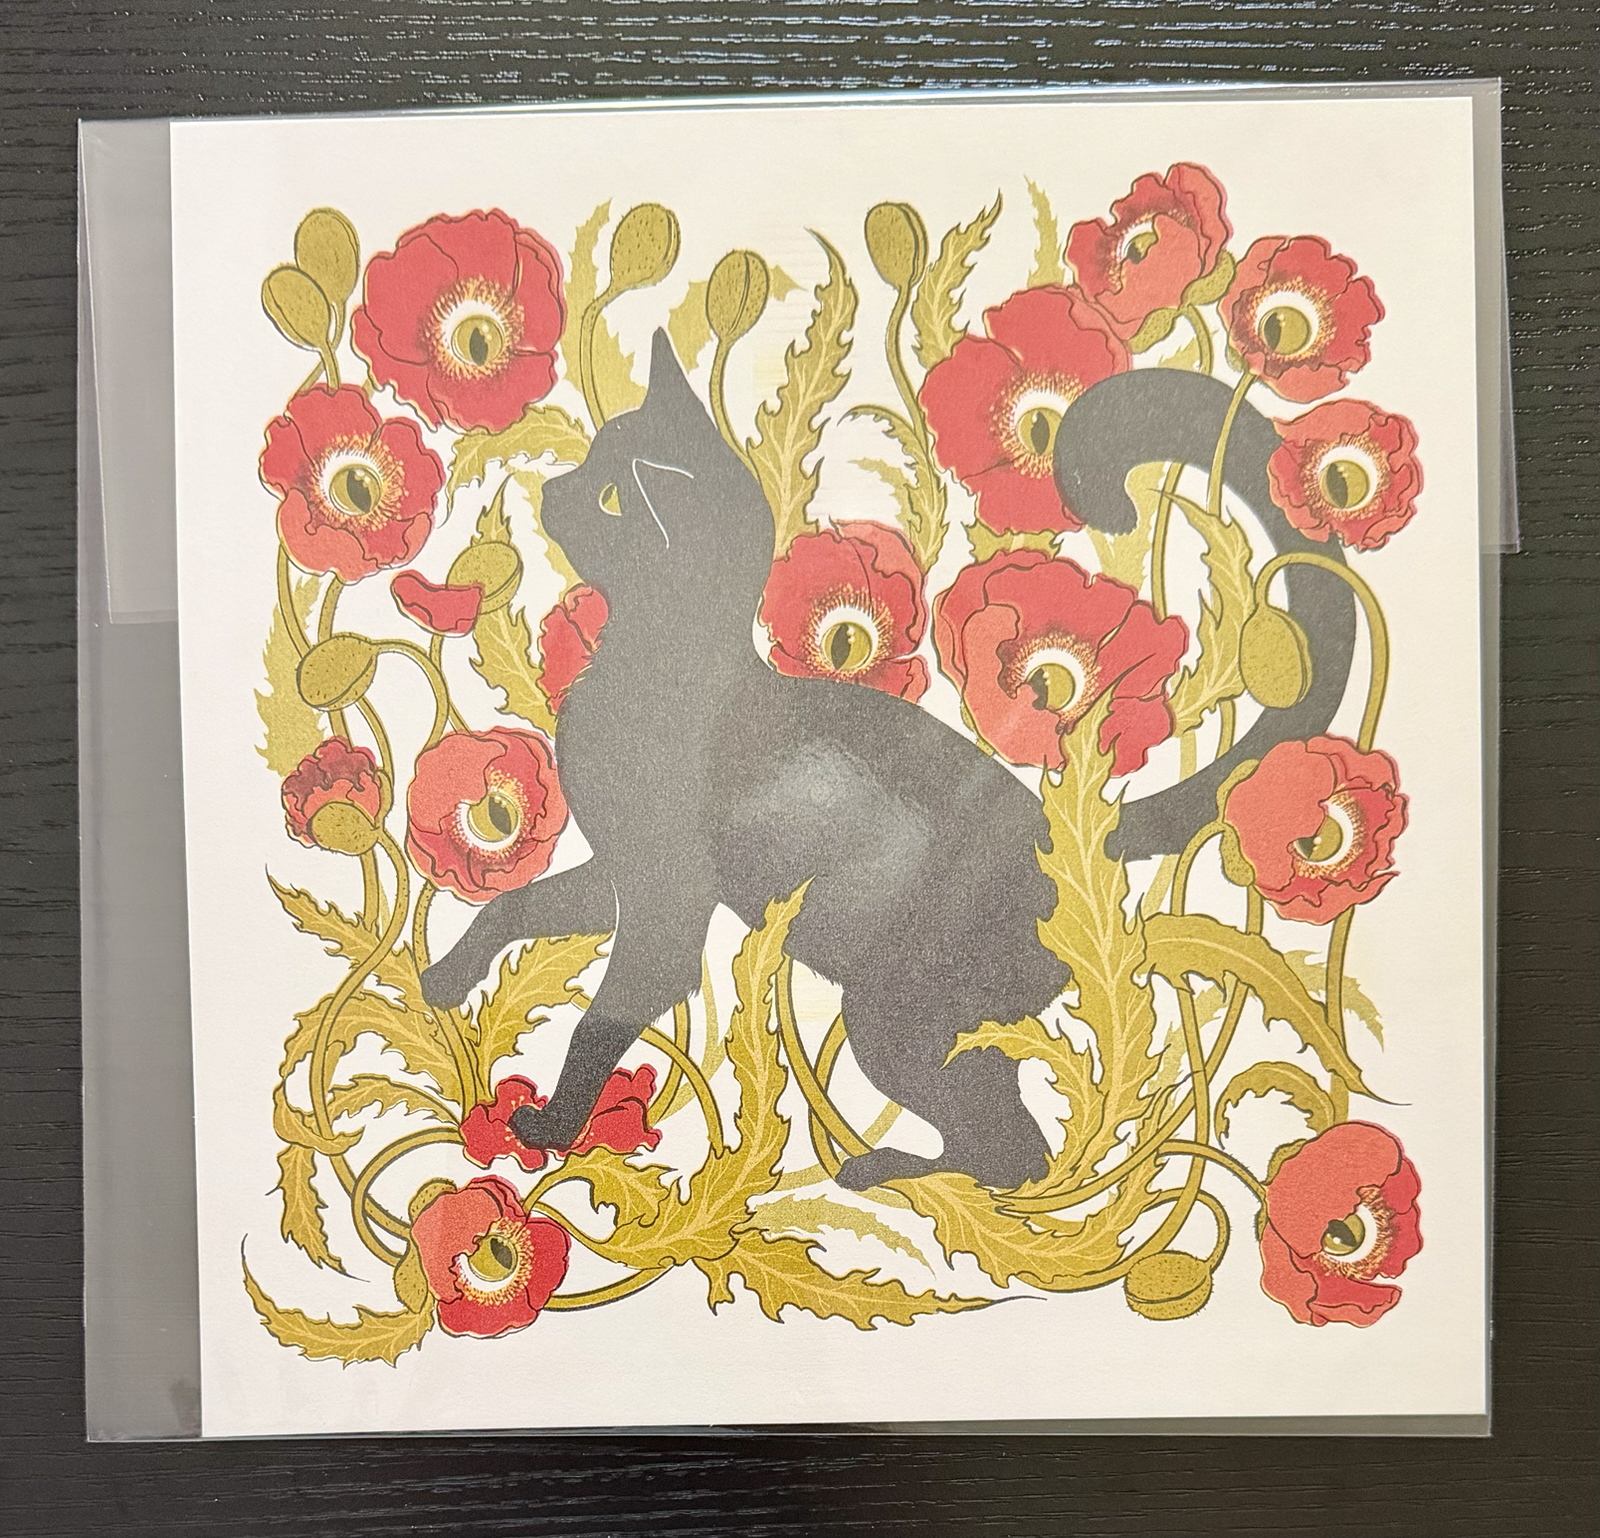
Kristin purchased six prints, all of which we’ll also frame and display. The first was this cat.

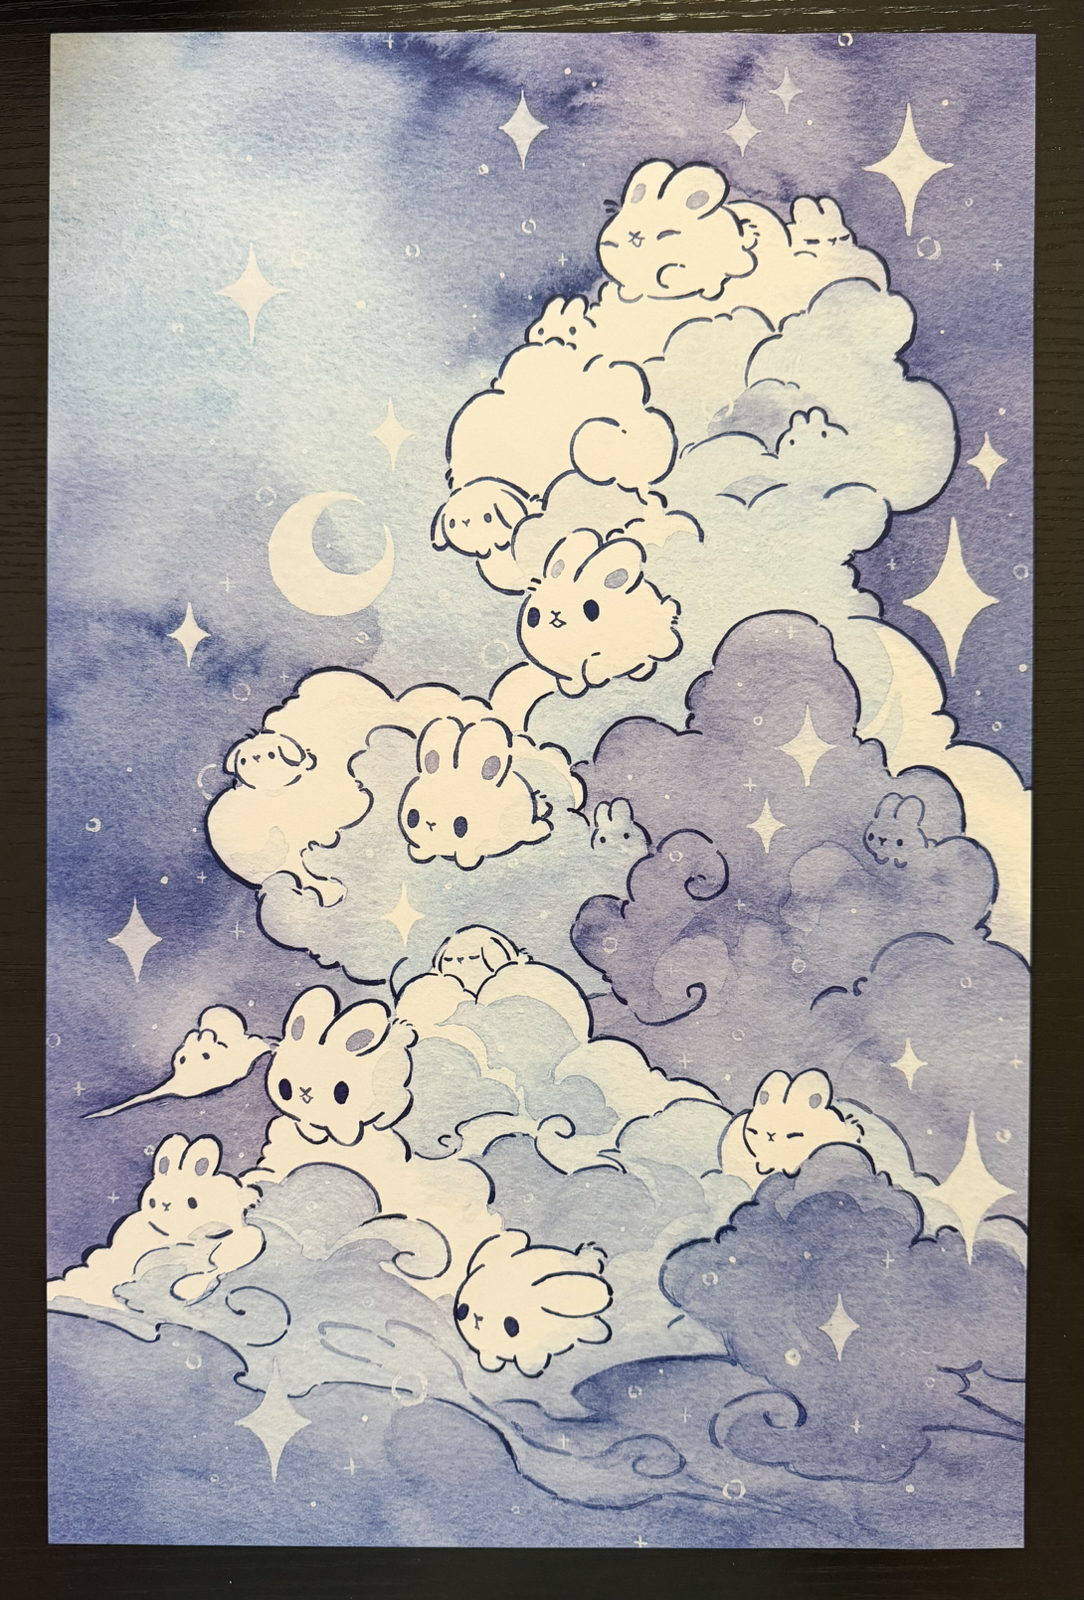
This watercolour (print) shows cute rabbits in the clouds. Almost every print sold by this artist was exceptional, and choosing just one was difficult.

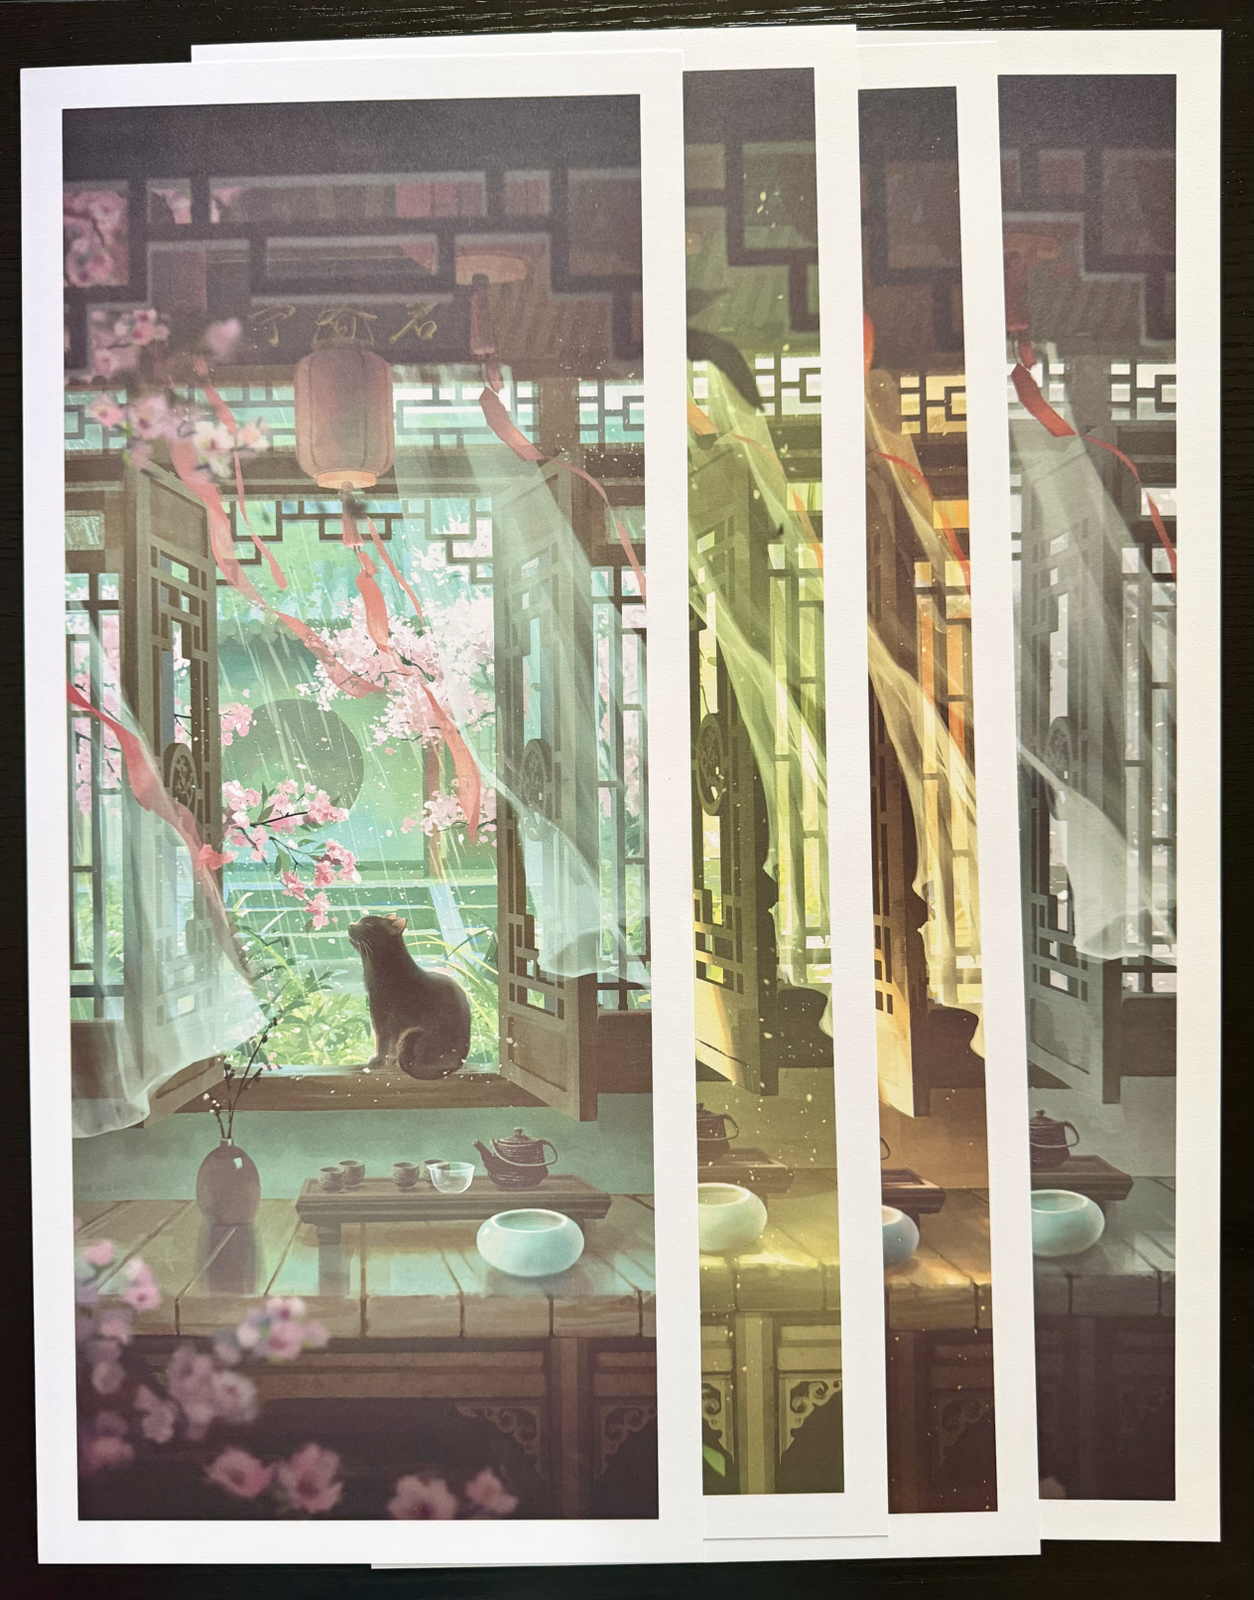
And lastly we have this set of four seasonal prints showing a cat in a windowsill. These are about two feet tall and it will be a challenge framing them and finding somewhere to display them!

This isn’t everything we got. I bought a lot of manga, an anime figure, four t-shirts and a few future gifts I obviously won’t spoil here. Our wallets got a workout, and it was only the available space in our suitcases that prevented us from buying more!

Barad-Dûr

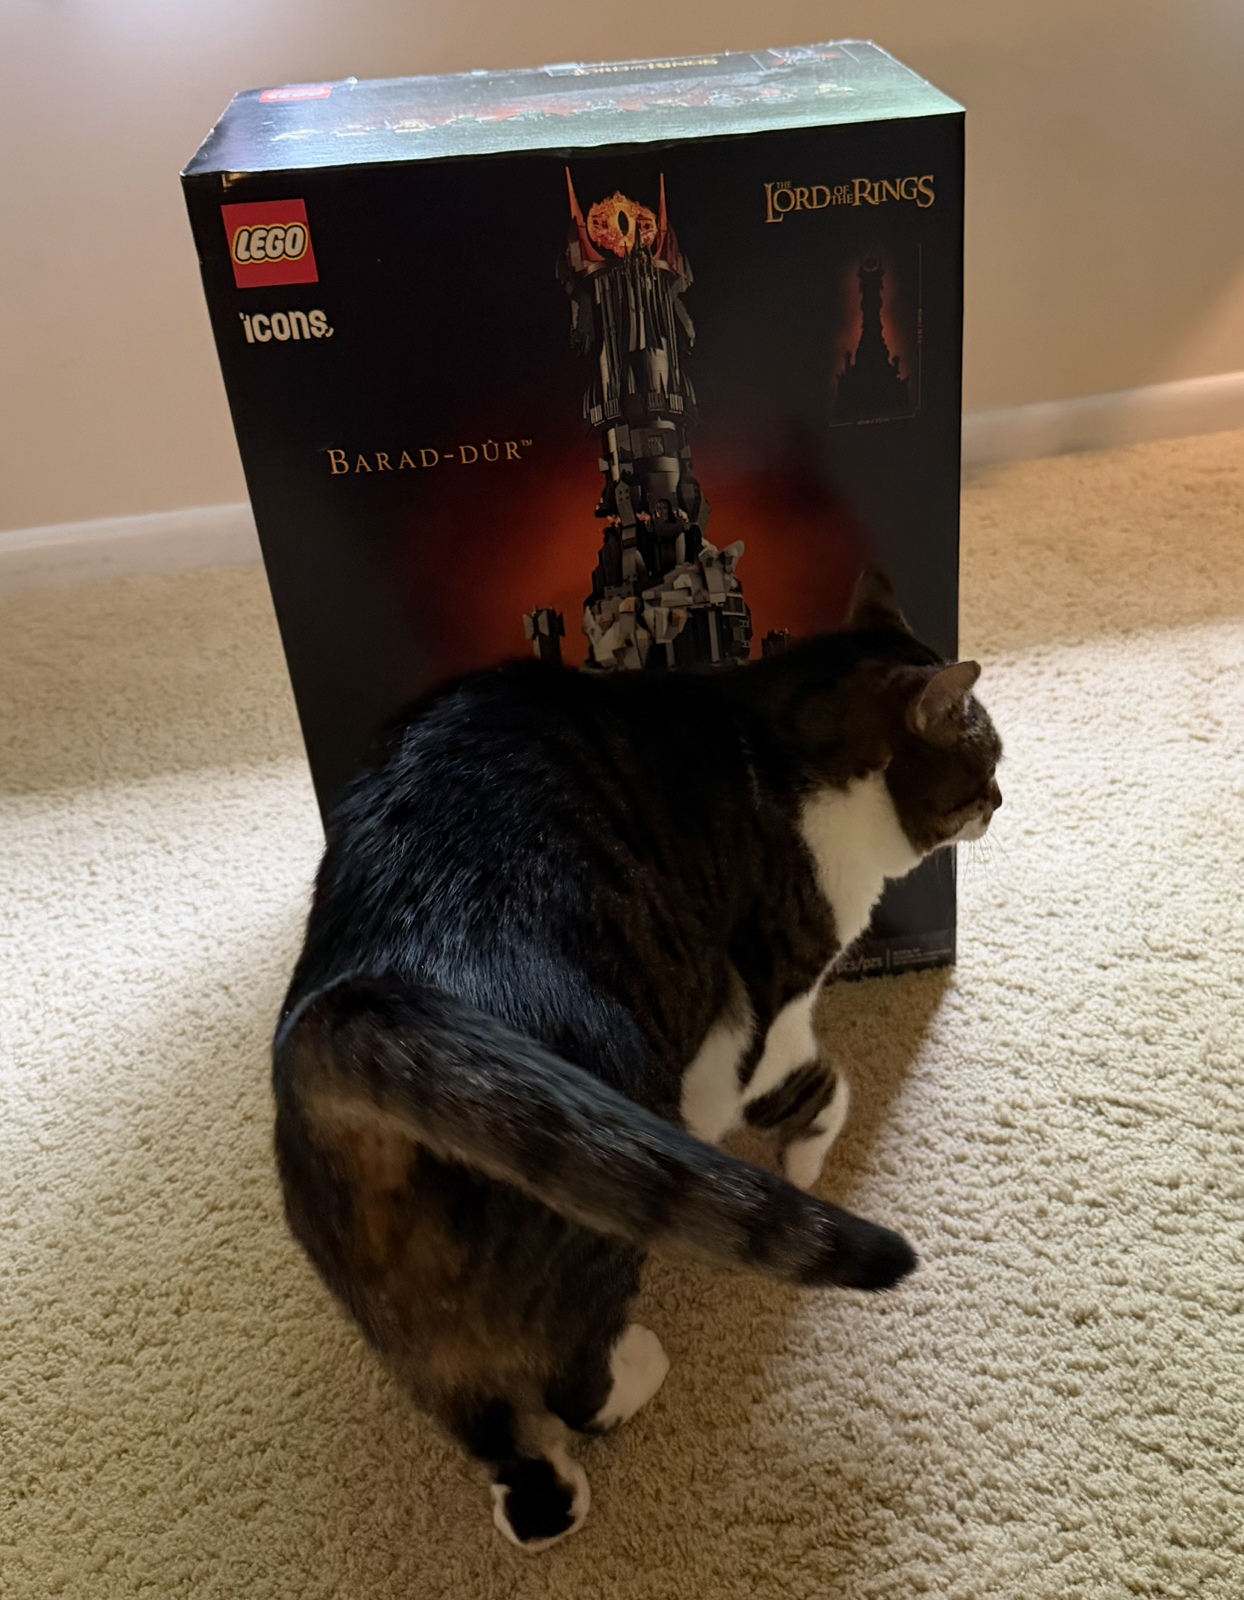
In Lord Of The Rings, Barad-dûr is the tower fortress of Sauron. Taller than any structure built by man, it stands in Mordor near Mount Doom and at its peak The Eye Of Sauron endlessly scans Middle Earth looking for The One Ring. It’s the domain of ultimate evil, and it was time for me to build my own:

This is another monstrous set, and since Rivendell is my favourite LEGO build of all time I wanted this one as soon as it released. And bought it I did, although that was two years ago and it has sat on a shelf all this time waiting!

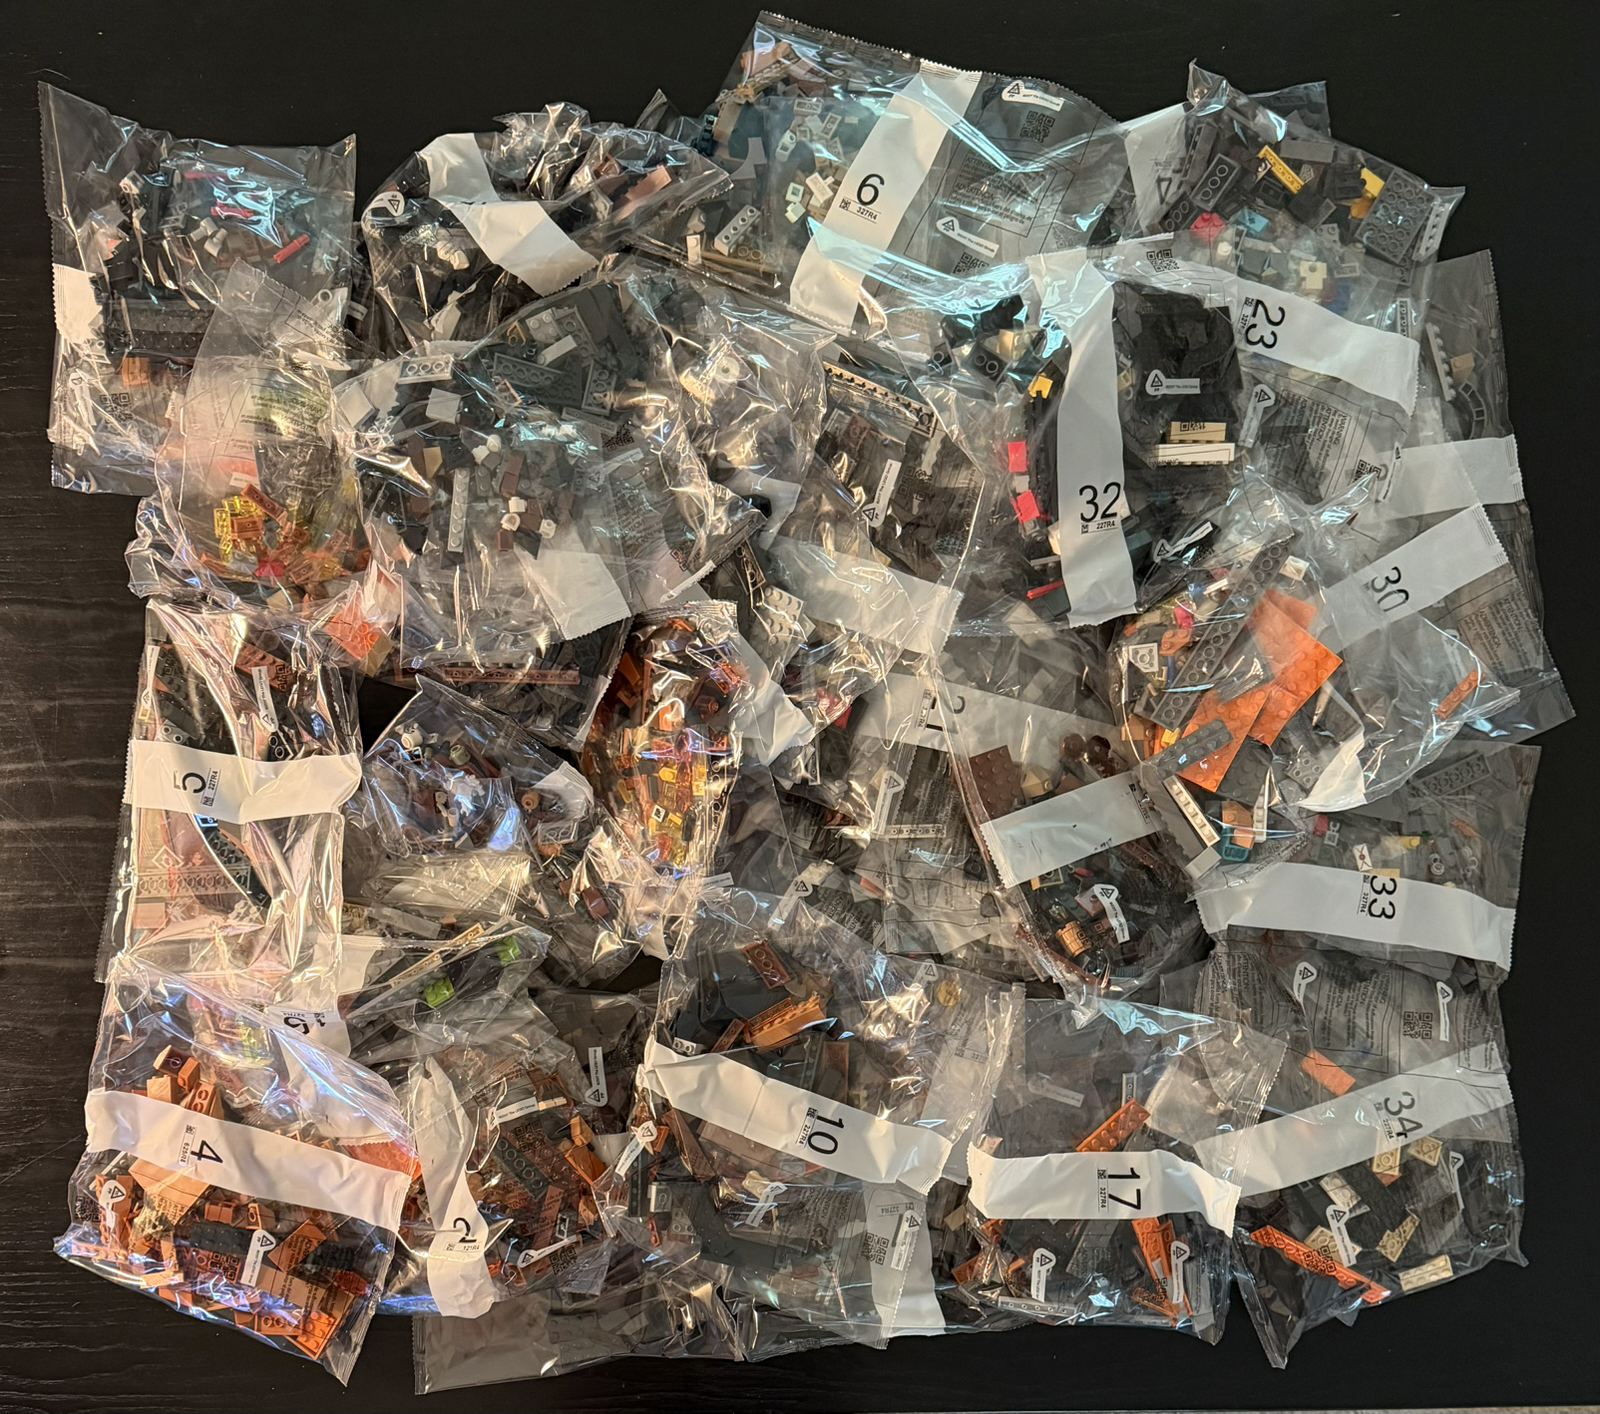
The 5400+ pieces came in exactly 40 bags which I’ve needed to pile two deep to fit them all in the above photo.

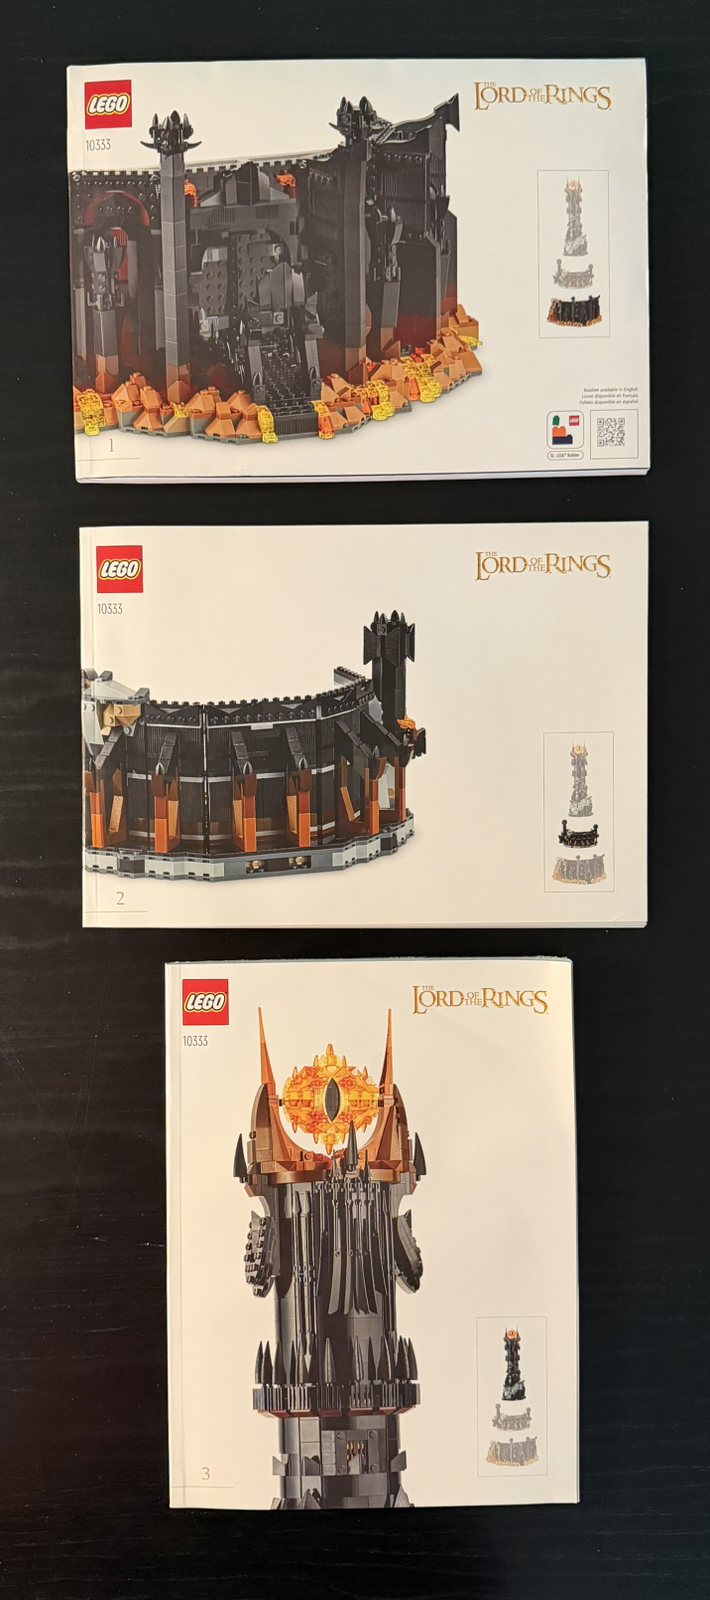
The tower is built in three parts with separate instruction books. In total; there are 1003 steps across the collective 620 pages of instructions!

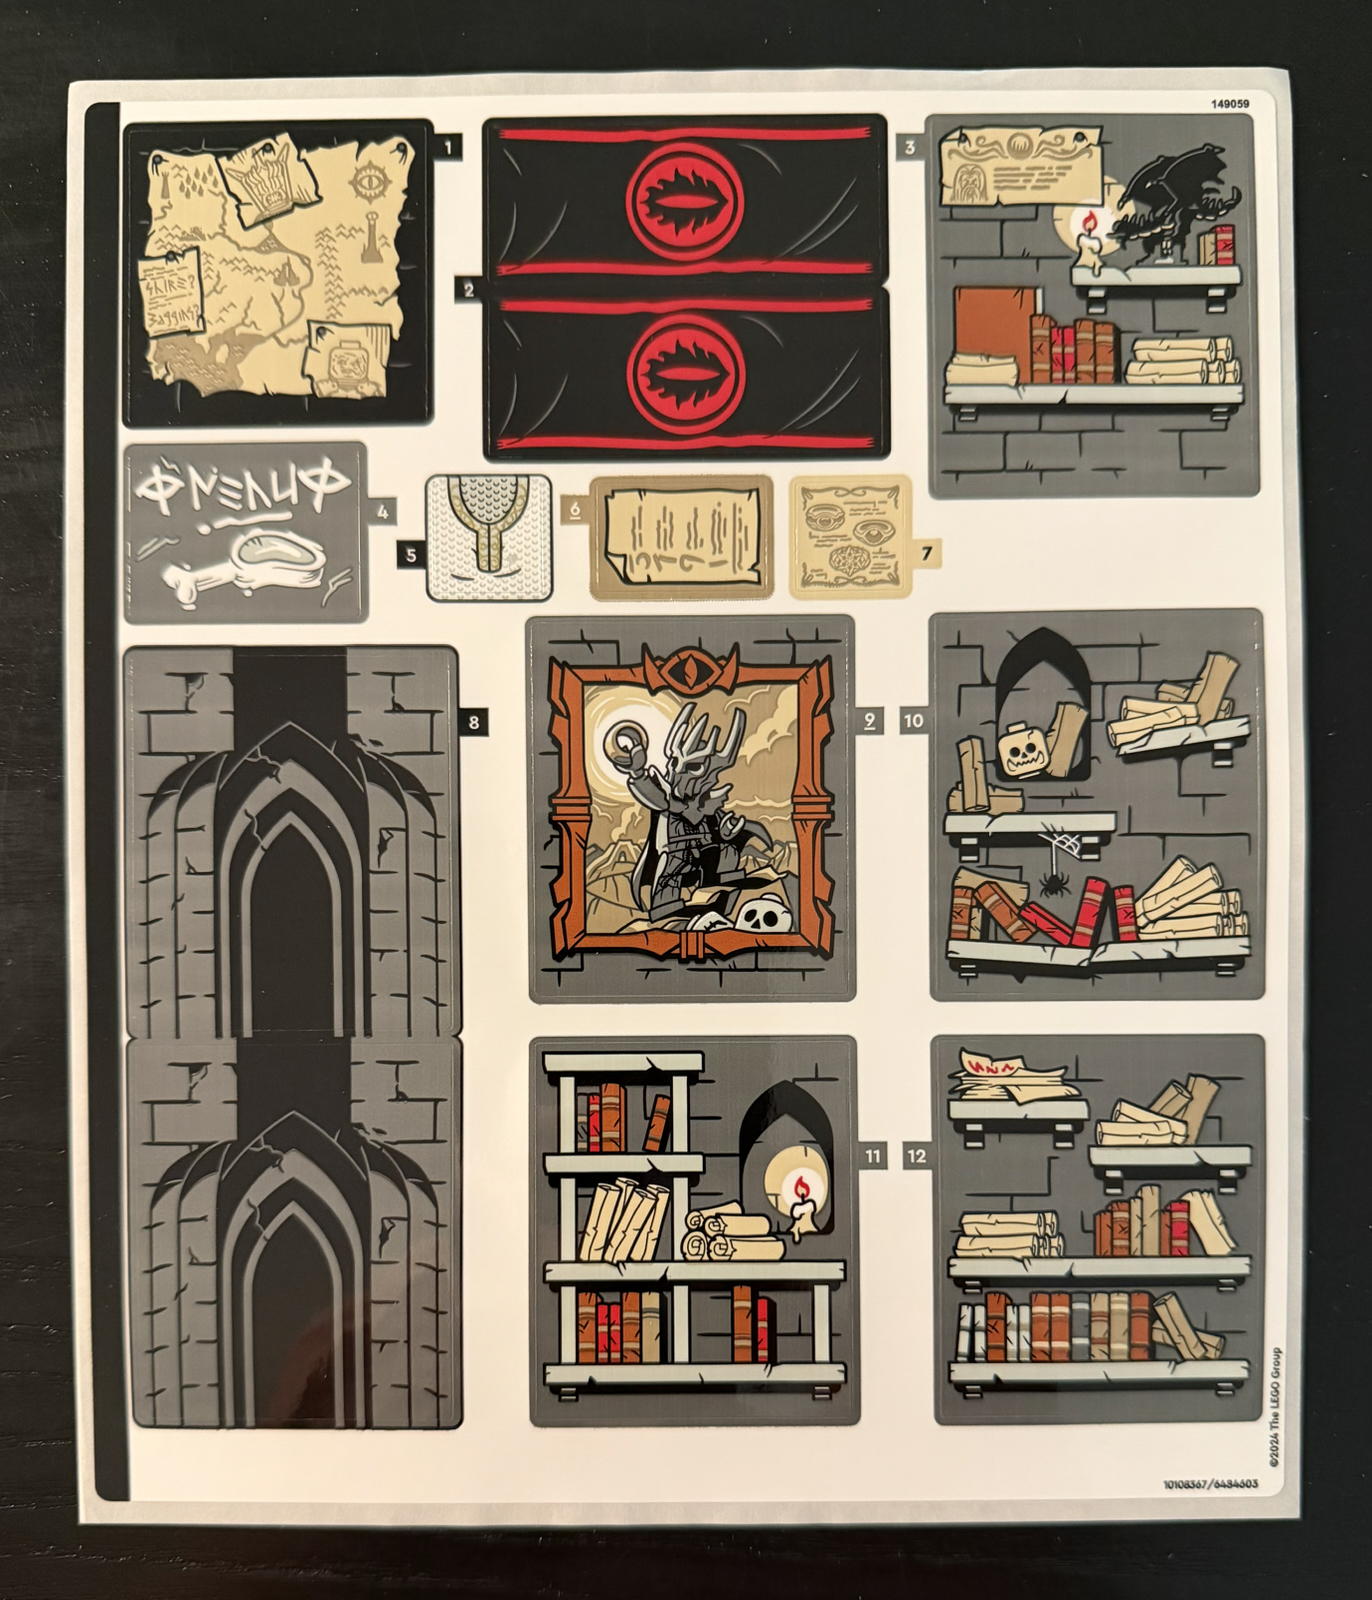
Disappointingly, the set also came with a sticker sheet. No one likes LEGO stickers, and for a $460 set their inclusion is ridiculous. Most of these were placed on curved pieces, and apparently LEGO doesn’t yet have the technology to directly print onto curves.

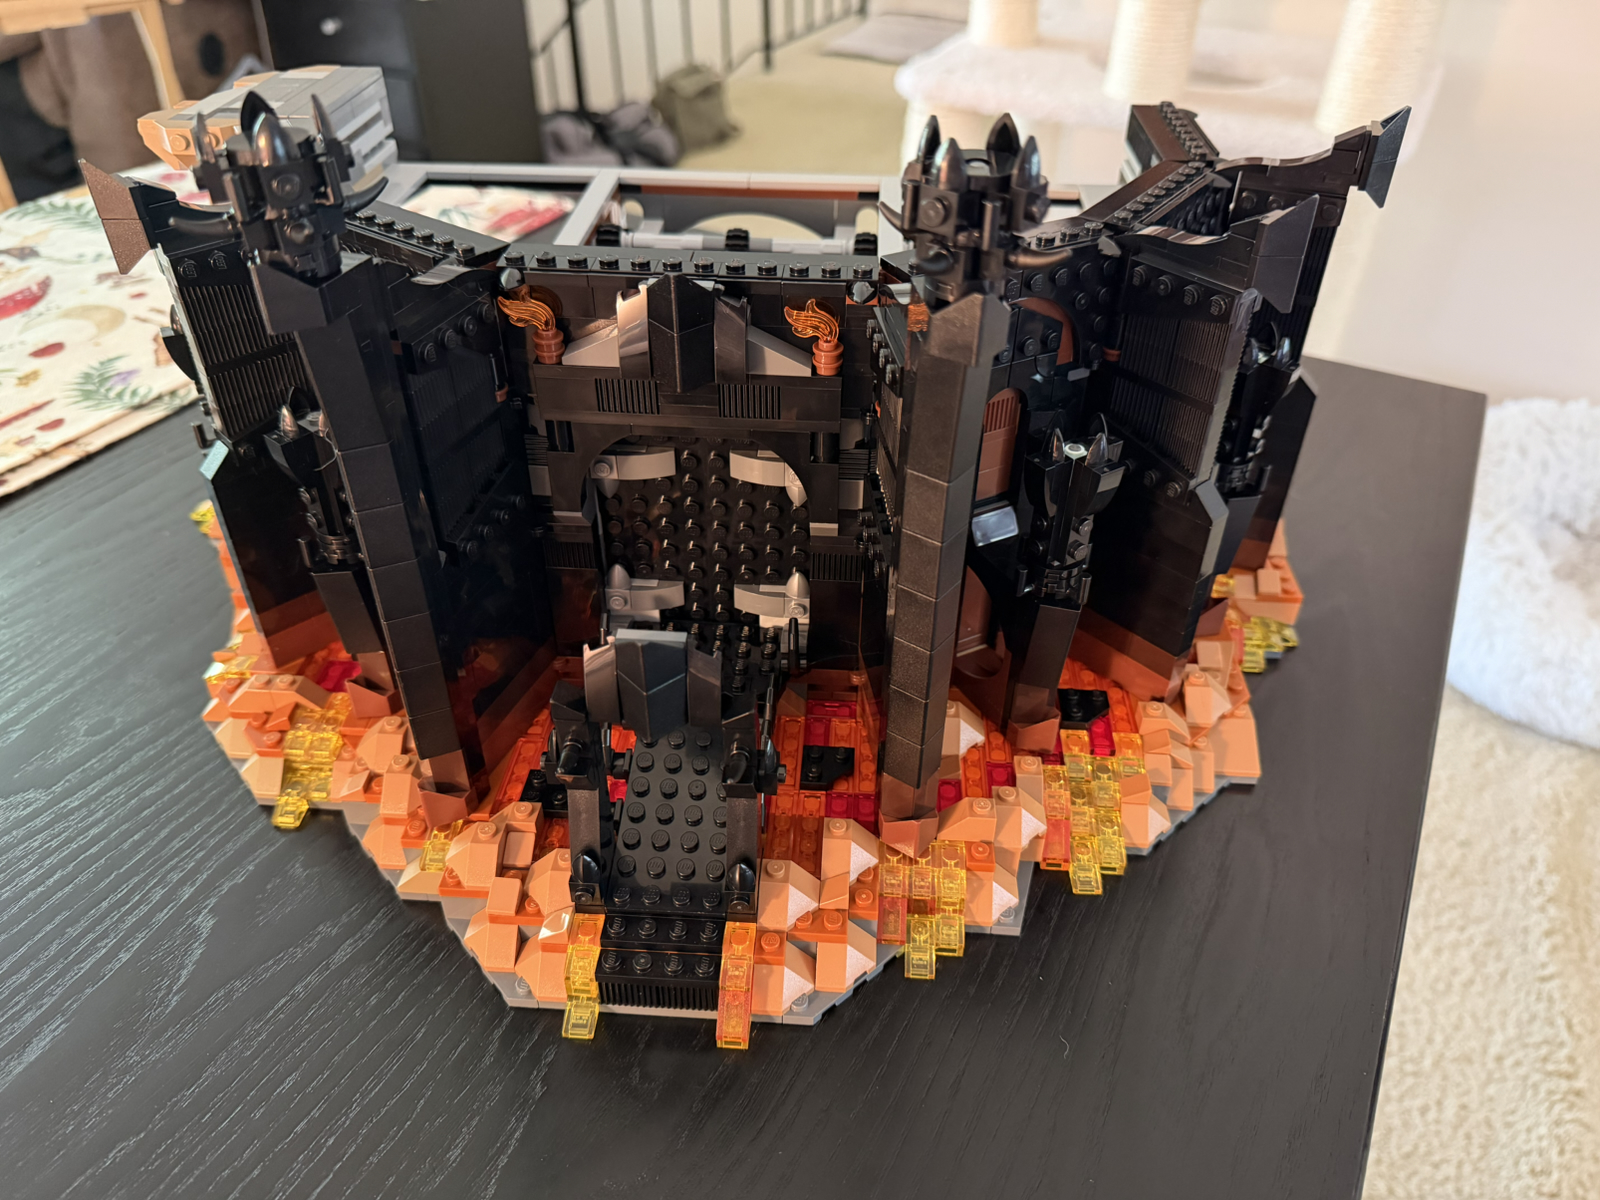
The first instruction book is the base of the tower and uses about half of the bags of pieces. There’s a lot of detail here both inside and out, with doors that open via a hidden switch, a secret compartment where Gollum hides, and various items to furnish the interior for its wicked inhabitants. The angled walls are achieved using clever building techniques and are strongly reinforced, which is a good thing considering the size of the finished tower.

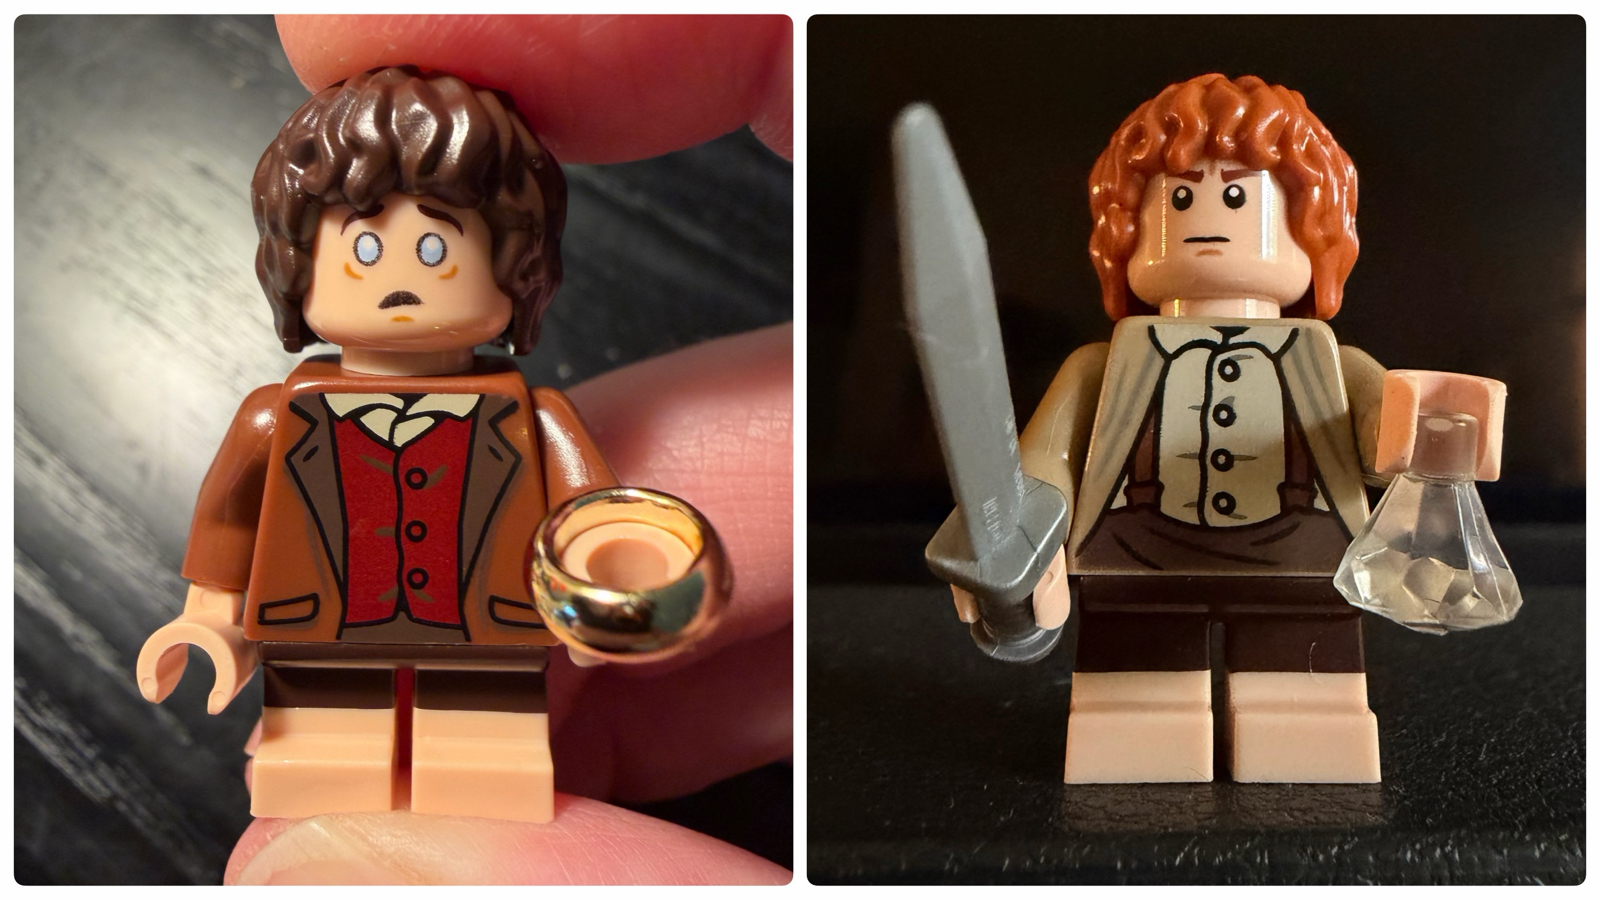
Most of the included minifigures are in the first few bags, and they’re all great. Frodo has a couple of faces, but I’ll always display the one where he’s almost seduced by The Ring.

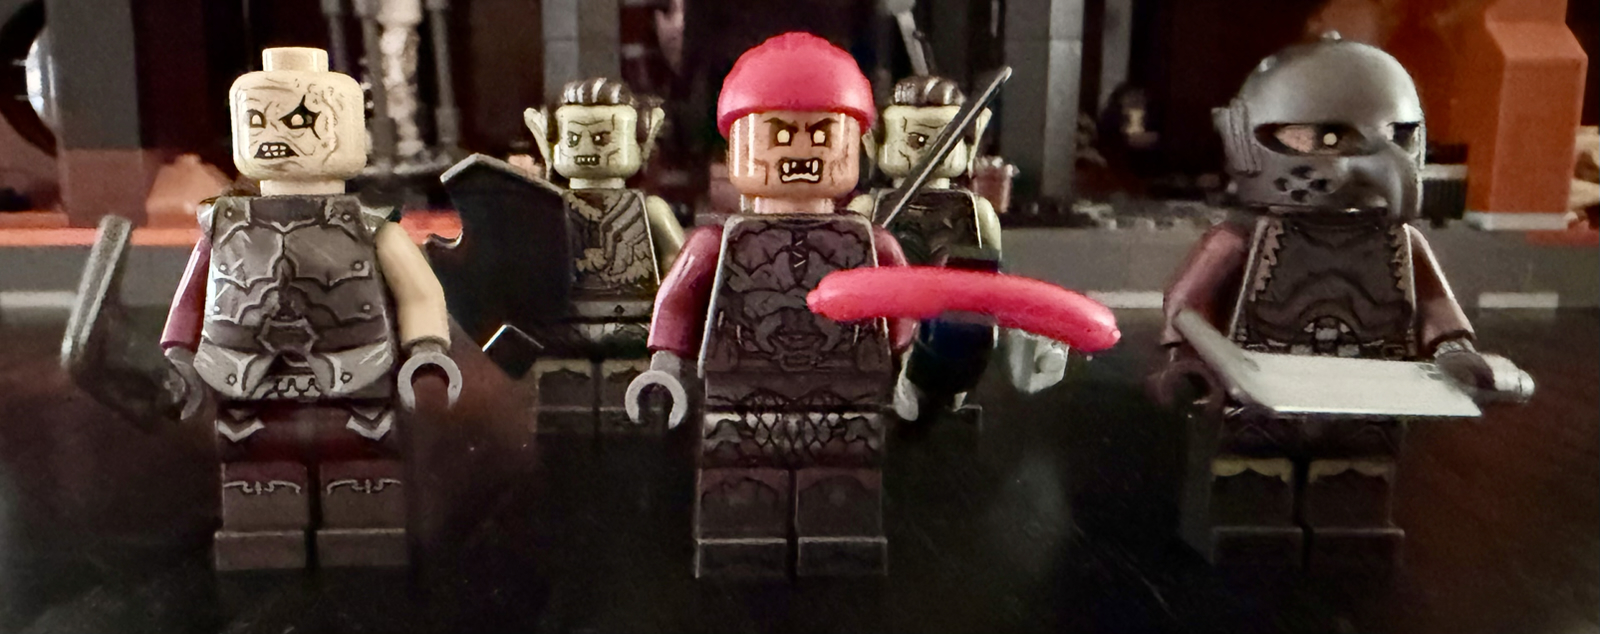
A group of orcs with a range of armour and weapons inhabit the lower level of the tower. According to the instructions much of these figures – and their gear – is unique to this set. Yes that one in the middle is grilling a sausage!

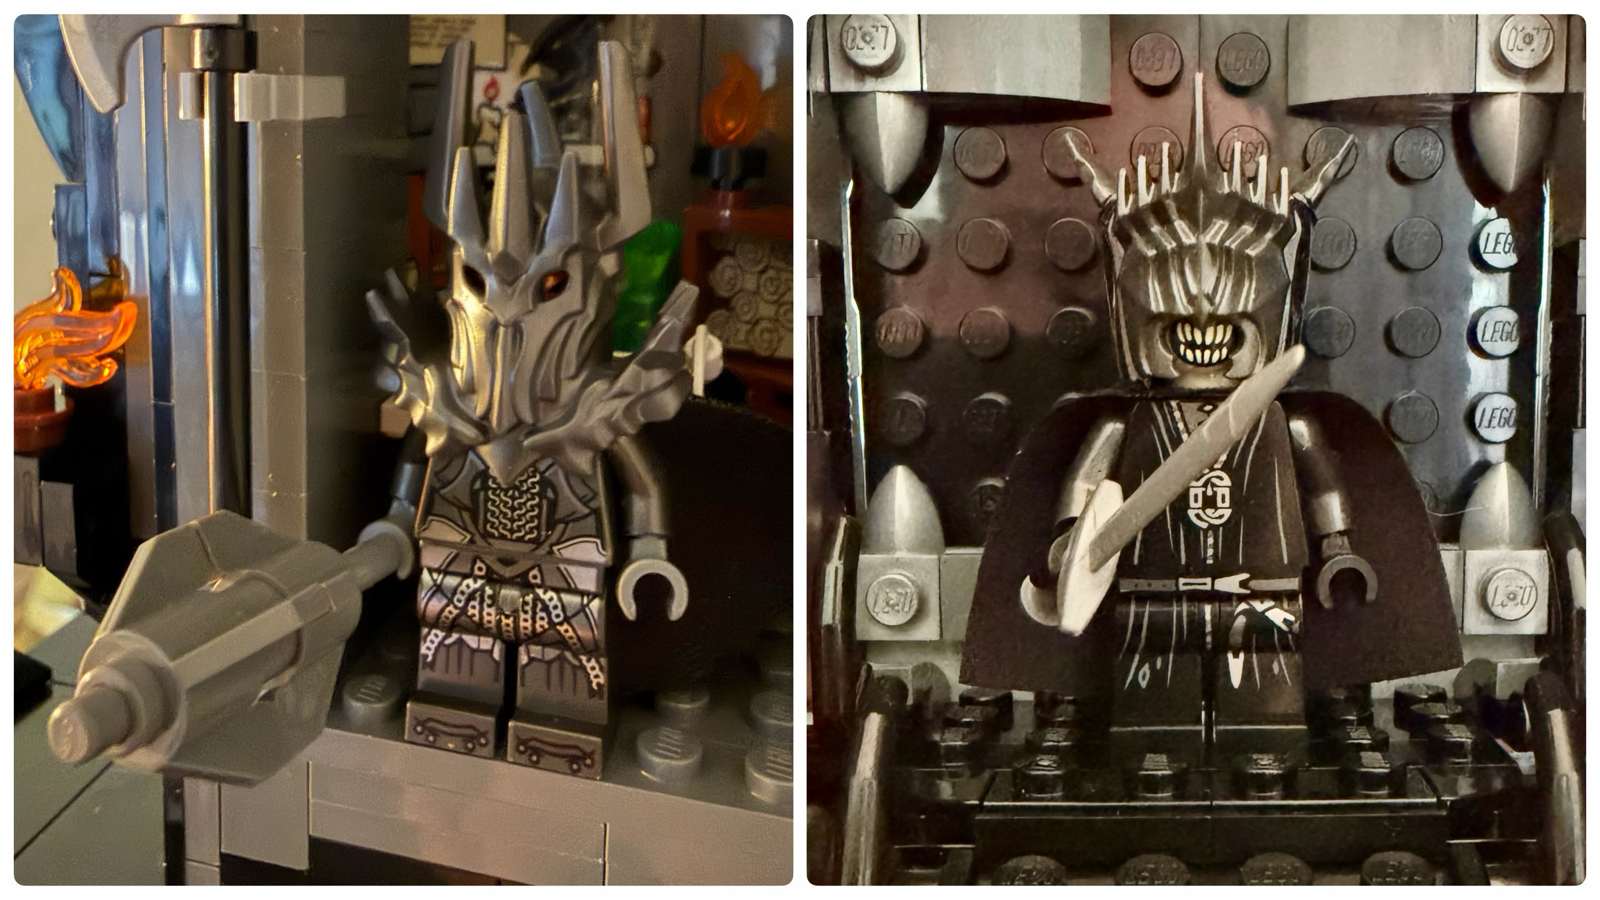
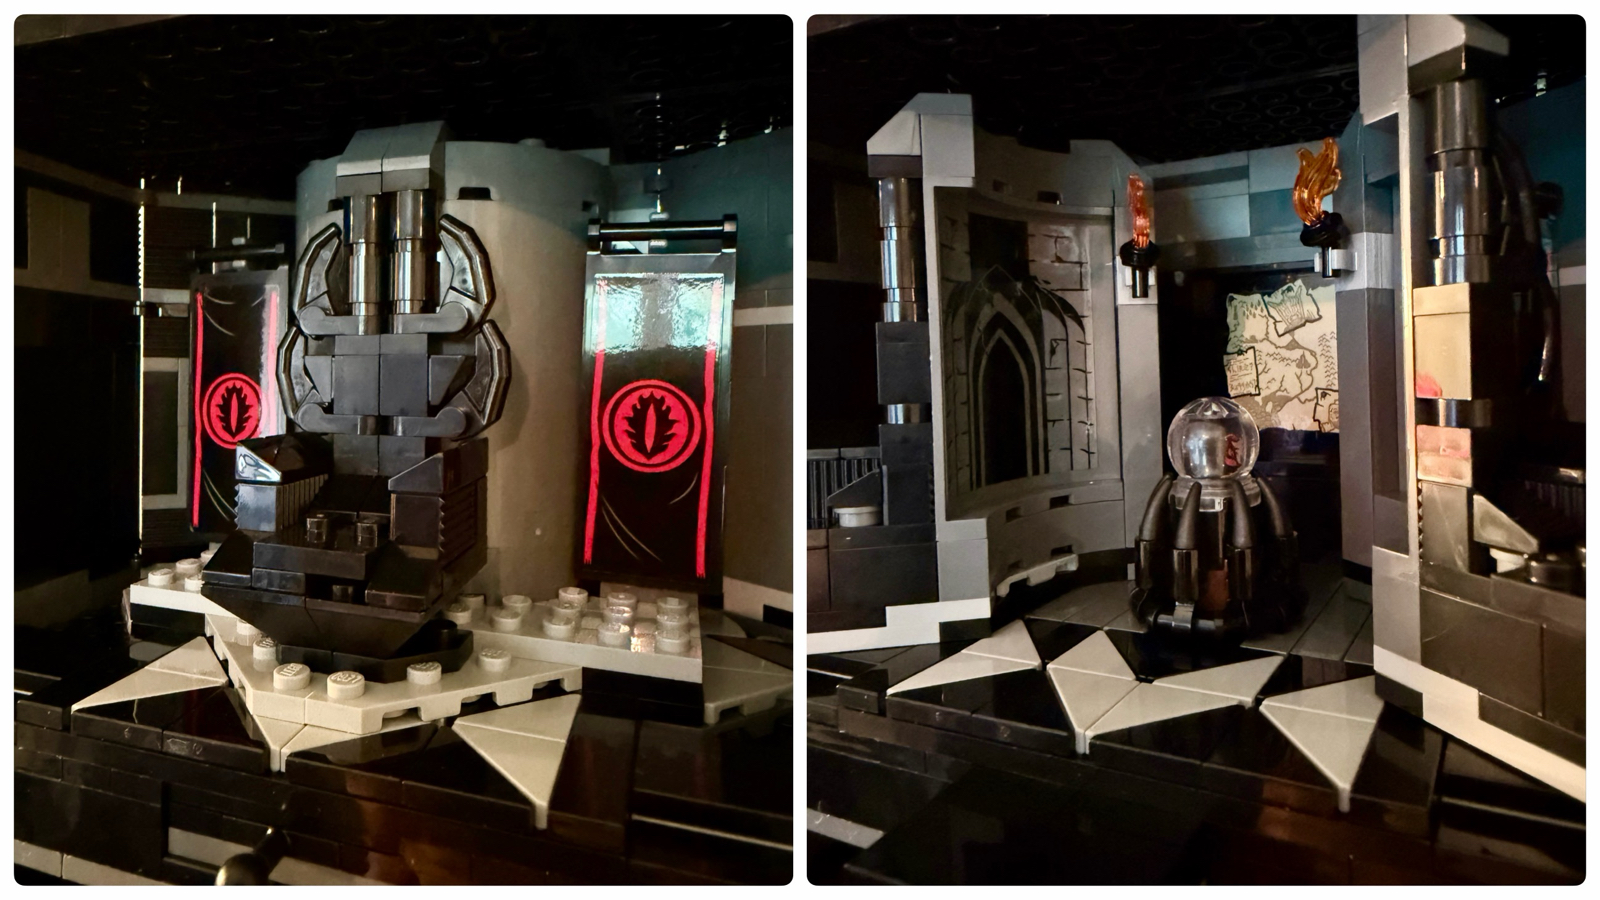
Sauron and The Mouth Of Sauron are both suitably creepy. While I’m not showing them here, believe me both are even more disturbing without their helmets on! Until rereleased in a recent set, Sauron was one of the more expensive minifigures available, selling for up to $100 on the secondary market. He has a thrown room in the middle of the tower which has a Palantir hidden being a moving throne:

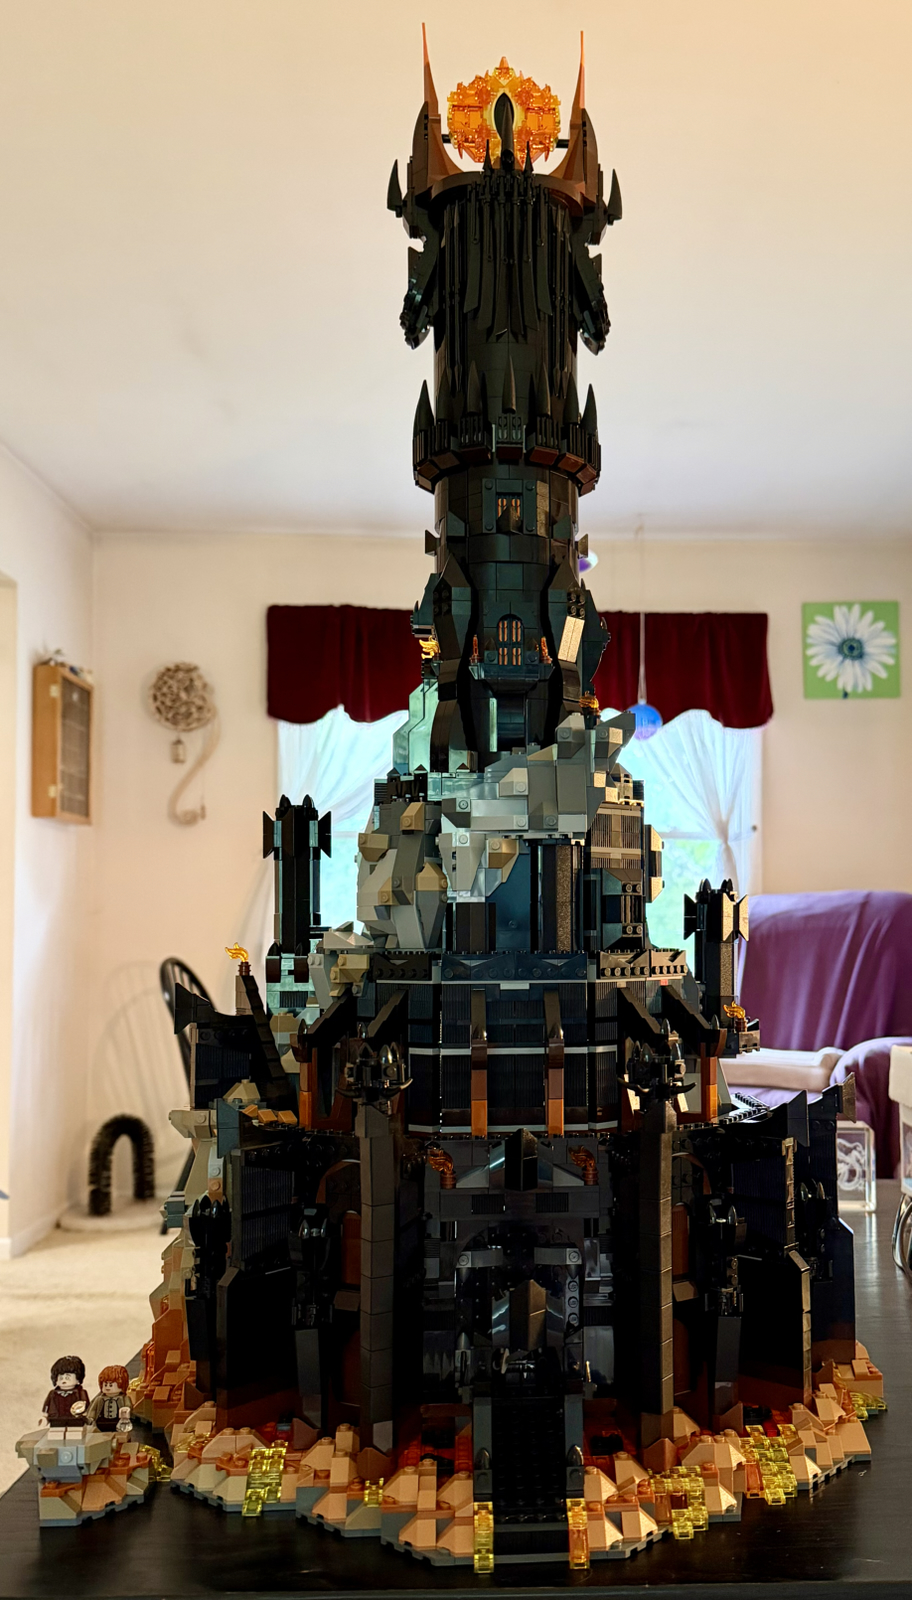
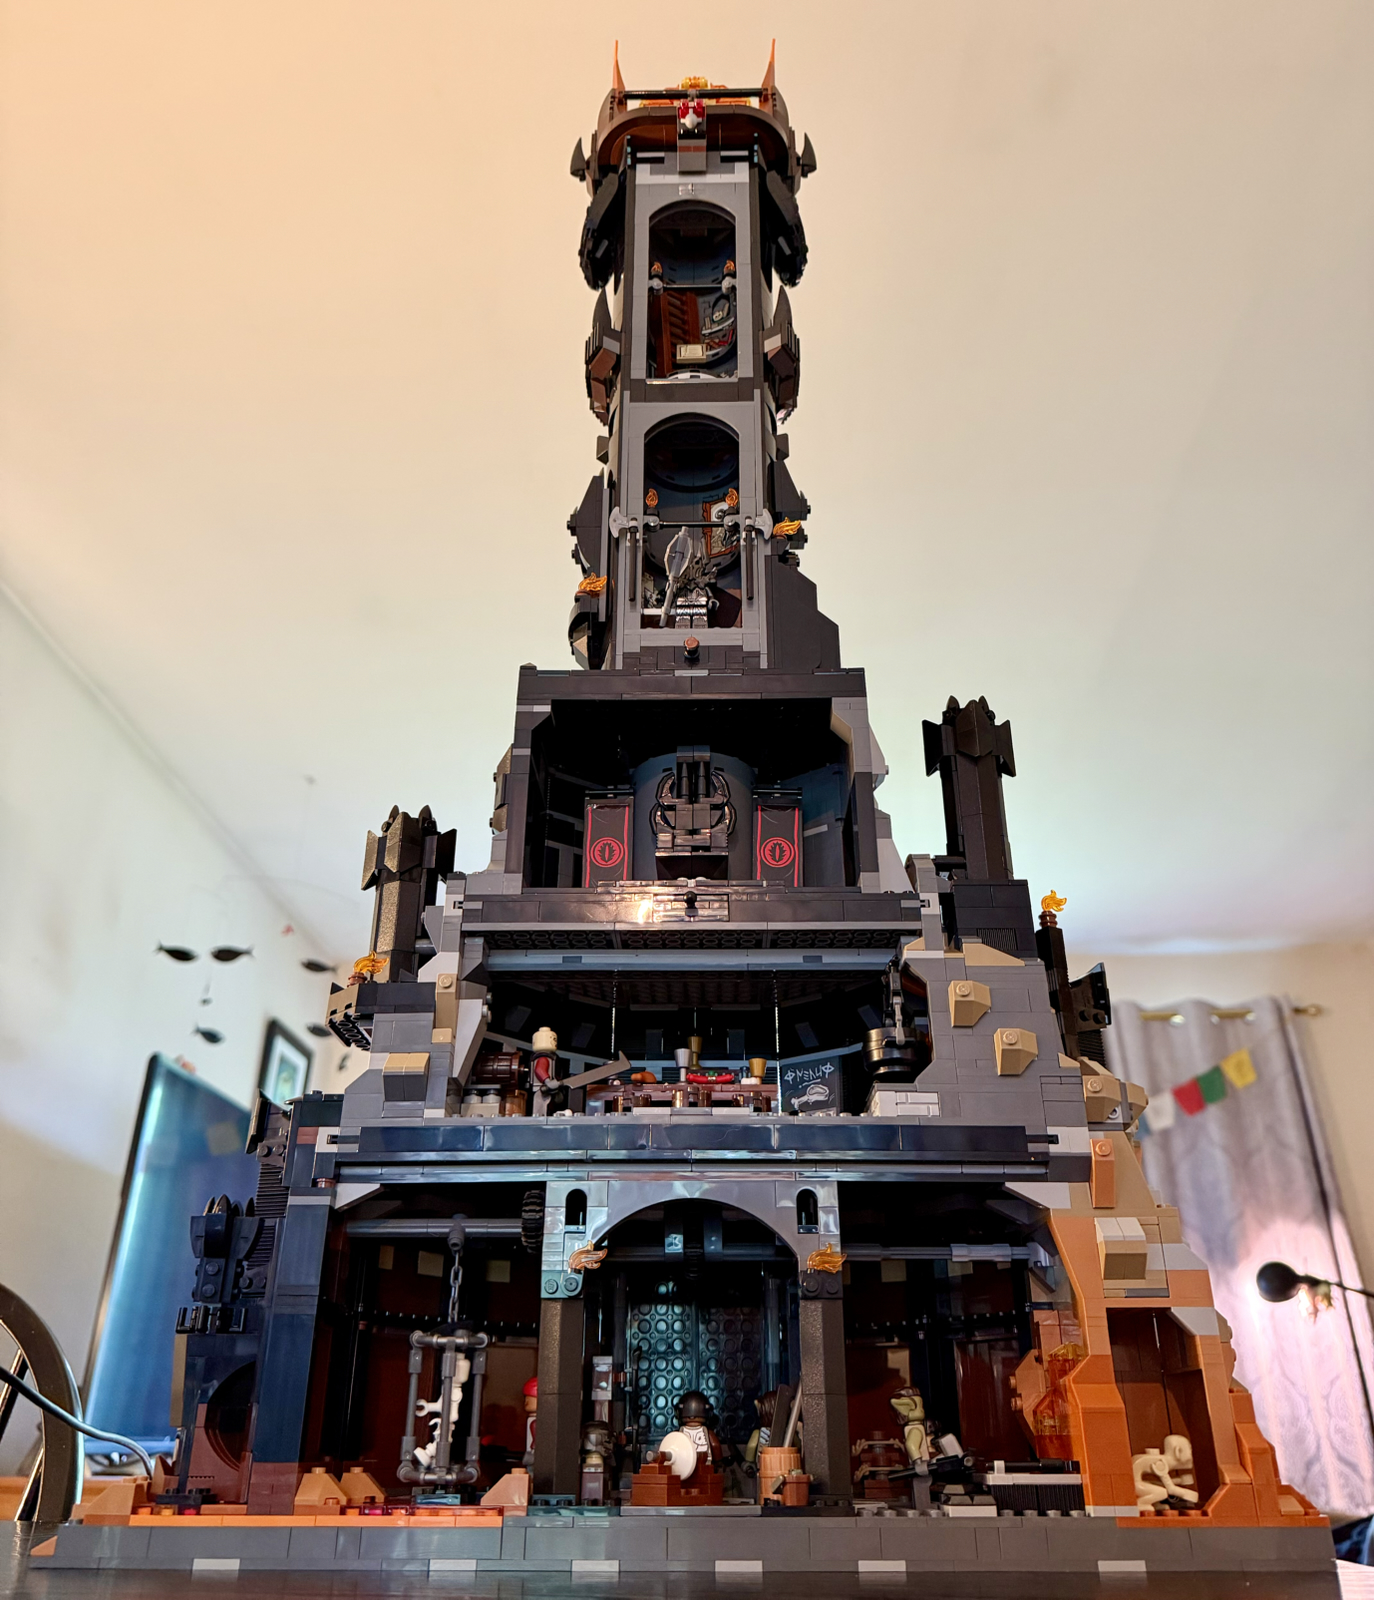
Here’s the finished set:

It took me over thirty hours to build, which I did in sessions of two or three bags at a time. The last book went very slowly since I could only use one hand (I’ve recently had hand surgery) and needed to be extremely careful since I was dealing with the spire.

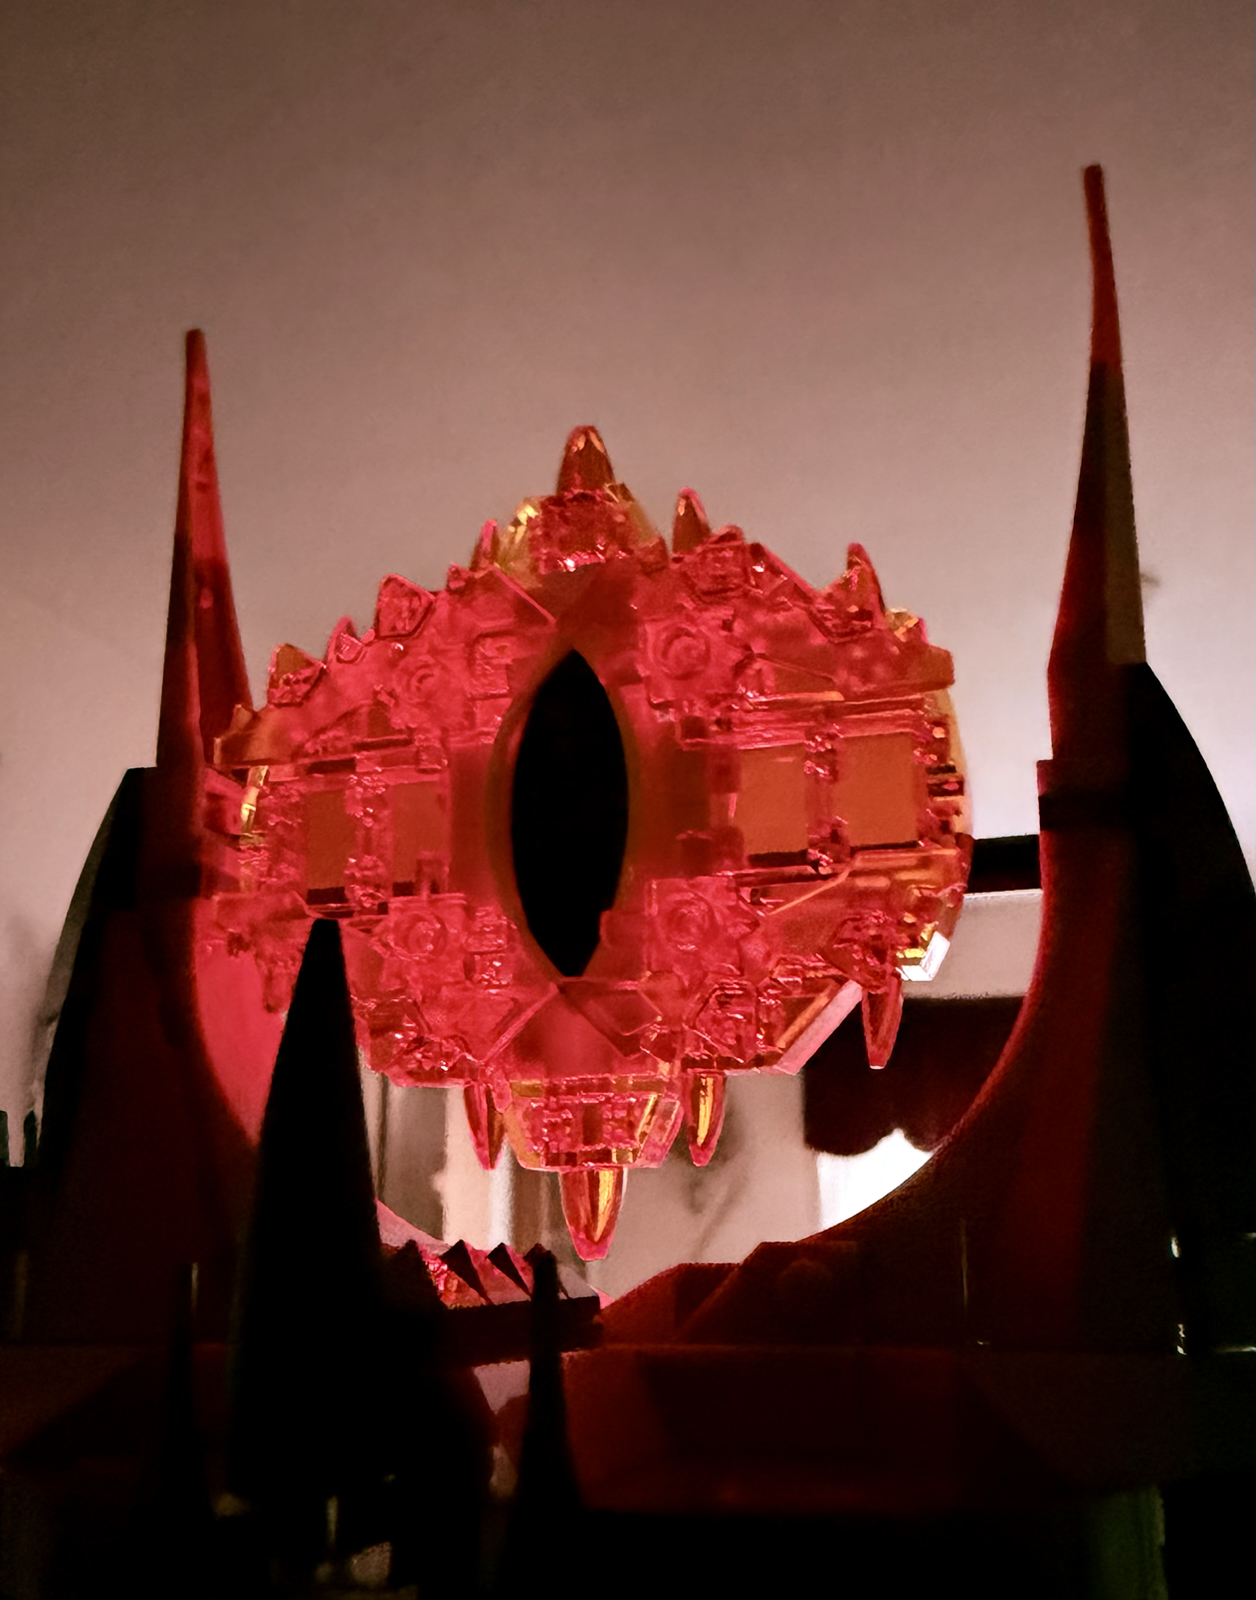
The Eye lights up via a light brick, and can also be moved to look in any direction:

Here’s the view from behind showing the interior detail:

I enjoyed building this so much I hardly wanted it to end. Now I need to work out where to put it, a non-trivial problem since it’s 83 cm tall! I’ve got an idea or two, but for now it remains on our dining table since it’s remarkably heavy and I’m certainly not going to move it with only one hand!